


In This Article Show
Peppers are one of the easiest and most versatile vegetables to freeze. Whether you’re working with sweet bell peppers, spicy jalapeños, or colourful banana peppers, freezing helps you hold onto that fresh flavour long after harvest season ends.

The beauty of freezing peppers is that you don’t need to blanch them like many other vegetables. With just a bit of prep, they’ll be ready to toss into stir-fries, omelets, soups, stews, or chili anytime. You can freeze them raw, sliced, diced, or whole—whatever works best for your recipes.
In this guide, you’ll learn the best way to freeze both sweet and hot peppers without losing texture or taste. Once you do it this way, you’ll never waste another pepper again.
Step 1: Choose Ripe, Firm Peppers

Start with peppers that are firm, glossy, and free from soft spots or wrinkles. Whether you’re freezing bell peppers, jalapeños, poblanos, or other varieties, the quality at freezing time makes a big difference.
Overripe or soft peppers may still be usable, but they’ll break down more in the freezer and can end up mushy when thawed. Try to freeze them shortly after harvest or buying for the best results.
Step 2: Wash, Dry, and Remove the Stems

Rinse your peppers well under cool running water to remove any dirt or residue, especially if they come from the garden. Dry them thoroughly with a clean towel—moisture can lead to freezer burn and make the peppers stick together.
Next, cut off the tops and remove the stems and seeds. For hot peppers, you may want to wear gloves while handling them to avoid irritation.
Step 3: Slice, Chop, or Leave Whole (Depending on Use)

How you cut your peppers depends on how you plan to use them later:
- For stir-fries, fajitas, or sautéed dishes, slice them into thin strips.
- For soups, sauces, or omelets, dice them into small pieces.
- For stuffed peppers, you can freeze them whole after removing the seeds and membranes.
Cut everything to roughly the same size so they freeze evenly. If you’re working with a mix of hot and sweet peppers, keep them separate so you don’t accidentally add heat to a mild dish later.
Step 4: Pre-Freeze on a Baking Sheet

Once your peppers are prepped and cut the way you like, spread them out in a single layer on a baking sheet lined with parchment paper. Make sure the pieces aren’t overlapping too much—this keeps them from freezing into one big clump.
Place the tray in the freezer and let the peppers freeze for about 1–2 hours, or until they’re completely solid. This step, often called flash freezing, helps you portion out exactly what you need later, whether it’s a handful of diced peppers or a few whole ones.
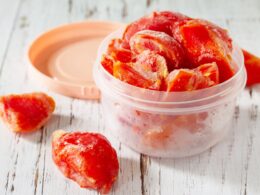
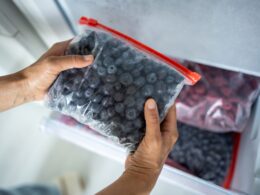
Step 5: Transfer to Freezer Bags or Containers

After the peppers are fully frozen, take the tray out and quickly move the pieces into labeled freezer-safe bags or airtight containers. Squeeze out as much air as possible before sealing to reduce freezer burn.
It’s a good idea to label each bag with the pepper type (especially if you’re freezing both hot and sweet varieties) and the date. For convenience, you can portion peppers in 1- or 2-cup amounts for easy use in recipes.
Frozen peppers can last up to 10–12 months in the freezer, though they’re best used within 6–8 months for peak texture and flavour.
Step 6: Use Without Thawing

Peppers are one of those vegetables you can use straight from the freezer—no thawing needed. Just toss them into hot skillets, soups, casseroles, or roasts. If you thaw them first, they may lose some firmness, but the flavor will still shine through.
Keep in mind, that frozen peppers work best in cooked dishes, not raw salads or salsas. The freezing process softens them a bit, but they’ll still bring great color and taste to whatever you’re making.