


In This Article Show
Corn fresh off the cob is one of the best things about summer. But once the season ends, it’s hard to find that same sweet flavor and crisp bite. That’s why freezing corn is such a smart move—it lets you keep that just-picked taste on hand all year long.

Whether you grow your own or buy it from a local farm, freezing corn is simple and quick. The key is using fresh, ripe ears and prepping them properly before freezing. Done right, frozen corn can taste almost as good as the day you cut it off the cob.
This guide will walk you through how to freeze fresh corn kernels so they stay sweet and full of flavor. No sogginess, no freezer burn—just corn that’s ready for soups, stir-fries, casseroles, or side dishes any time you need it.
Step 1: Pick the Freshest Corn You Can Find

Start with corn that was picked as recently as possible. The sugars in corn start turning to starch soon after harvest, so the fresher, the better. Look for bright green husks, tight rows of kernels, and moist silk.
Avoid ears with dried-out tips or soft spots. If you grow your own, plan to freeze the corn the same day you pick it.
Step 2: Husk and Clean the Corn

Remove the husks and as much silk as you can. Rinse each ear under cool water to wash off any remaining dirt or silk strands. Pat them dry with a clean towel so they’re easier to handle in the next step.
Step 3: Blanch the Corn

Blanching is a quick boil that helps lock in flavor, color, and texture. It also stops enzyme activity, which can make the corn mushy or bland over time in the freezer.
Here’s how to blanch corn on the cob:
- Bring a large pot of water to a boil.
- Drop in the ears and boil for 4 minutes.
- Immediately transfer the corn to a bowl of ice water and let it sit for another 4–5 minutes to cool completely.
This step keeps the corn tasting like it’s still fresh from the field.
Step 4: Cut the Kernels Off the Cob

Once the corn is fully cooled and dry, it’s time to cut off the kernels. Hold the cob upright on a cutting board and carefully slice downward with a sharp knife, getting as close to the cob as possible without cutting too deep.
You can also use a corn stripper if you have one—it makes the job faster and less messy. Rotate the cob as you go until you’ve removed all the kernels. If you like, scrape the cob with the back of your knife to get the sweet milky juices too.
Step 5: Pack and Freeze

Spread the corn kernels in a single layer on a baking sheet lined with parchment paper. Freeze for about 1–2 hours, or until the kernels are solid. This prevents them from sticking together in a clump.
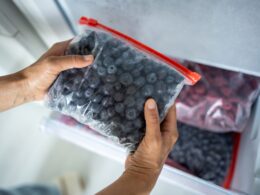
Once frozen, transfer the kernels to labeled freezer bags or containers. Press out as much air as possible before sealing. Flat bags take up less freezer space and thaw faster.
Step 6: Store and Use Within 10–12 Months
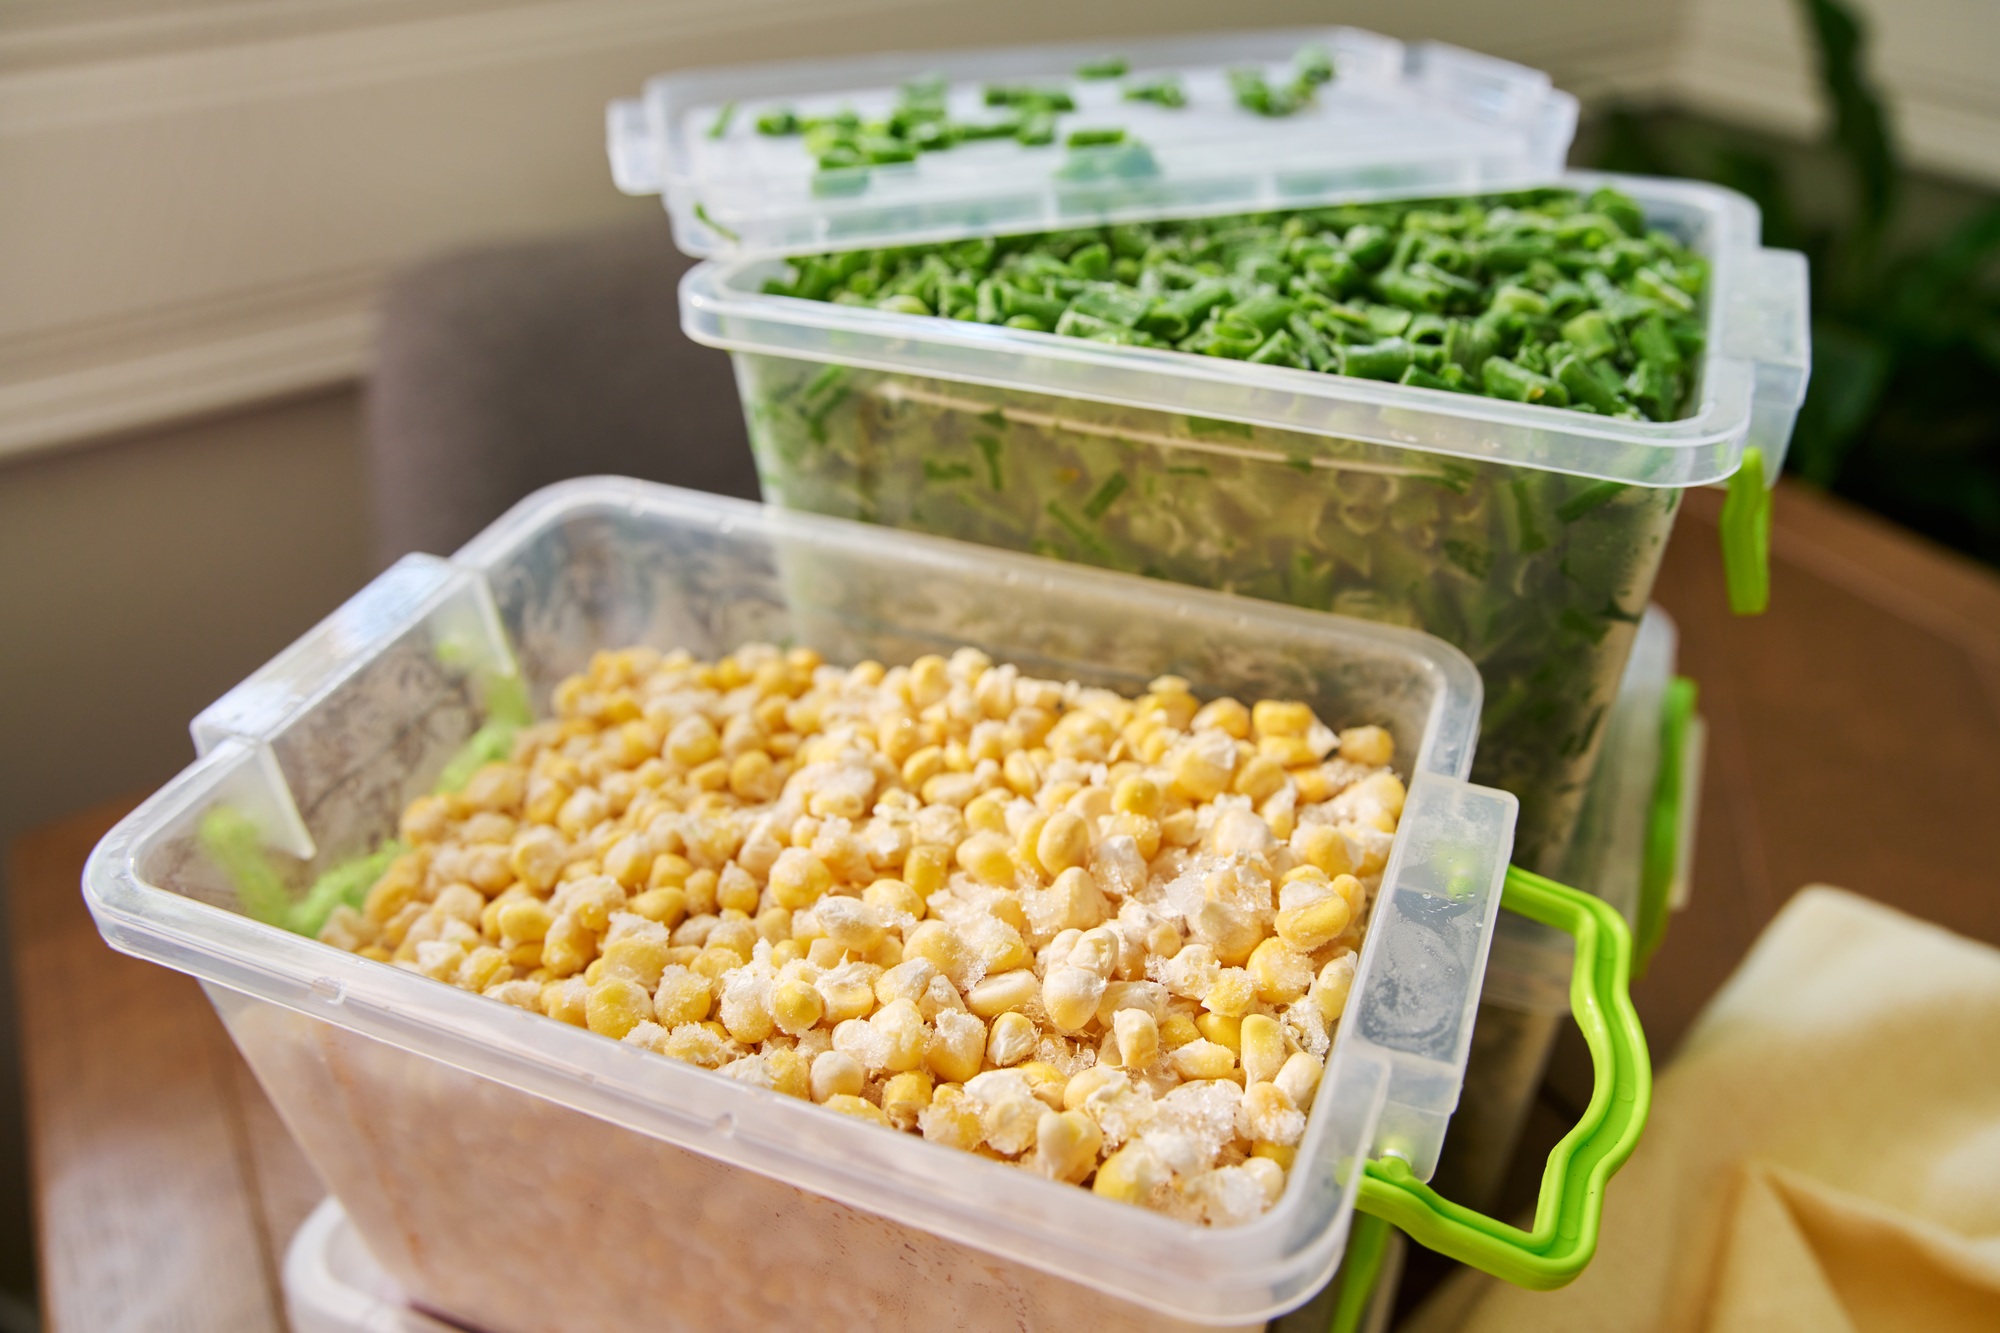
Frozen corn keeps its best taste and texture for up to a year. Store it in the coldest part of your freezer, and grab a handful whenever you need it.
There’s no need to thaw—just toss it straight into soups, stir-fries, skillet meals, or casseroles. If you want to thaw it first, just let it sit in the fridge or under cold water for a few minutes.