


In This Article Show
Corn’s journey from seed to harvest is fascinating and filled with critical stages that require your attention and care. From the moment the seed is planted to the day you harvest the golden ears, each phase of growth has unique requirements in terms of water, sunlight, and nutrients. By the end of this guide, you’ll have a clear roadmap of what to expect and how to care for your corn throughout its life cycle, ensuring that every kernel reaches its fullest potential.
Corn Growth Stages & Timelines
So, let’s get started on understanding the timelines and stages of corn growth, ensuring your efforts in the garden are fruitful and rewarding.
1. Germination Stage
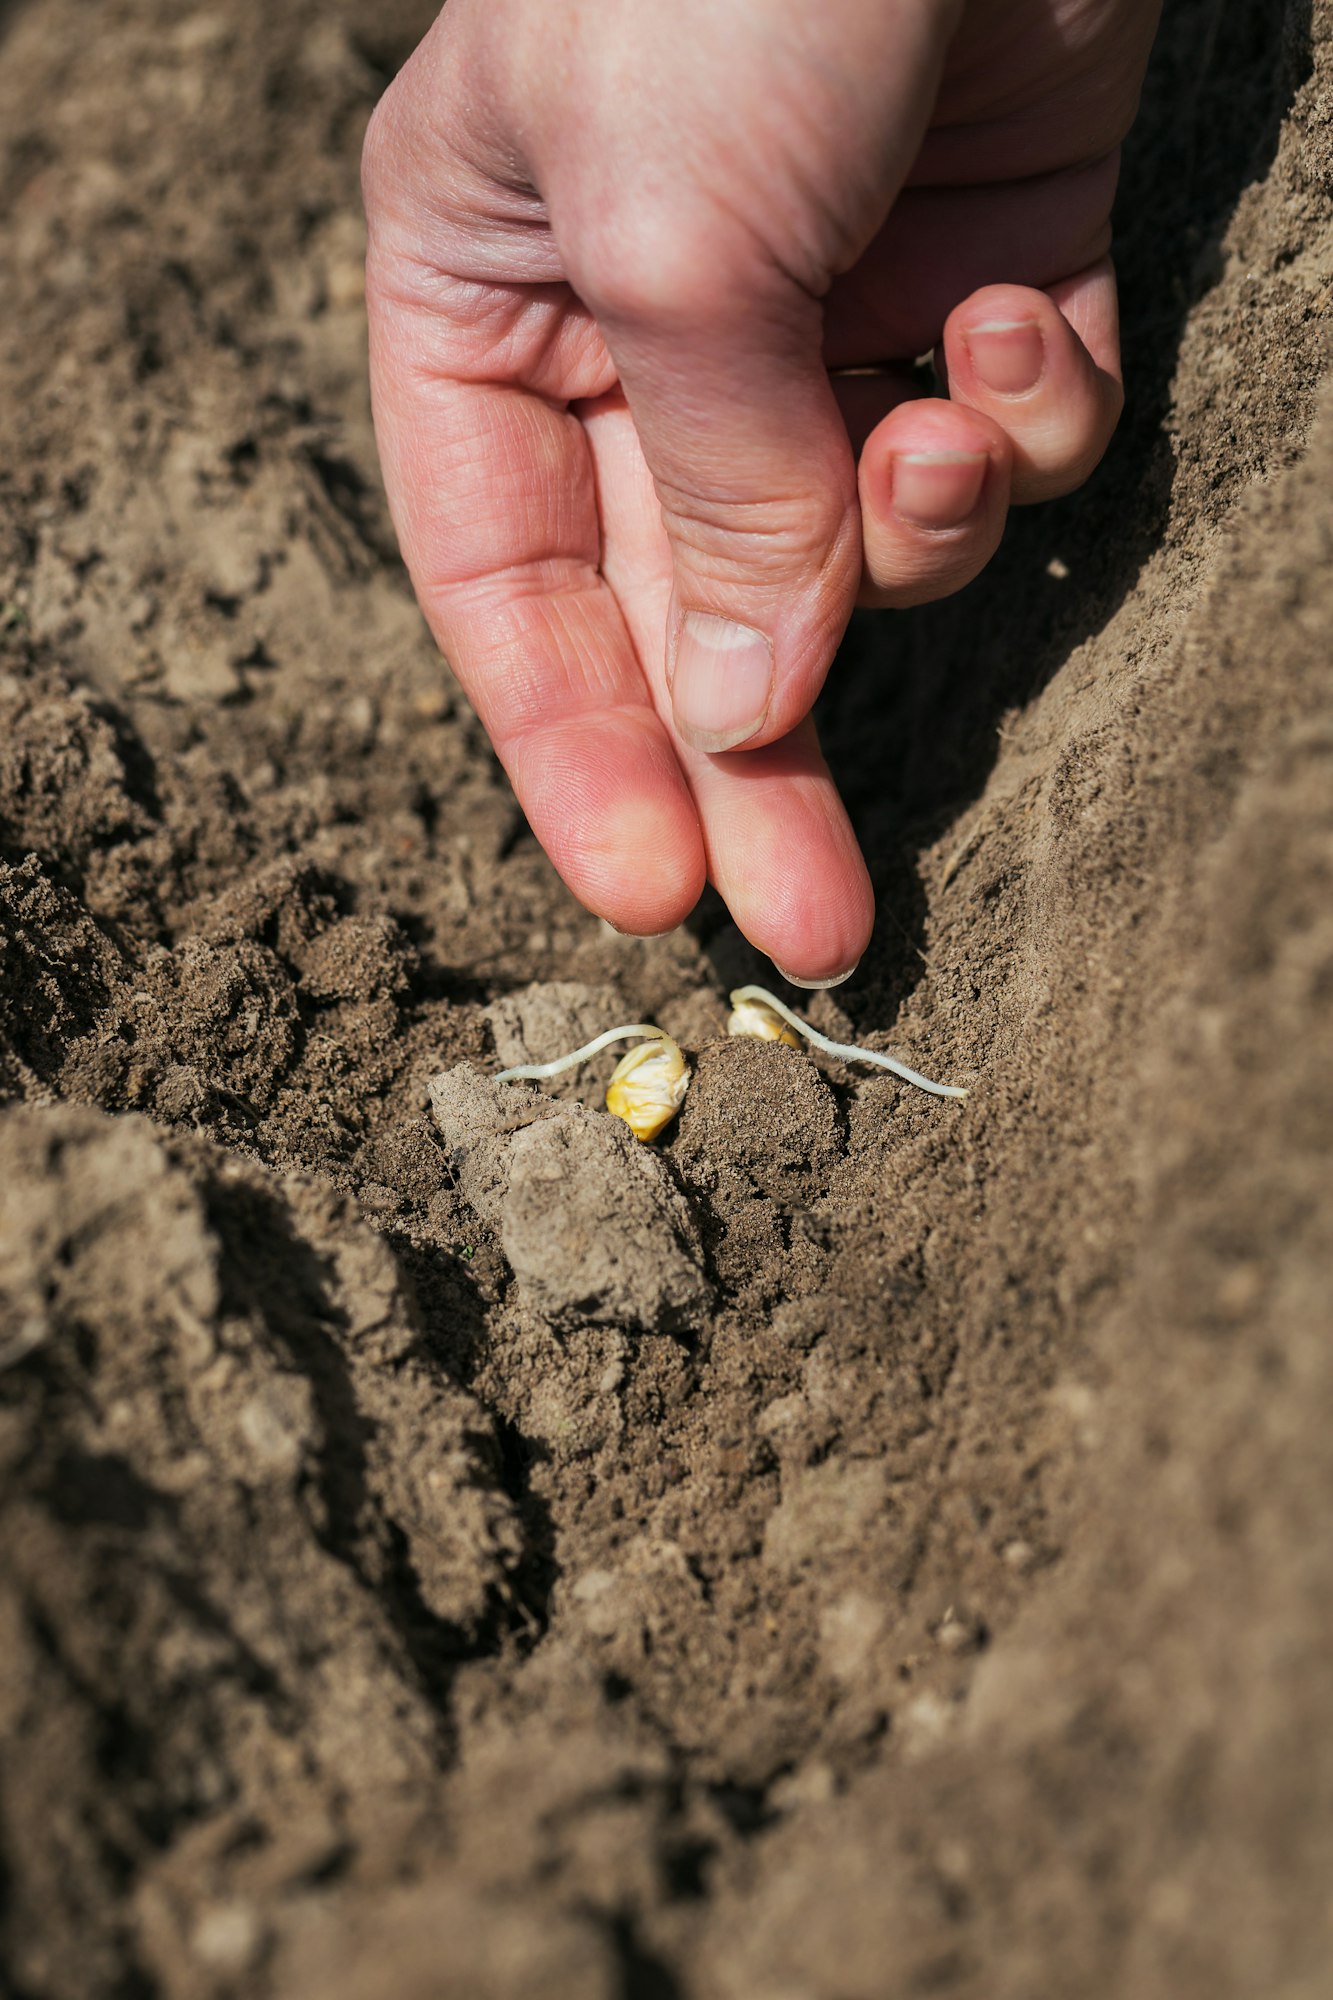
Germination is the first critical step in the life cycle of corn. This stage sets the foundation for a healthy crop, so understanding the timing and conditions necessary for success is crucial.
The timeframe from Planting to Sprout
Typically, corn seeds begin to germinate within 5 to 10 days after planting. This timeframe can vary based on soil temperature and moisture levels. Corn requires a soil temperature of at least 50°F (10°C) to germinate effectively, but the optimal range is between 60°F and 95°F (16°C to 35°C). Cooler soils will delay germination and can adversely affect seedling health.
Conditions Necessary for Successful Germination
Successful germination hinges on several factors:
- Soil Temperature: As mentioned, 60°F to 95°F is ideal.
- Moisture: Corn seeds need consistent moisture to sprout. Water the soil thoroughly at planting and keep it evenly moist until germination occurs.
- Soil Quality: Well-drained, fertile soil enriched with organic matter supports the best germination rates.
How to Identify Successful Germination
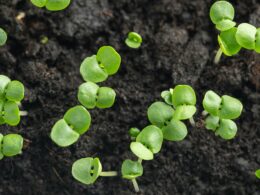
You can identify successful germination when the first shoots, known as radicles, emerge from the soil. These shoots appear as small green spikes that will develop into the plant’s first leaves. Uniform germination across your planting area is a good indicator that your corn is off to a great start.
Monitoring these initial stages carefully can prevent issues later in the growing season and ensure that your corn plants have the best start possible.
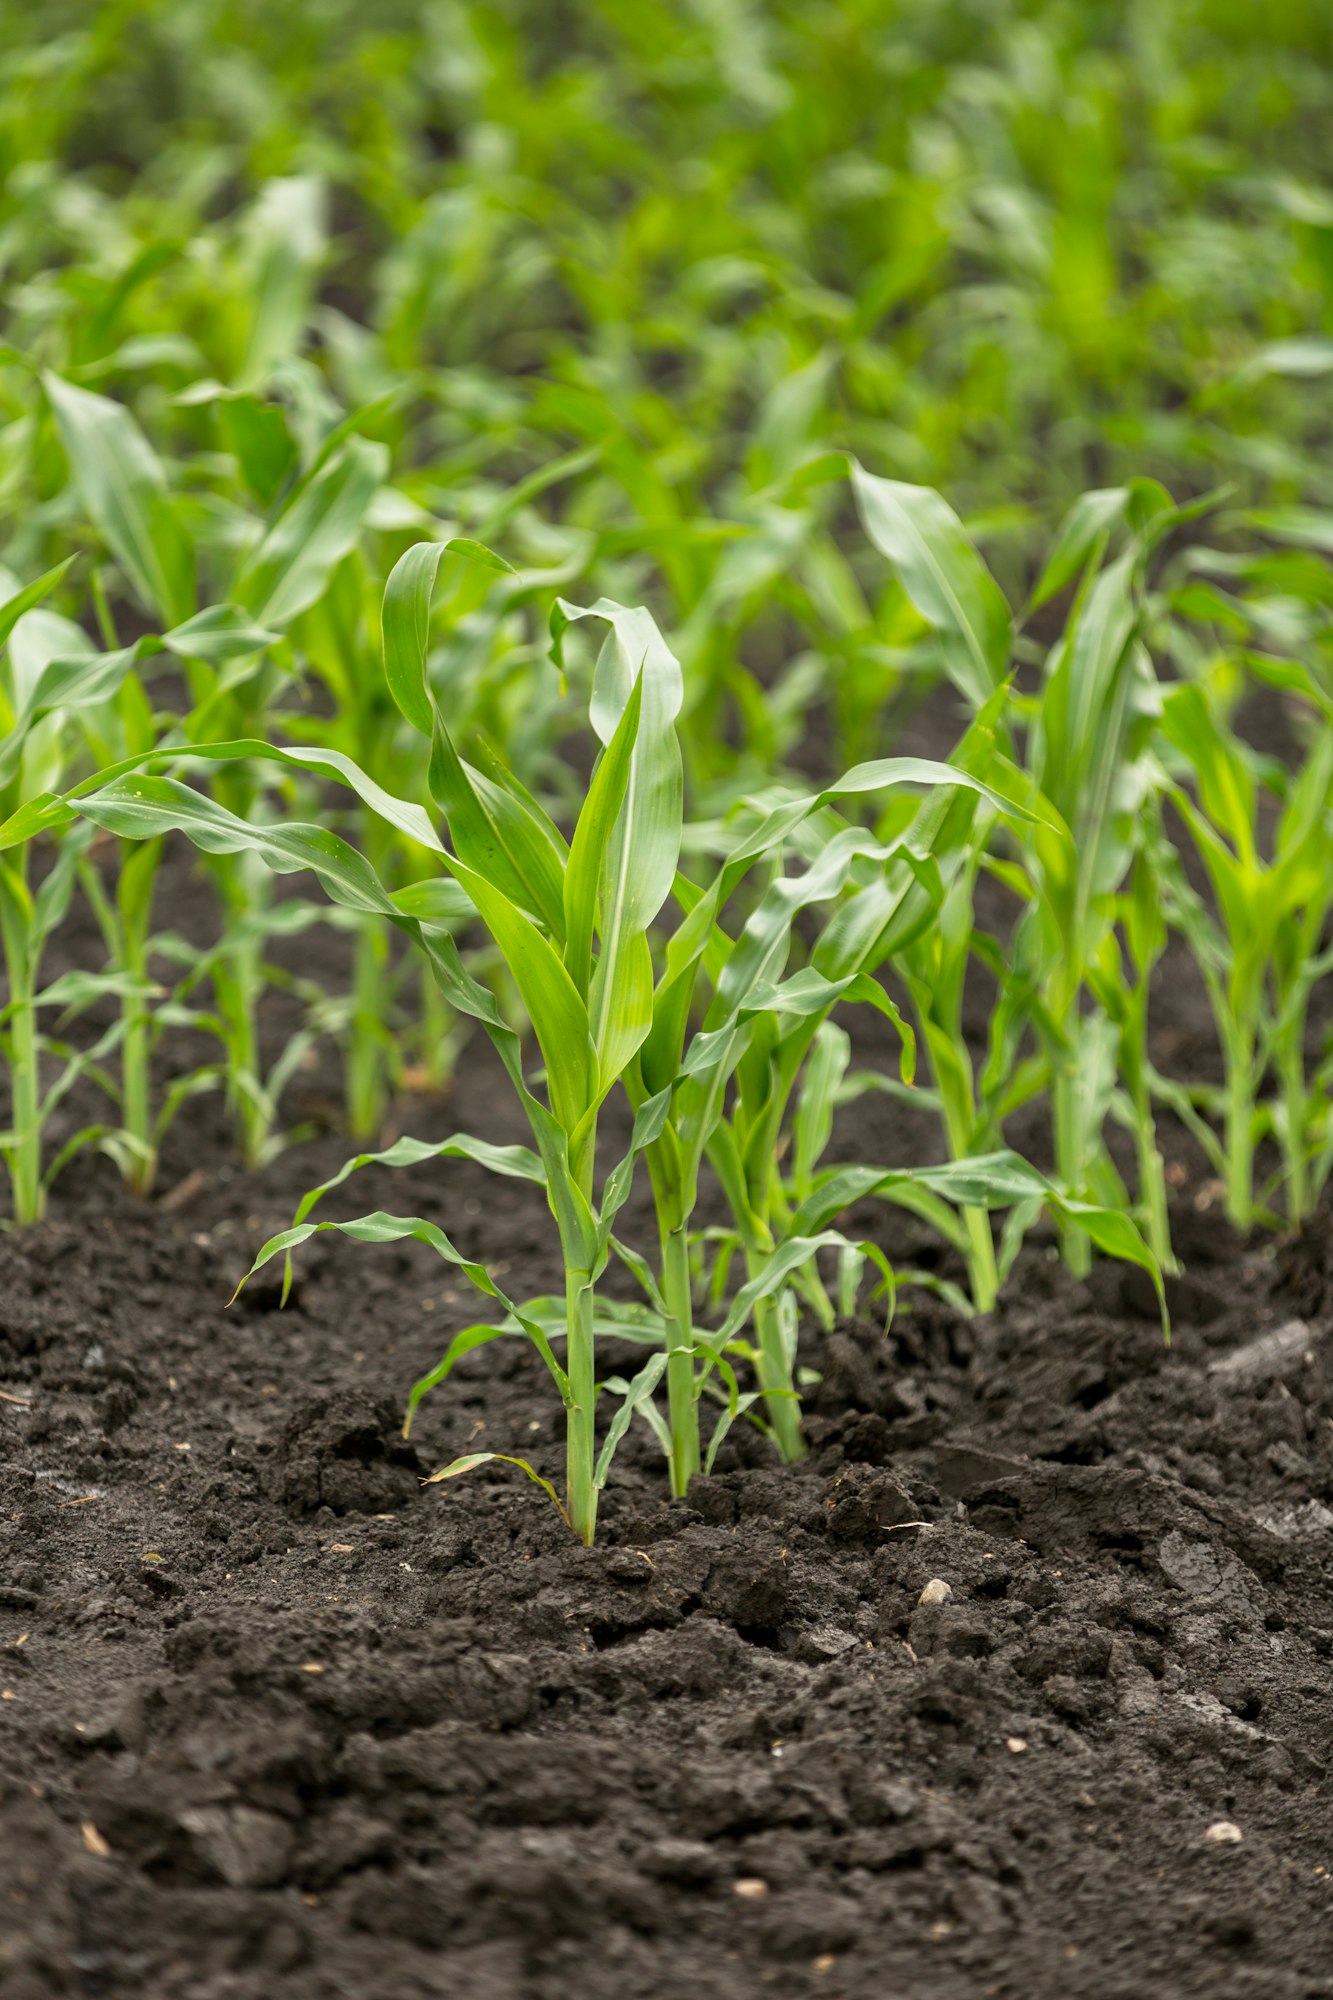
2. Seedling Stage
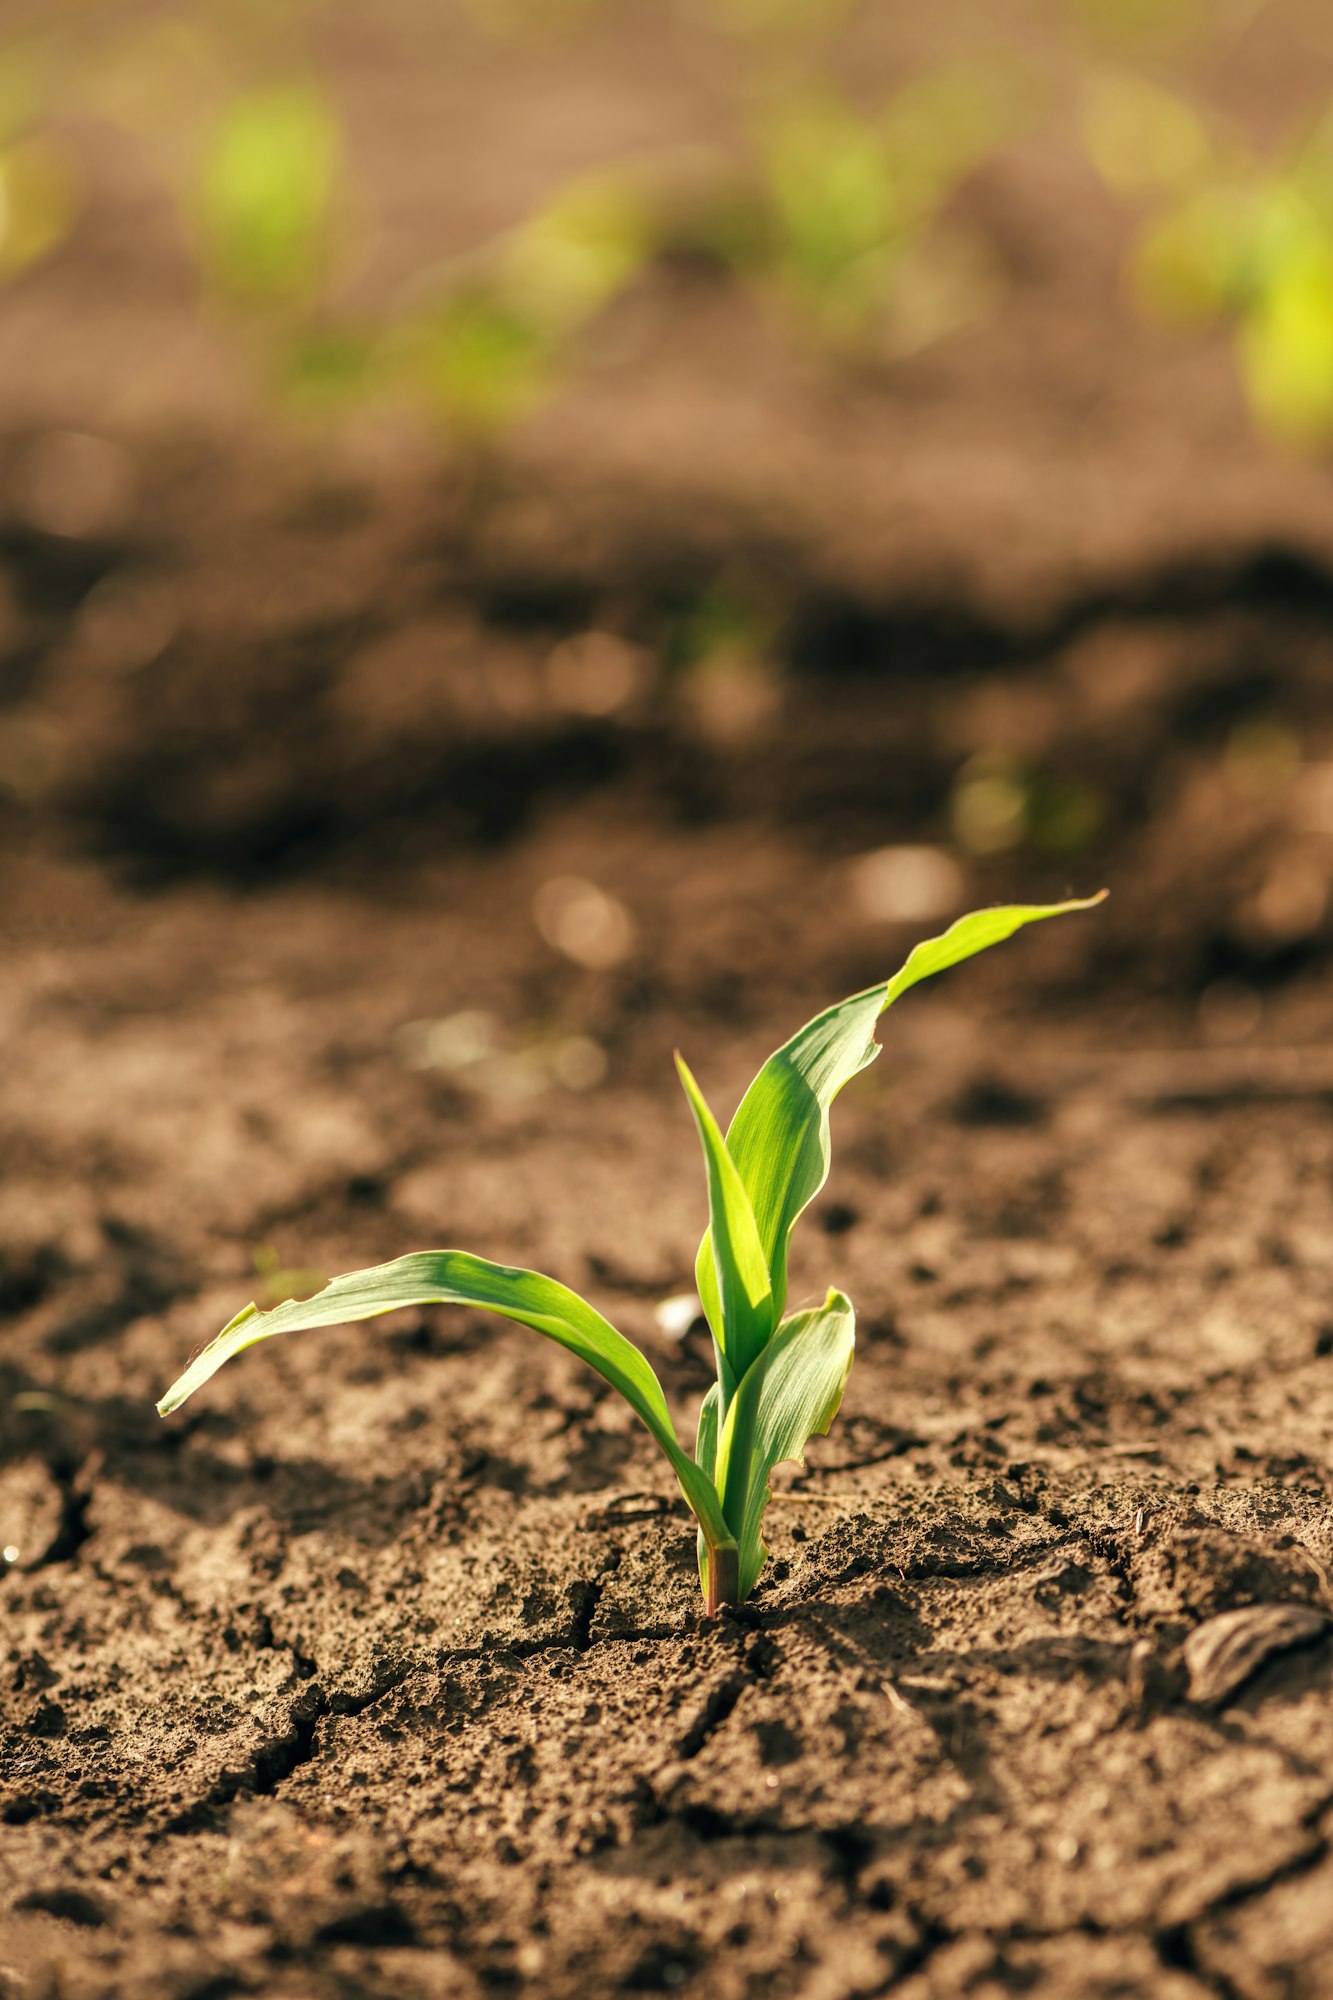
After the germination stage, corn enters the seedling phase, which is crucial for establishing a robust plant. This stage typically lasts for about two to three weeks and sets the stage for all future growth.
Duration and Growth Expectations
During this stage, you can expect your corn seedlings to develop their first true leaves. Initially, the seedlings will appear with just one shoot (the monocot), and as they grow, more leaves will develop. By the end of the seedling stage, corn should have at least three to four leaves. This rapid development is critical as it prepares the plant for more vigorous growth in the vegetative stage.
Key Indicators of Healthy Seedling Development
Healthy corn seedlings are characterized by:
- Vibrant Green Color: A uniform, bright green color indicates that the plants are getting adequate nutrients.
- Sturdy Stalks: Strong, upright stalks suggest good root development and overall plant health.
- Even Growth: Uniformity in height and development across your crop is a sign of optimal growing conditions.
Tips for Caring for Corn Seedlings
- Protection from Elements: Ensure young plants are protected from harsh winds or unusually cold temperatures, which can hinder their growth.
- Weed Management: Keep the area around your seedlings free of weeds. Weeds can compete with young corn for nutrients and water.
- Moderate Watering: While maintaining soil moisture is crucial, avoid overwatering, as this can lead to root rot and other fungal diseases.
- Early Pest Monitoring: Keep an eye out for pests that can damage young seedlings, such as cutworms and flea beetles, and address any infestations promptly.
3. Vegetative Stage
The vegetative stage in corn growth is where you’ll see the most noticeable changes in your plants. This stage is critical as it sets the foundation for later reproductive success, including ear and kernel development.
Breakdown of the Sub-Stages (V1 to Vn)
Corn’s vegetative stages are numbered from V1, marking the first leaf stage, to Vn, where ‘n’ can vary depending on the corn variety but generally indicates when the plant is fully matured vegetative. Here’s a quick breakdown:
- V1 (First Leaf): This stage is identified when the first leaf is fully developed with a collar visible.
- V2 to V5: Rapid leaf development occurs, with a new leaf emerging approximately every three to five days under optimal conditions.
- V6 to V12: This phase sees the initiation of the tassel, and by V12, most of the plant’s total leaf number is visible. Root development is also vigorous during this period.
- V13 to Vn: Final leaf development stages. Tassel development completes, and the plant prepares to enter the reproductive phase.
Description of Leaf and Stalk Development
Throughout the vegetative stages, leaves become larger, and the stalk thickens and elongates. Healthy corn at this stage should exhibit deep green, expansive leaves and a robust, sturdy stalk capable of supporting the plant’s upper structure.
Importance of Nutrient Management During This Stage
Nutrient management is crucial during the vegetative stage for several reasons:
- Nitrogen: Essential for leaf growth, nitrogen should be adequately supplied, especially from stages V6 onwards, as the plant’s size and nutrient demands increase.
- Phosphorus and Potassium: Important for energy transfer and overall health, these nutrients help strengthen the stalk and increase disease resistance.
- Trace Elements: Elements like zinc, iron, and manganese are necessary in smaller quantities but are vital for healthy plant development.
4. Reproductive Stage
As corn plants conclude their vegetative growth, they transition into the reproductive stage. This phase is pivotal for determining the yield of your crop, as it involves the processes of tasseling, silking, and pollination.
The transition from Vegetative to Reproductive
The transition begins when the final leaves and tassel are fully developed. This typically occurs just after the last vegetative stage (Vn). The plant shifts its energy from growing in height and leaves to the development and maturation of the reproductive organs.
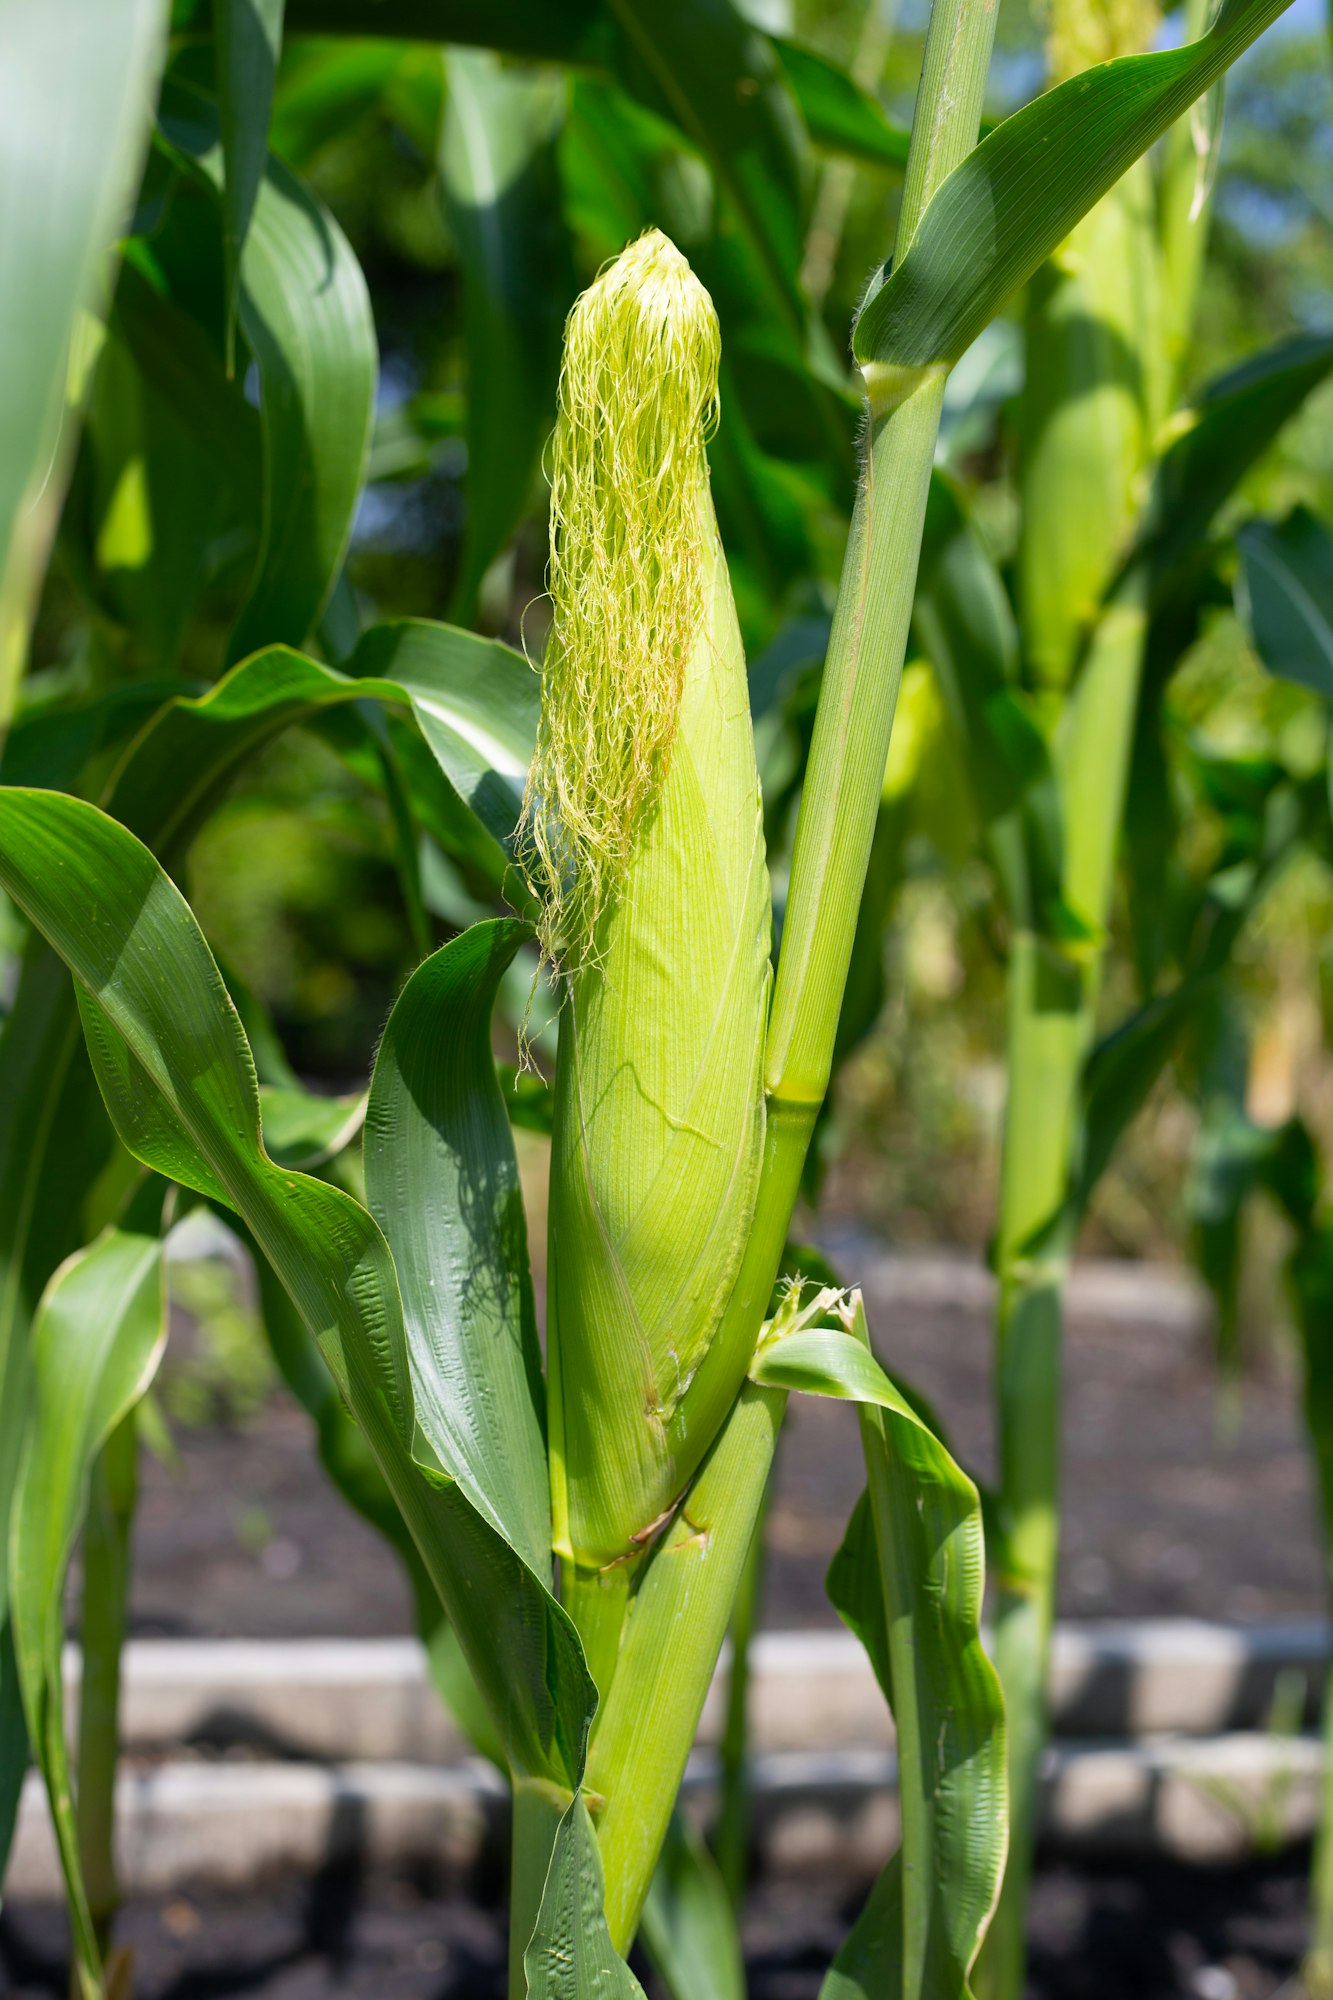
Detailed Look at Tasseling, Silking, and Pollination
- Tasseling: The tassel, which emerges at the top of the corn plant, releases pollen grains. Tasseling usually starts 2-3 days before silking.
- Silking: Silks emerge from the developing ears at the leaf nodes, usually appearing a few days after the tassel. Each silk corresponds to a potential kernel.
- Pollination: Pollen released by the tassel must land on the silk to fertilize the ovary, which will develop into a kernel. Pollen is mostly dispersed by wind, and each silk needs to catch pollen for successful kernel formation.
How to Ensure Optimal Pollination and Common Issues
Ensuring optimal pollination involves several key actions:
- Adequate Plant Spacing: Proper spacing allows for optimal airflow and pollen distribution, reducing the chance of missed silks.
- Water and Nutrients: Sufficient watering and balanced nutrition during this stage are crucial as stress can affect pollen viability and silk receptivity.
- Monitoring: Regularly check for the uniformity of tassel and silk development across your field. Any discrepancies could indicate nutrient deficiencies or water stress.
Common Issues
- Poor Pollination: This can occur due to asynchronous tasseling and silking, often caused by uneven moisture or nutrient levels.
- Pests and Diseases: Corn earworm and fungal diseases can damage silks or tassels, interfering with pollination.
5. Maturation Stage
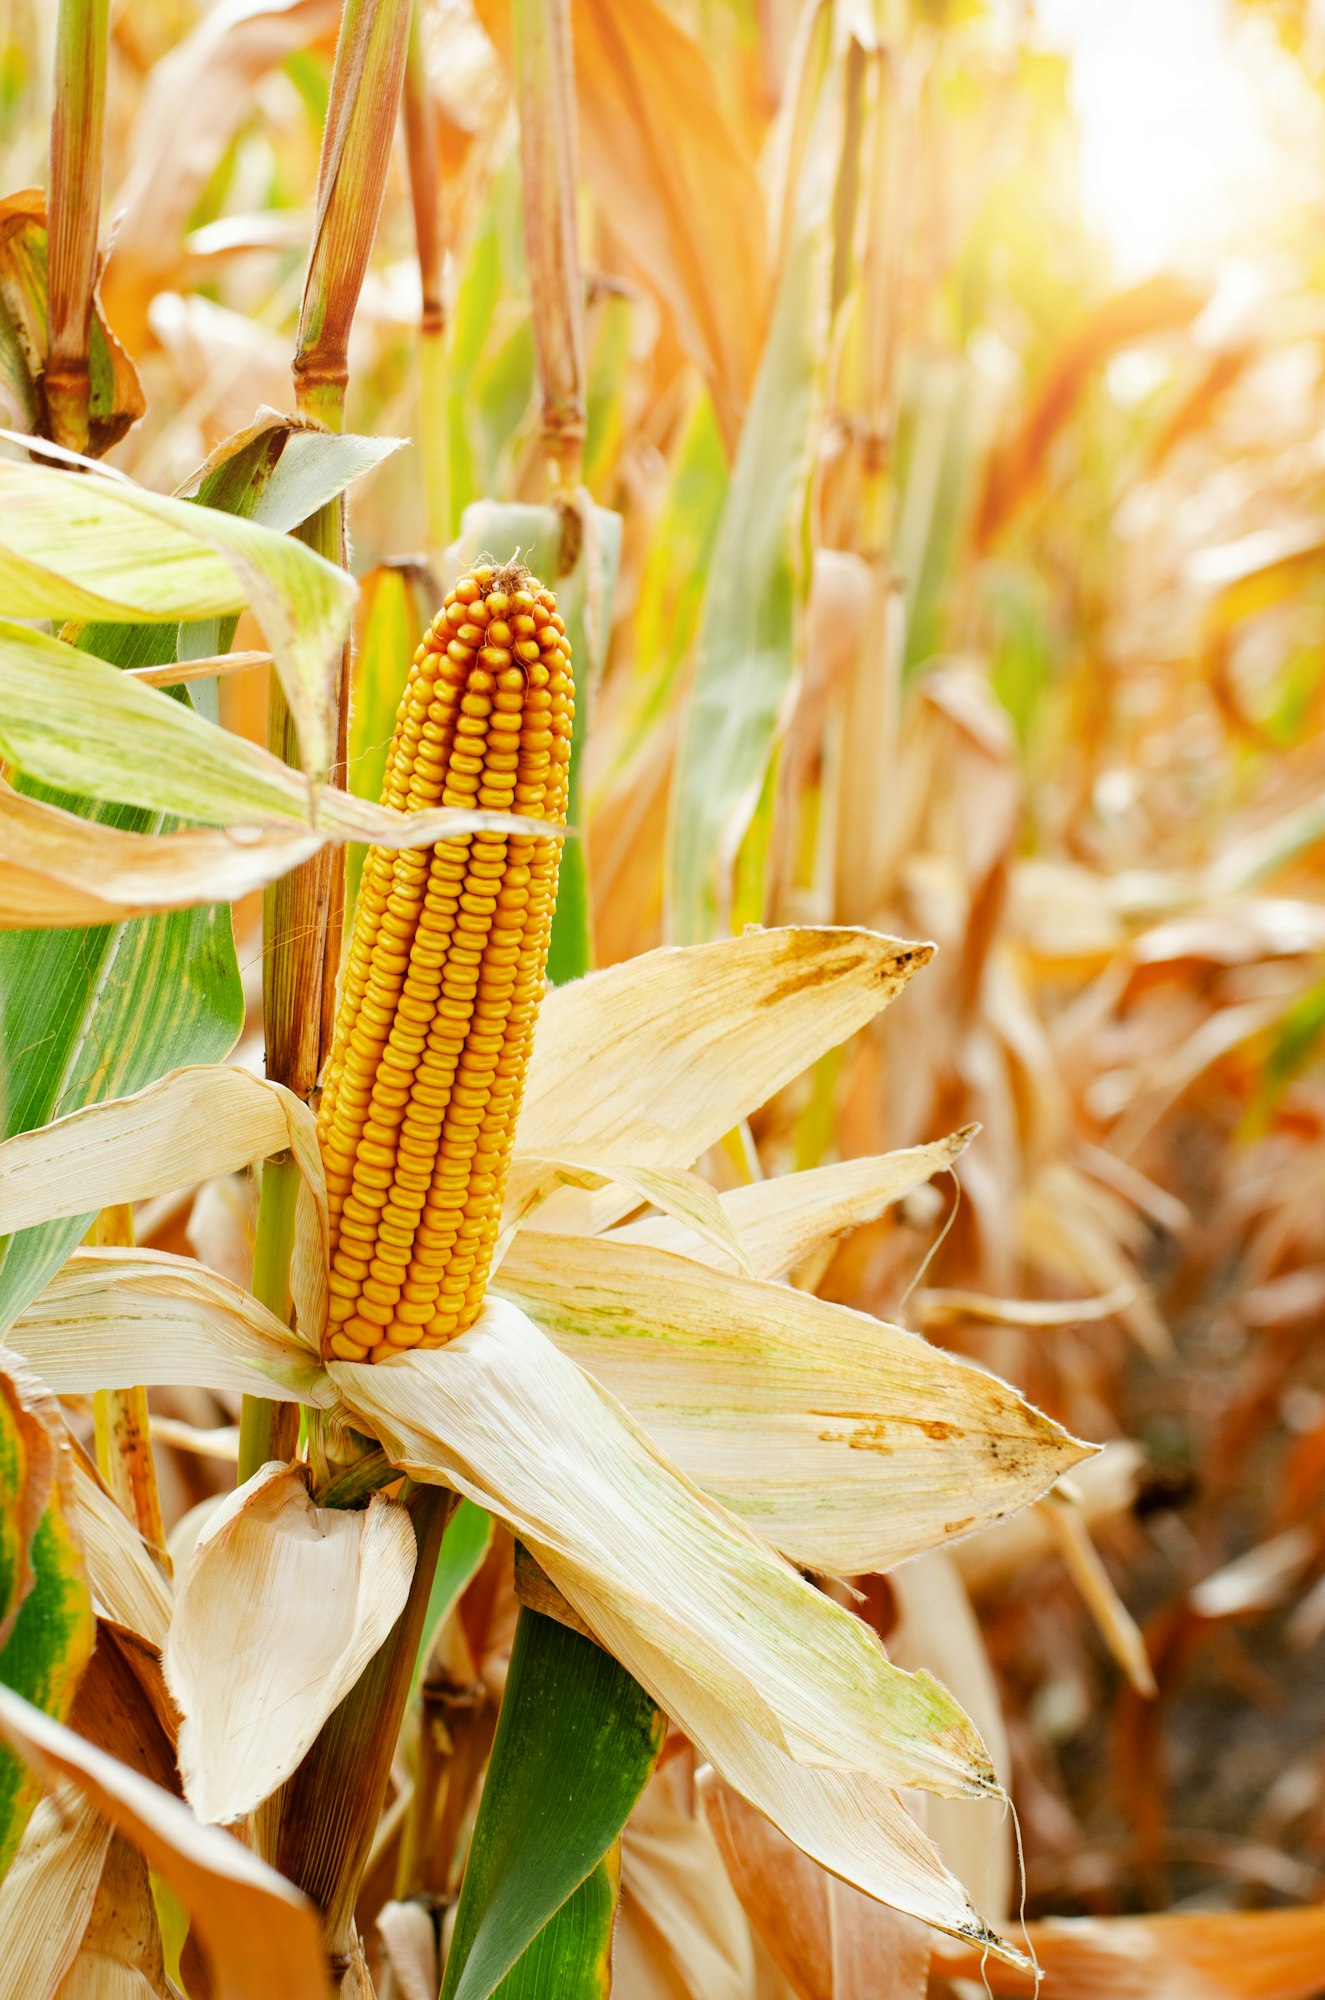
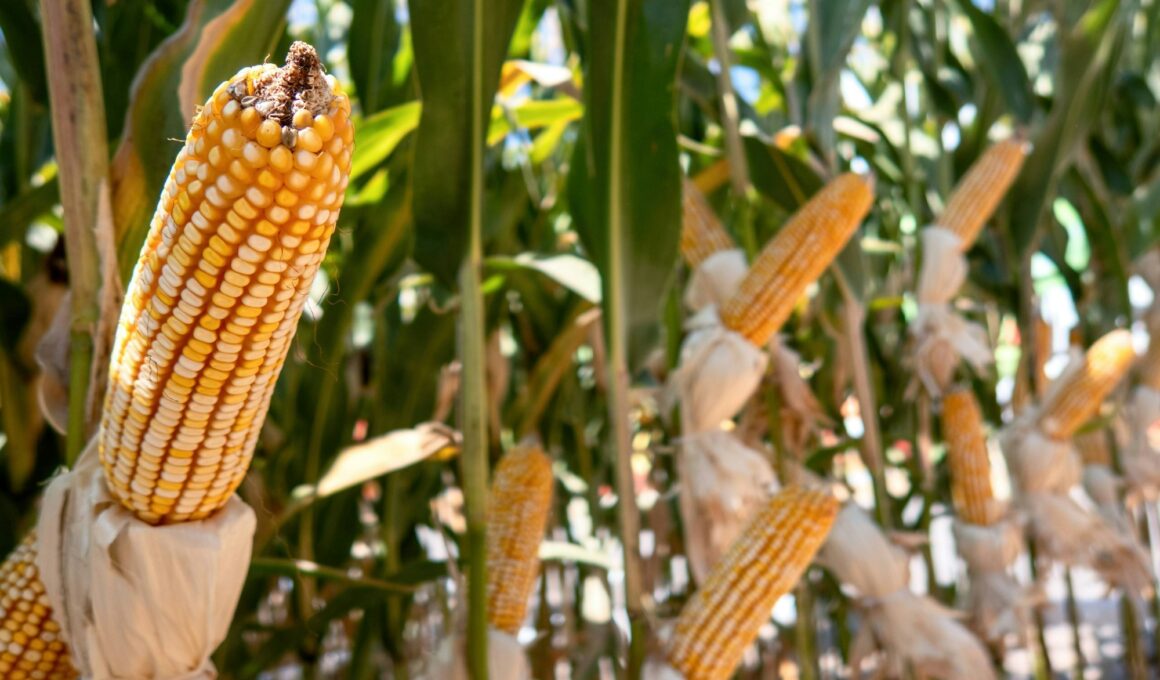
Following successful pollination, corn plants enter the maturation stage, where the focus shifts to kernel development and preparing for harvest. This final stage is crucial for achieving optimal yield and quality.
From Kernel Development to Harvest Readiness
After pollination, each fertilized ovary begins to develop into a kernel. Kernel development goes through several stages:
- Blister Stage (R2): Kernels are white and filled with a clear fluid.
- Milk Stage (R3): The fluid in the kernels turns milky as starches begin to accumulate.
- Dough Stage (R4): Kernels are pasty and contain more starch, making them less milky.
- Dent Stage (R5): Kernels develop a characteristic dent on the top as they mature and lose moisture.
- Physiological Maturity (R6): This is the point when kernels have accumulated maximum dry weight and are ready for harvest.
Signs That Corn is Ready to Harvest
The right time to harvest corn can be determined by observing several signs:
- Kernel Moisture Content: Ideally, kernels should have about 20-25% moisture content at harvest.
- Kernel Color and Texture: Look for a change from milky to a more solid texture, and the husks turning from green to brown.
- Milk Line: The milk line in the kernel moves from the crown to the tip as it matures. When the line is about two-thirds of the way down, the corn is typically ready for harvest.
Harvesting Tips for Optimal Yield and Quality
- Timing: Harvesting too early can result in lower starch levels and reduced feed value, while harvesting too late can lead to kernel losses and increased exposure to pests.
- Equipment Check: Ensure that harvesting equipment is properly adjusted and sharp to minimize damage to the kernels and stalks.
- Storage Preparation: Prepare storage facilities to keep moisture levels low and prevent mold and pest infestations.
By understanding the stages of kernel development and recognizing the signs of harvest readiness, you can optimize the timing and methods used to harvest corn, ensuring the best possible outcome for your crop.