


In This Article Show
There’s something deeply satisfying about harvesting your own potatoes and knowing you’ll still be enjoying them months later. But keeping them fresh through winter can be tricky if you don’t store them the right way.
I’ve learned the hard way that one bruised or damp potato can spoil the whole batch. With a little planning, though, your potatoes can last well into spring—firm, flavorful, and ready for soups, stews, and roasts.
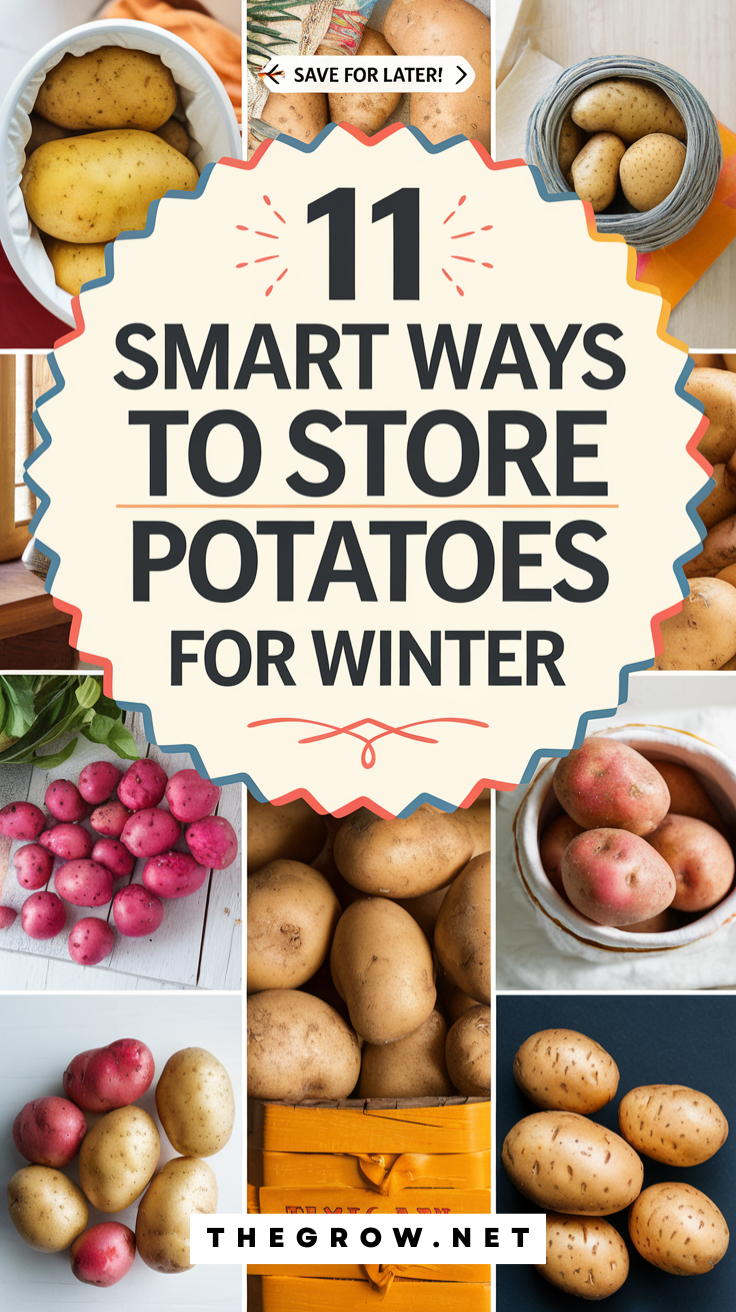
Here are 11 smart, tried-and-true ways to store potatoes for winter, whether you’re working with a root cellar, a basement, or just a corner of your pantry.
1. Cure Potatoes Before Storing
Before putting your potatoes away, they need time to toughen up. Curing helps their skins thicken and minor scrapes heal, which prevents rot later.
Example: Lay freshly dug potatoes in a single layer on newspaper or a mesh rack in a dark, well-ventilated space (like a shed or garage) for about 10–14 days at 50–60°F.
Tip: Never wash them before curing—brushing off excess dirt is enough.
2. Choose Only the Best Potatoes
Not every potato is worth storing. Small nicks, cuts, or soft spots will quickly lead to spoilage.
Example: When I harvest, I set aside the damaged ones for immediate use and only store those that are firm and unblemished.
Tip: A few minutes of sorting can save you from losing pounds of potatoes later.
3. Keep Them in a Cool, Dark Place
Potatoes last longest in cool, dark environments with steady temperatures. Heat and light will make them sprout or turn green.
Example: A basement, unheated garage, or root cellar that stays around 38–45°F works perfectly.
Tip: Avoid placing them near a furnace, washer, or anything that gives off heat.
4. Use Breathable Storage Containers

Potatoes need airflow. Sealing them in plastic traps moisture, which leads to mold.
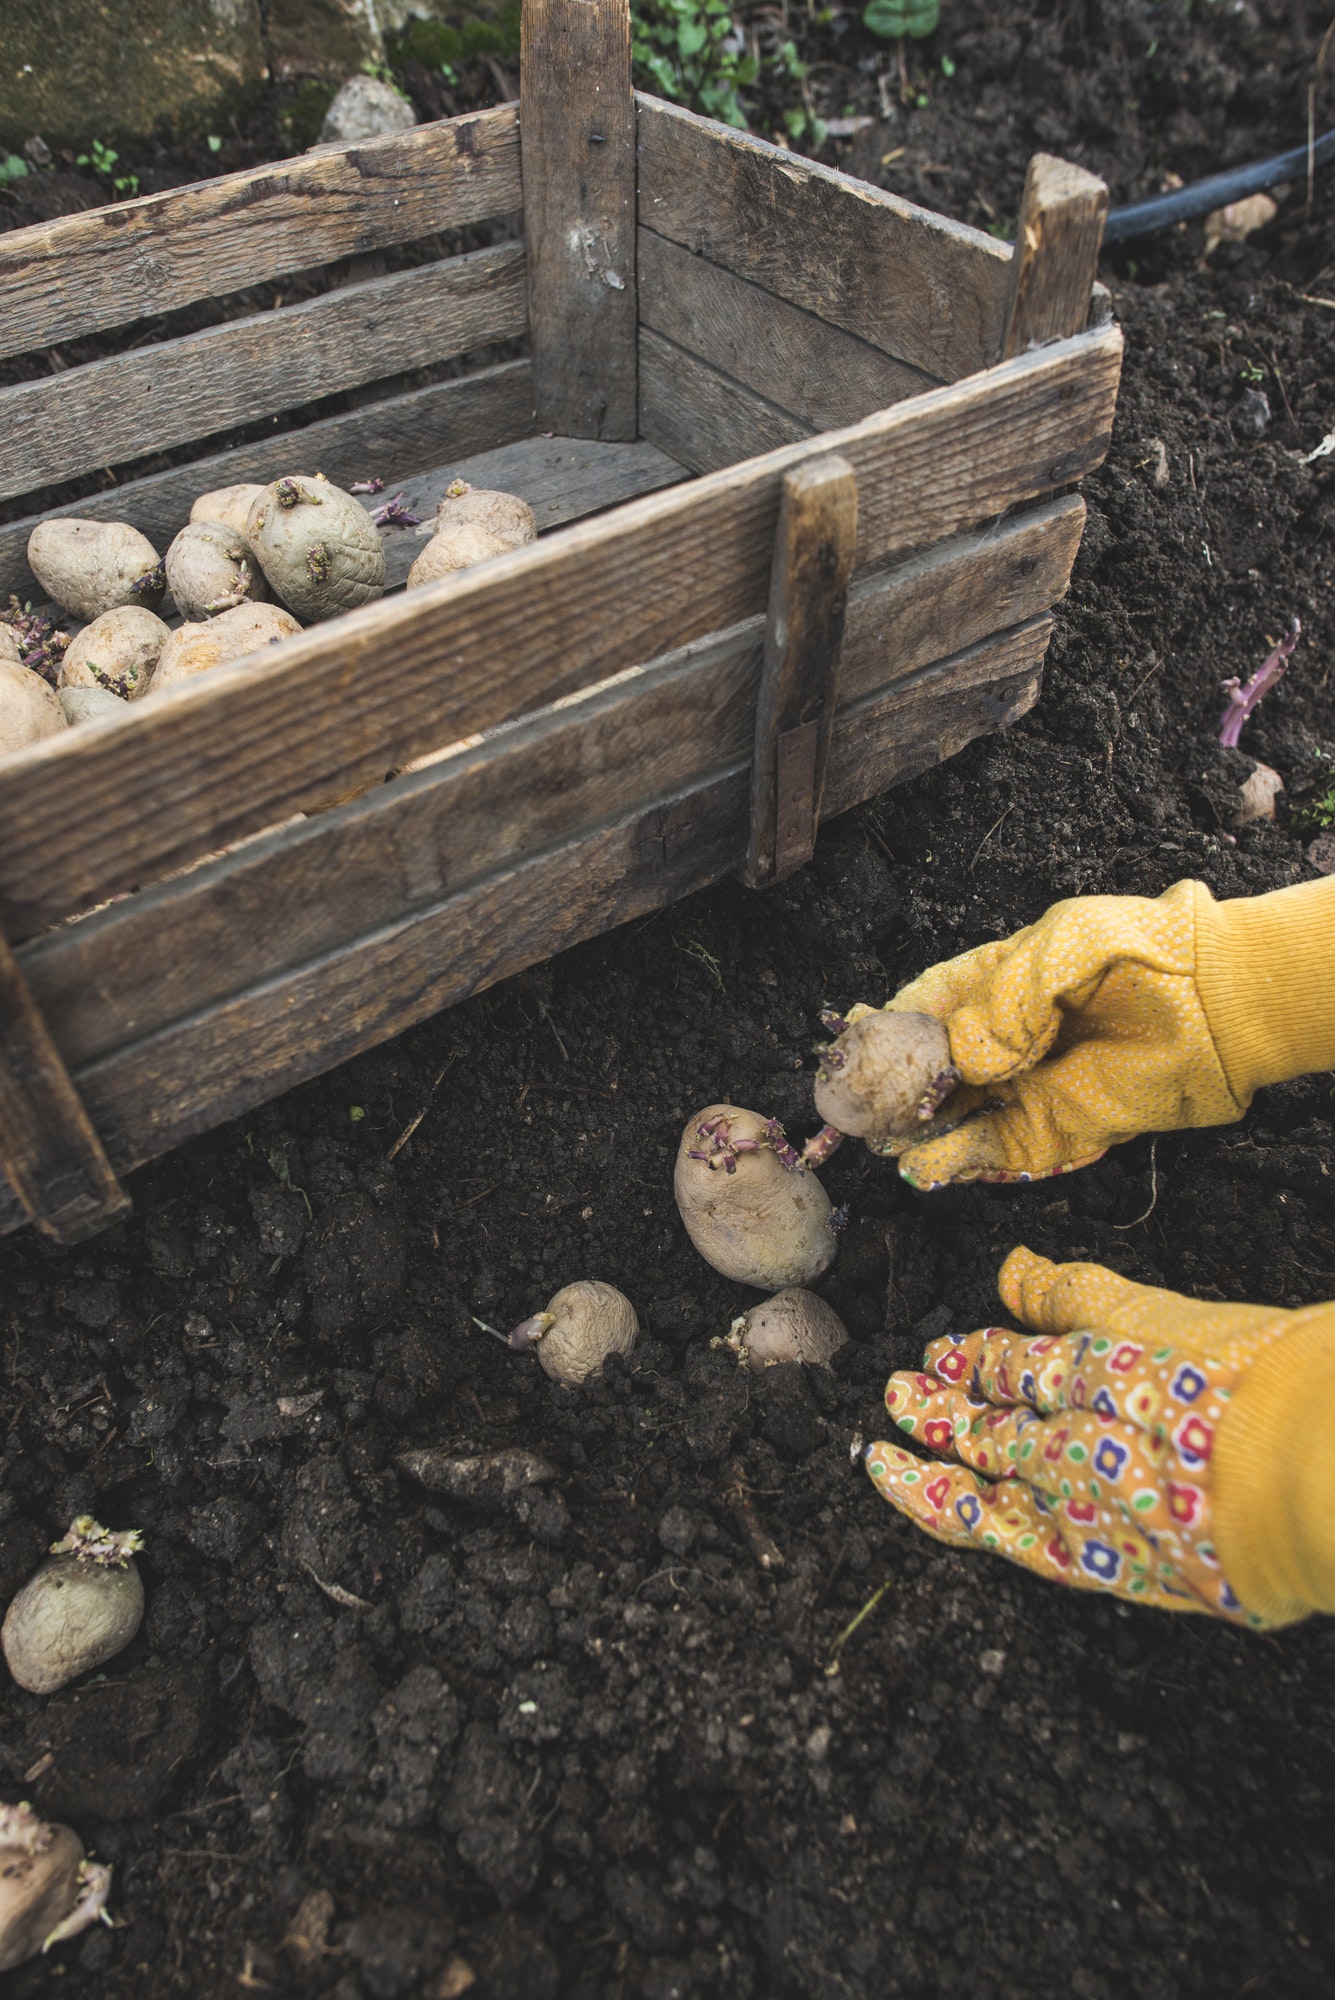
Example: Store them in mesh bags, burlap sacks, paper bags, or even cardboard boxes with holes punched for ventilation.
Tip: Wooden crates lined with newspaper are a great option for large harvests.
5. Layer with Straw or Newspaper
A simple way to extend their storage life is to insulate them from temperature swings.
Example: Line your box or bin with straw or shredded newspaper, then cover each layer of potatoes before adding another.
Tip: This method works well in sheds or cellars where the temperature may fluctuate slightly.
6. Keep Them Away from Onions
Onions release gases that speed up potato spoilage. Even if you store them both in a cool space, never let them sit side by side.
Example: I keep my onions in a mesh basket on one side of the pantry and potatoes on the other, separated by at least a few feet.
Tip: Air circulation and separation make a big difference.
7. Avoid Washing Before Storage

Water is your worst enemy when it comes to long-term potato storage. Washing removes the natural protective coating and introduces moisture that encourages rot.
Example: Gently brush off any soil using a dry cloth or soft brush instead of rinsing them under water.
Tip: Only wash potatoes right before cooking or using them.
8. Check Them Regularly
Even with the best care, one bad potato can start a chain reaction. A quick inspection every few weeks keeps your batch healthy.
Example: I make it part of my routine—while grabbing a few for dinner, I check for soft spots or foul smells and remove any that look questionable.
Tip: Store them where you can easily access them for these checks.
9. Store Different Varieties Separately
Not all potatoes store the same way. Some early varieties don’t last long, while maincrop or late-season types can hold up for months.
Example: Keep Russets, Kennebecs, or Yukon Golds together, and use thin-skinned varieties like Red Norland first.
Tip: Label storage containers with the variety and harvest date for easy tracking.
10. Use Sand or Sawdust for Long-Term Storage
If you need to store potatoes for several months, burying them in slightly damp sand or sawdust can prevent shriveling.
Example: Fill a wooden crate halfway with sand, place a layer of potatoes, then cover them completely. Store in a dark, cool place.
Tip: This traditional method mimics the natural insulation of soil.
11. Try a Mini Root Cellar

Even if you don’t have a real cellar, you can still make a simple version for your potatoes.
Example:Use a large insulated cooler or a wooden box lined with straw and store it in a cool garage or covered porch.
Tip: Make sure there’s ventilation—crack the lid slightly or drill a few small holes to prevent moisture buildup.