


In This Article Show
Fresh green beans from the garden are crisp, sweet, and full of flavor—but they don’t last long once picked. Freezing is one of the best ways to enjoy your harvest year-round without losing that fresh-picked taste and texture.

Whether you’re harvesting a few handfuls or a full basket, freezing green beans is quick and simple. And when done right, they stay firm and bright green—perfect for side dishes, stir-fries, casseroles, or soups.
This step-by-step guide walks you through the freezing process, from picking the best beans to packing them the right way. No soggy beans, no dull color—just clean, crisp green beans ready to use anytime.
Step 1: Pick Young, Tender Beans
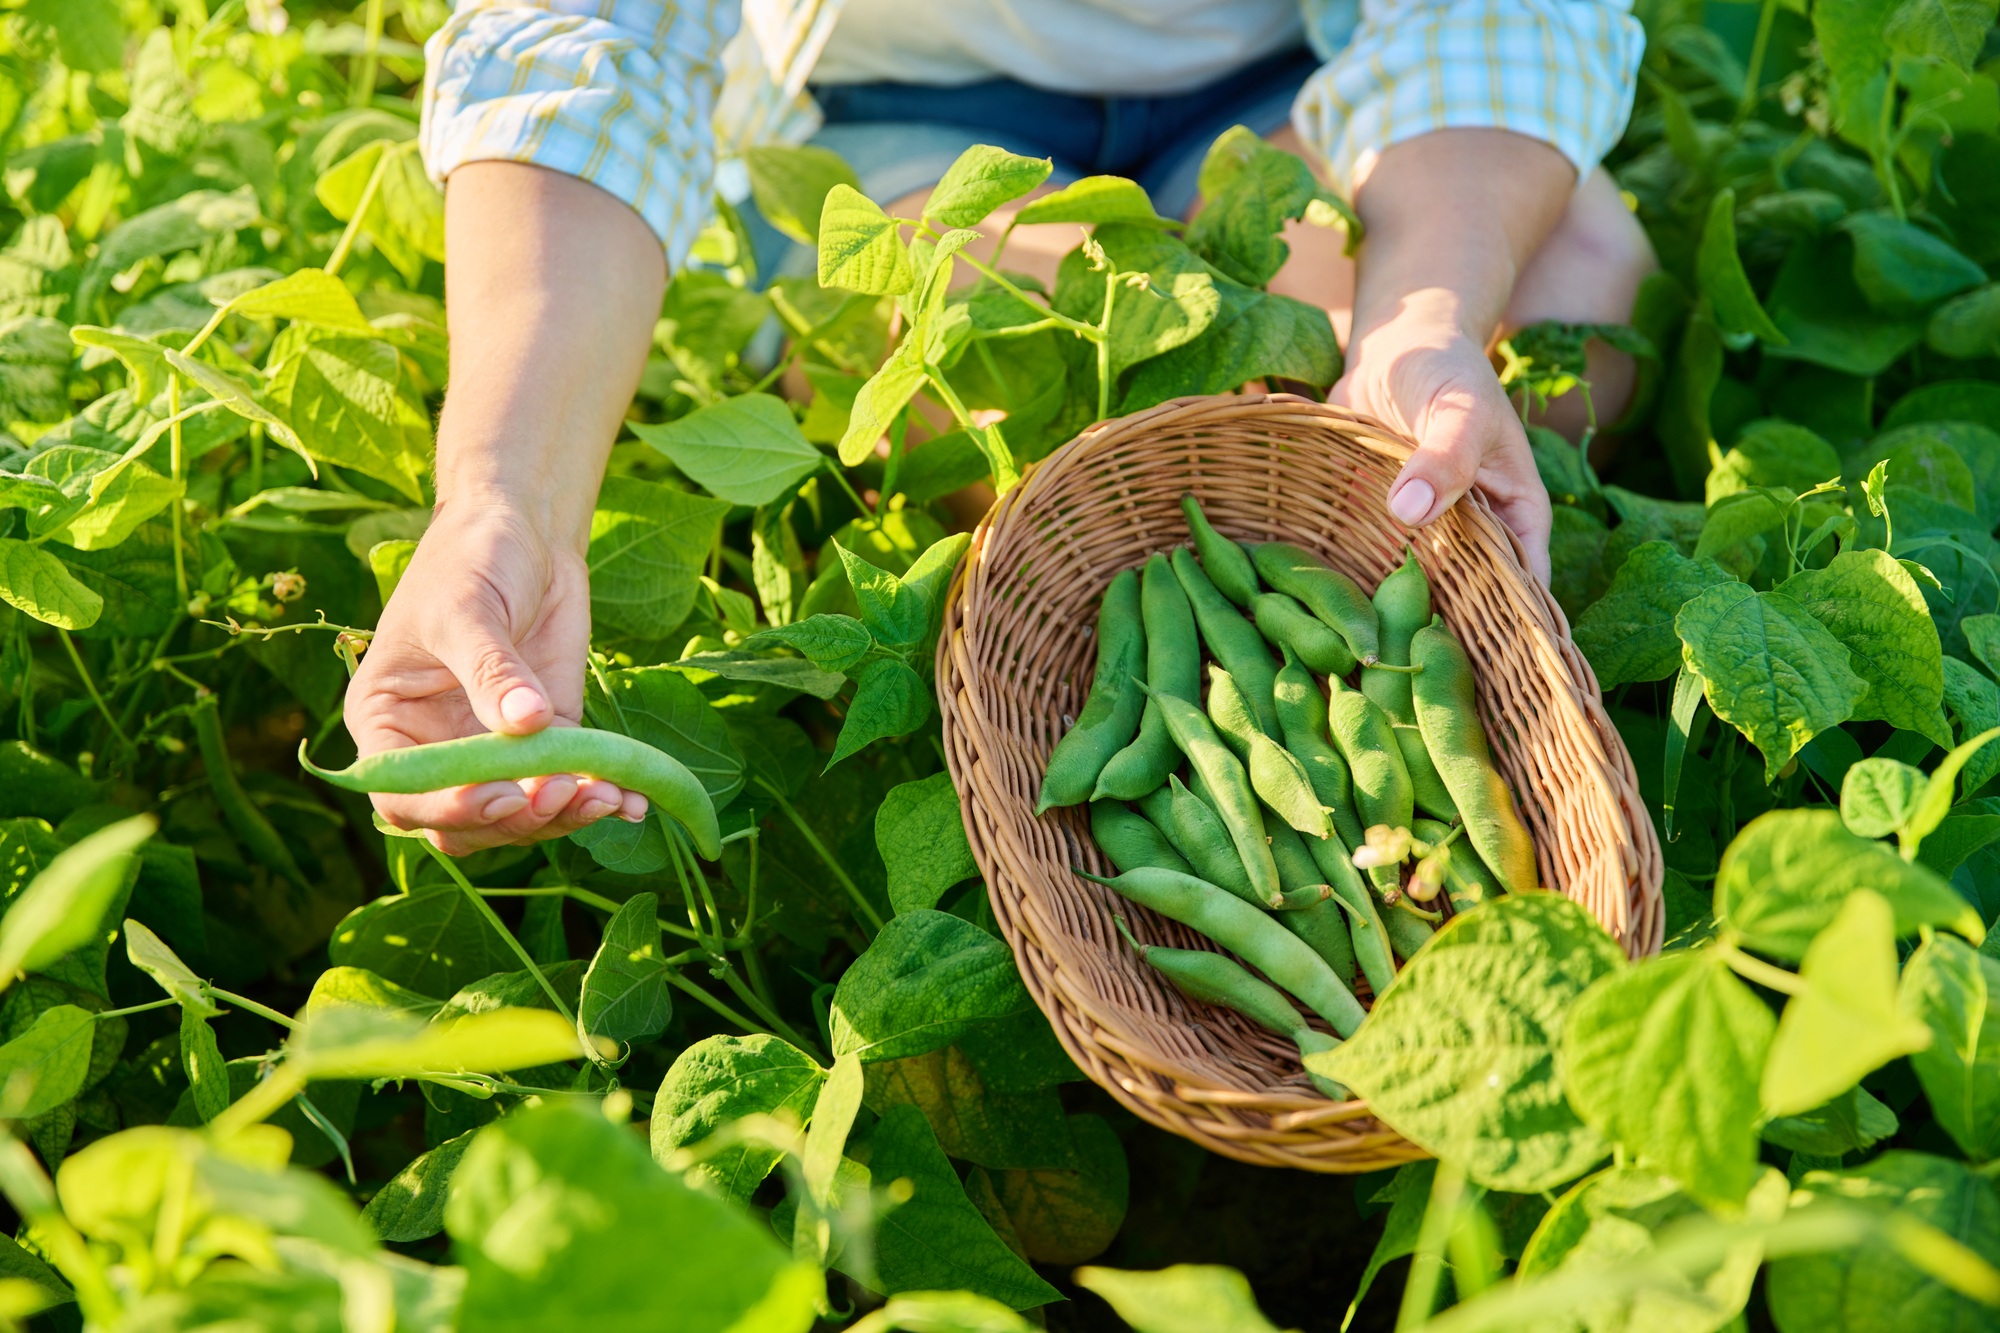
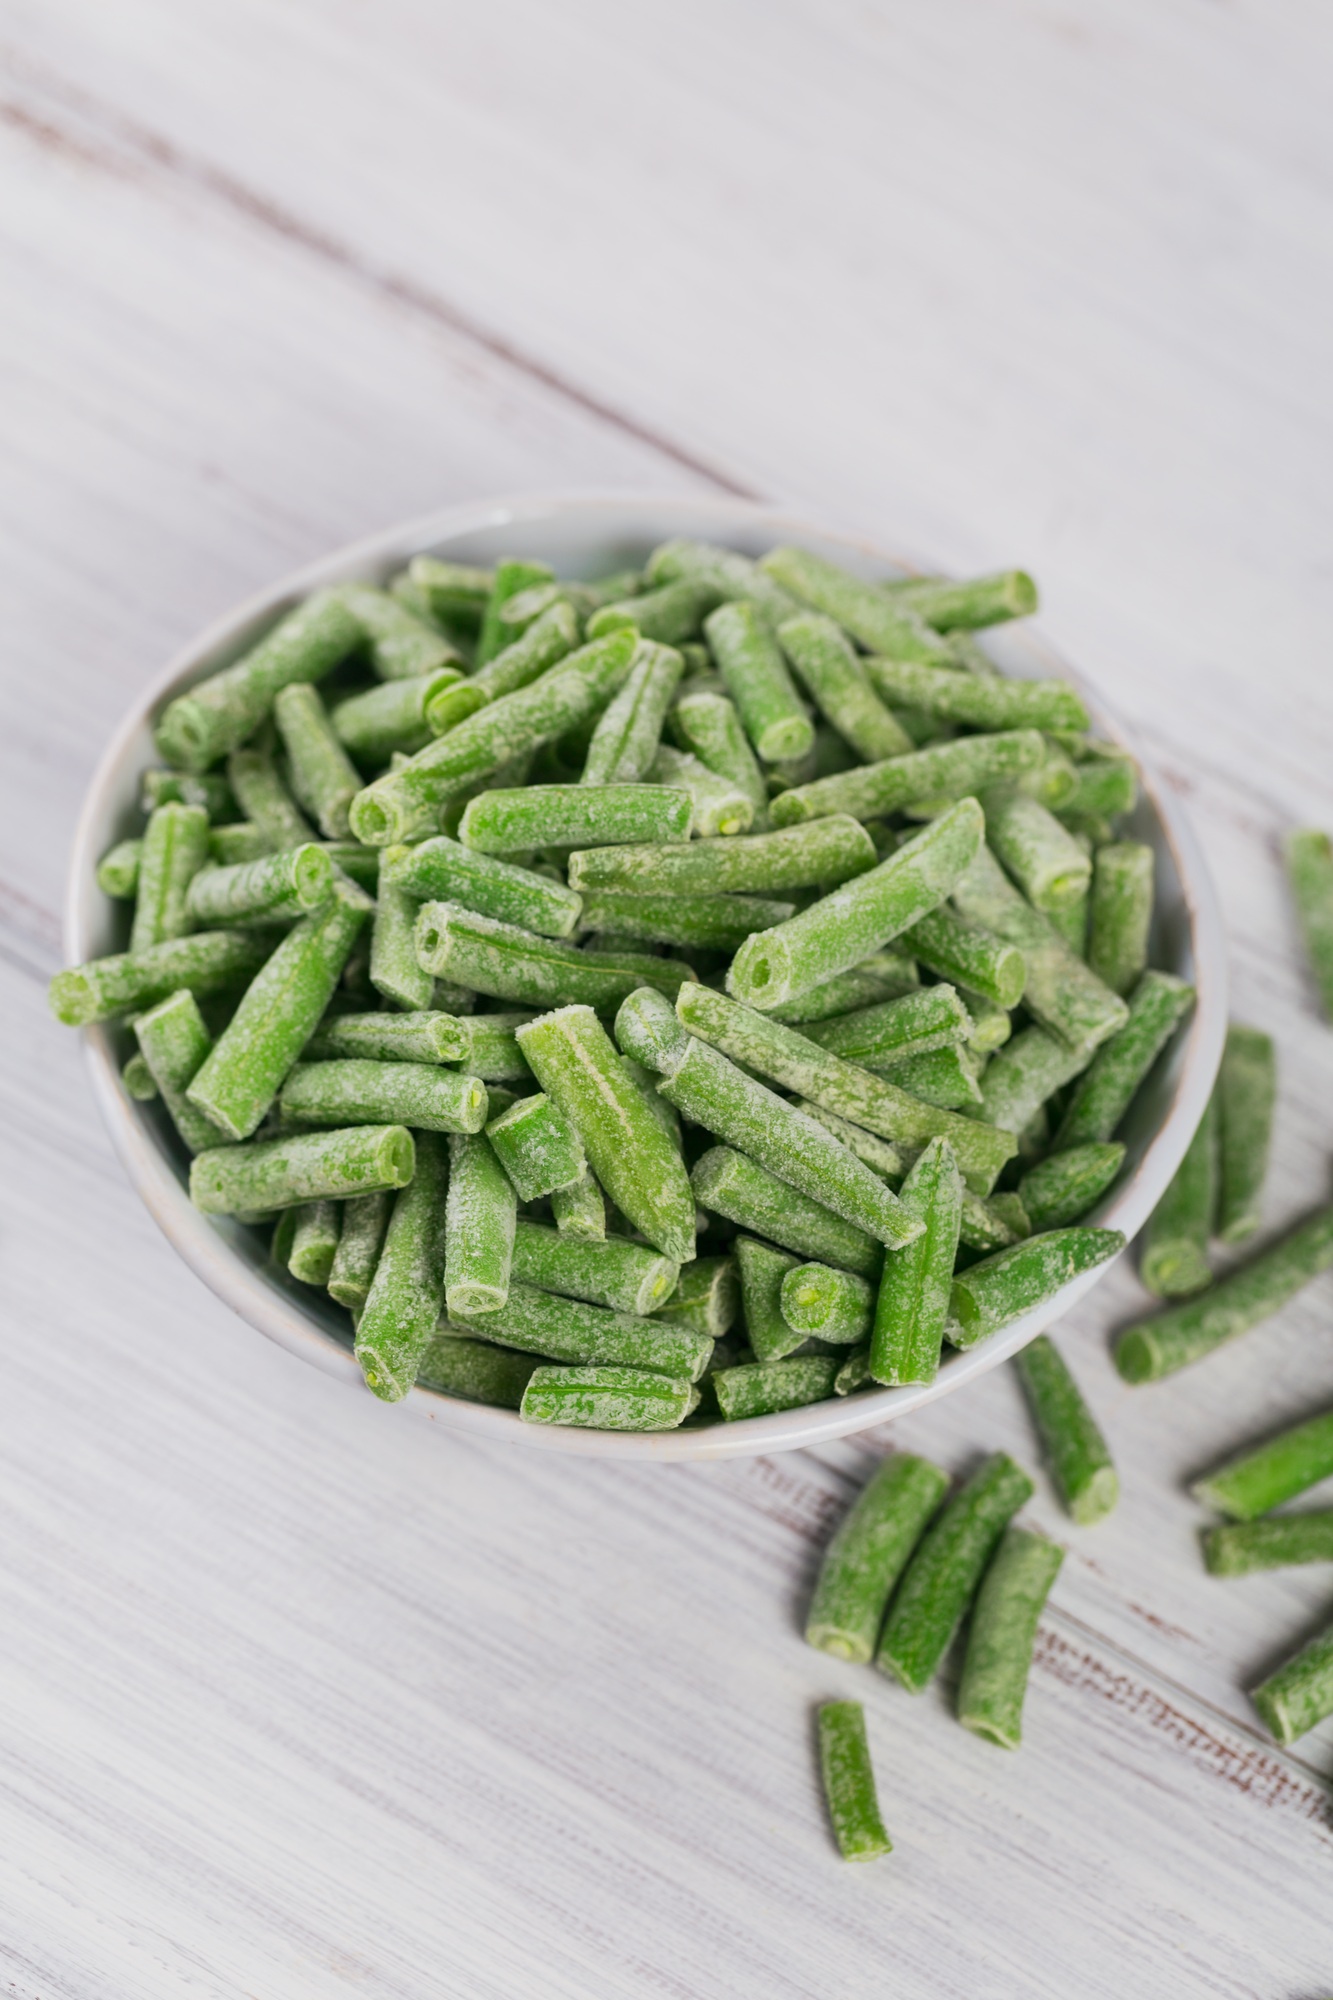
Choose green beans that are young, slender, and crisp. They should snap easily when bent. Avoid beans that are overgrown, tough, or bulging with large seeds—those don’t freeze as well and may turn stringy or chewy.
If you’re harvesting from your own garden, try to freeze them the same day you pick them for the best quality.
Step 2: Wash and Trim the Ends
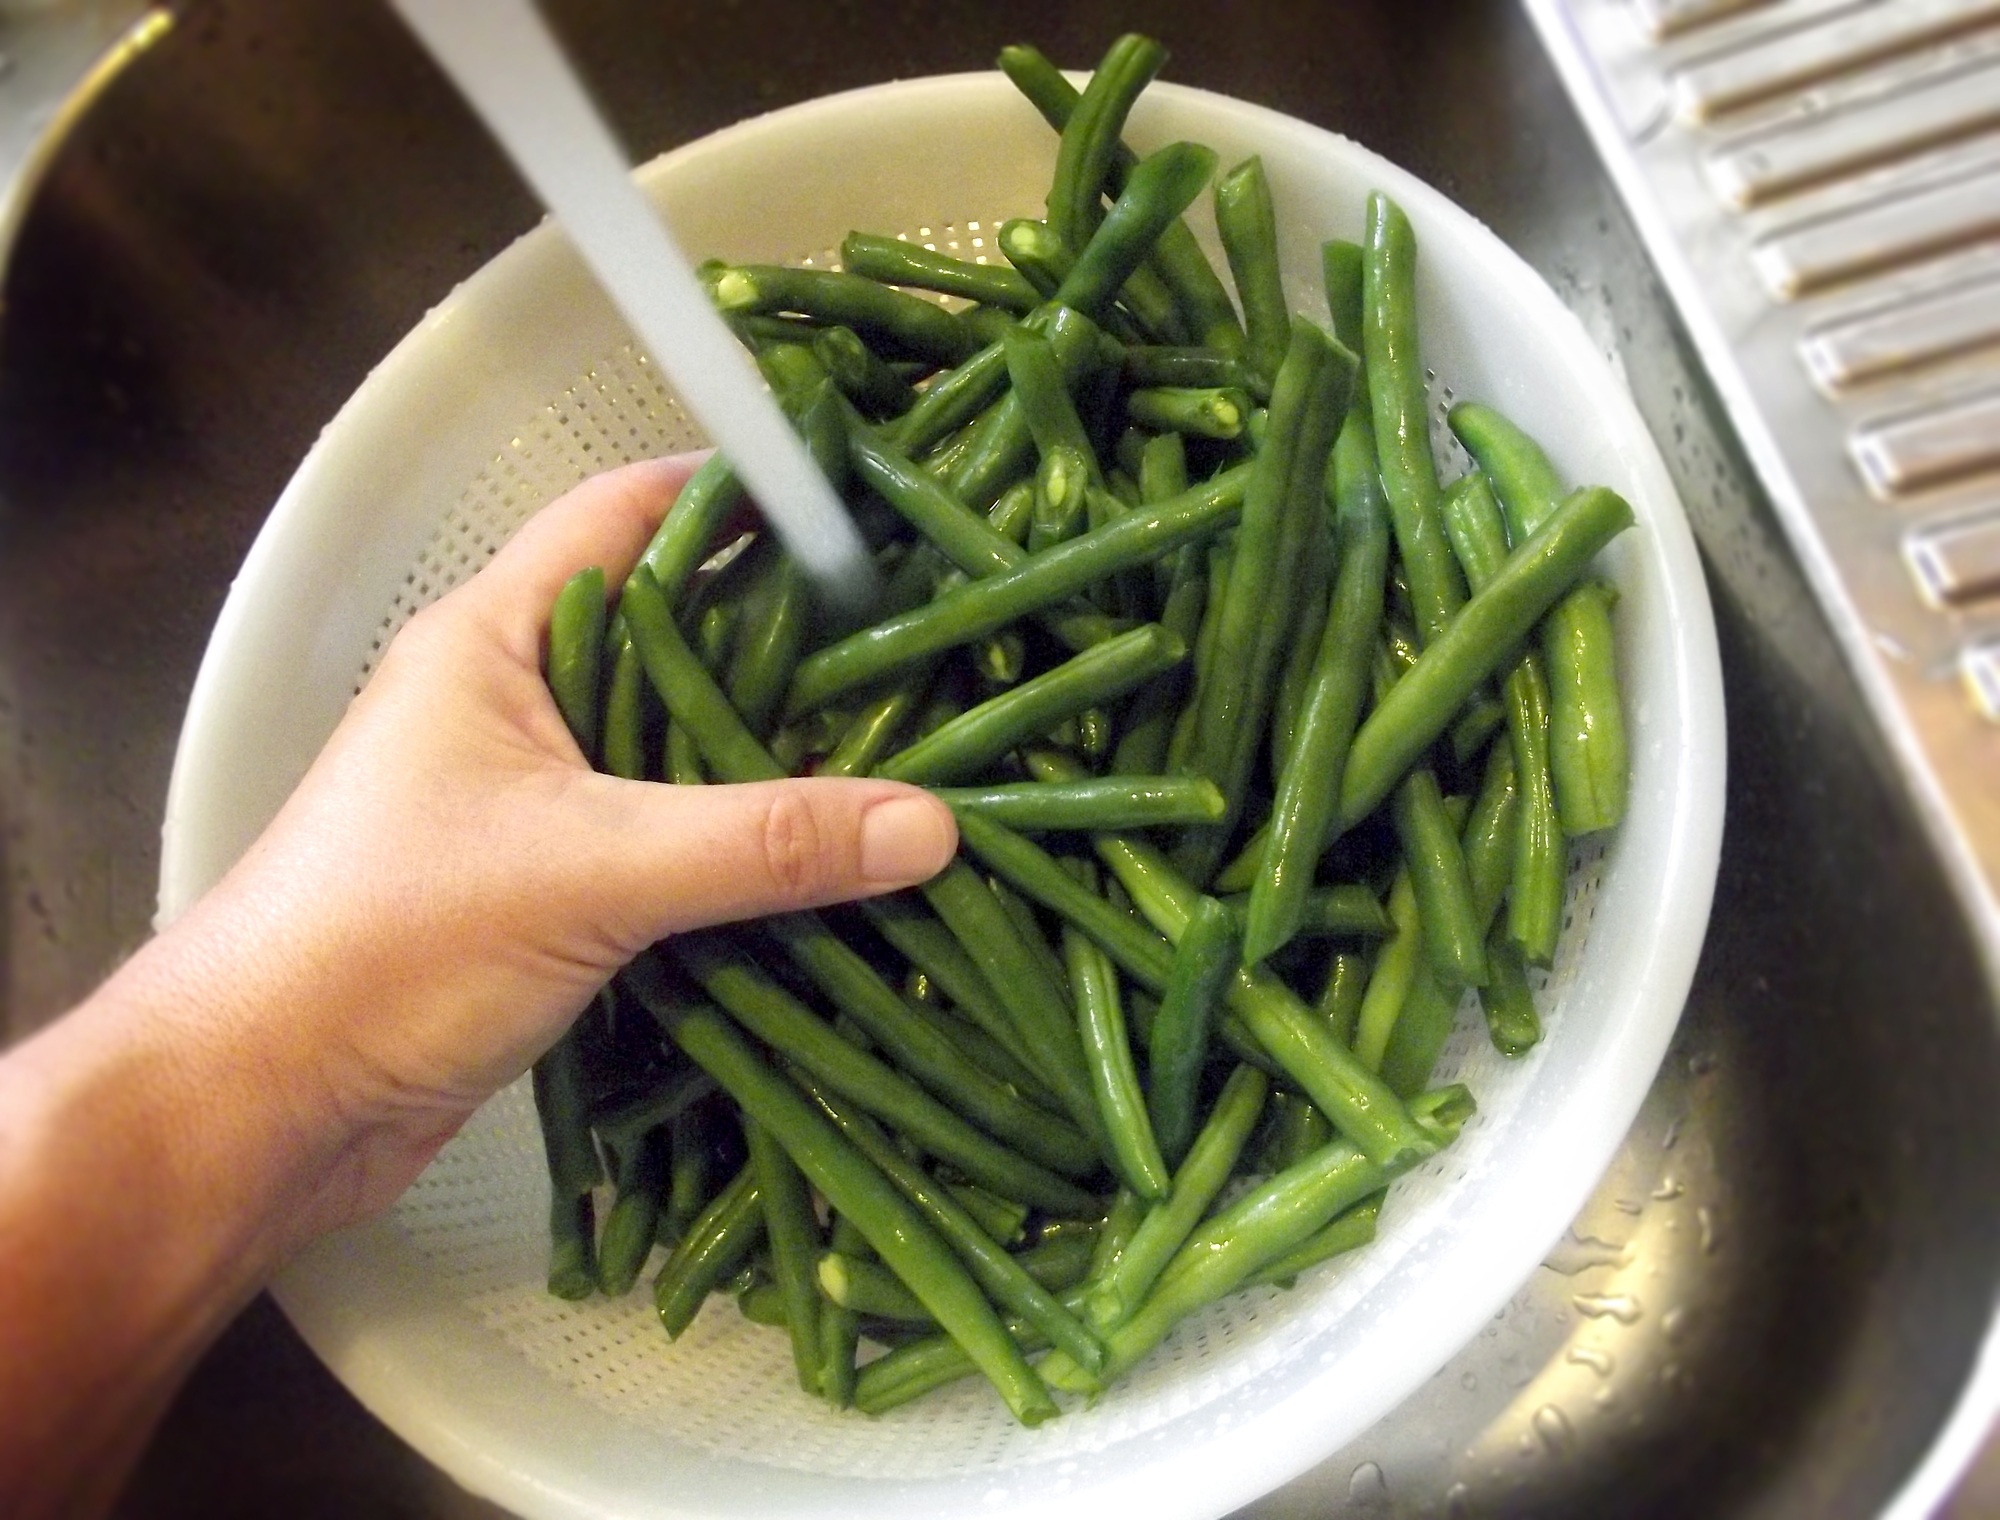
Rinse the beans thoroughly under cool running water to remove dirt or garden debris. Then, trim off the stem ends with a knife or snap them off by hand. Depending on how you plan to use them, you can leave the beans whole or cut them into 1–2 inch pieces.
Step 3: Blanch the Green Beans
Blanching helps preserve the color, flavor, and texture of green beans in the freezer. It also stops enzyme activity that can make them lose quality over time.
To blanch:
- Bring a large pot of water to a boil.
- Drop in the beans and boil for 3 minutes (for whole) or 2 minutes (for cut beans).
- Immediately transfer them to a bowl of ice water for the same amount of time to cool them quickly.
- Drain and pat dry with a clean towel.
Step 4: Pre-Freeze in a Single Layer
Once your green beans are fully cooled and dry, spread them out on a baking sheet lined with parchment paper. Arrange them in a single layer so they don’t stick together.
Place the tray in the freezer for about 1–2 hours, or until the beans are frozen solid. This step makes it easier to grab just what you need later without dealing with a frozen clump.
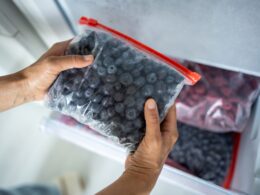
Step 5: Pack into Freezer Bags or Containers
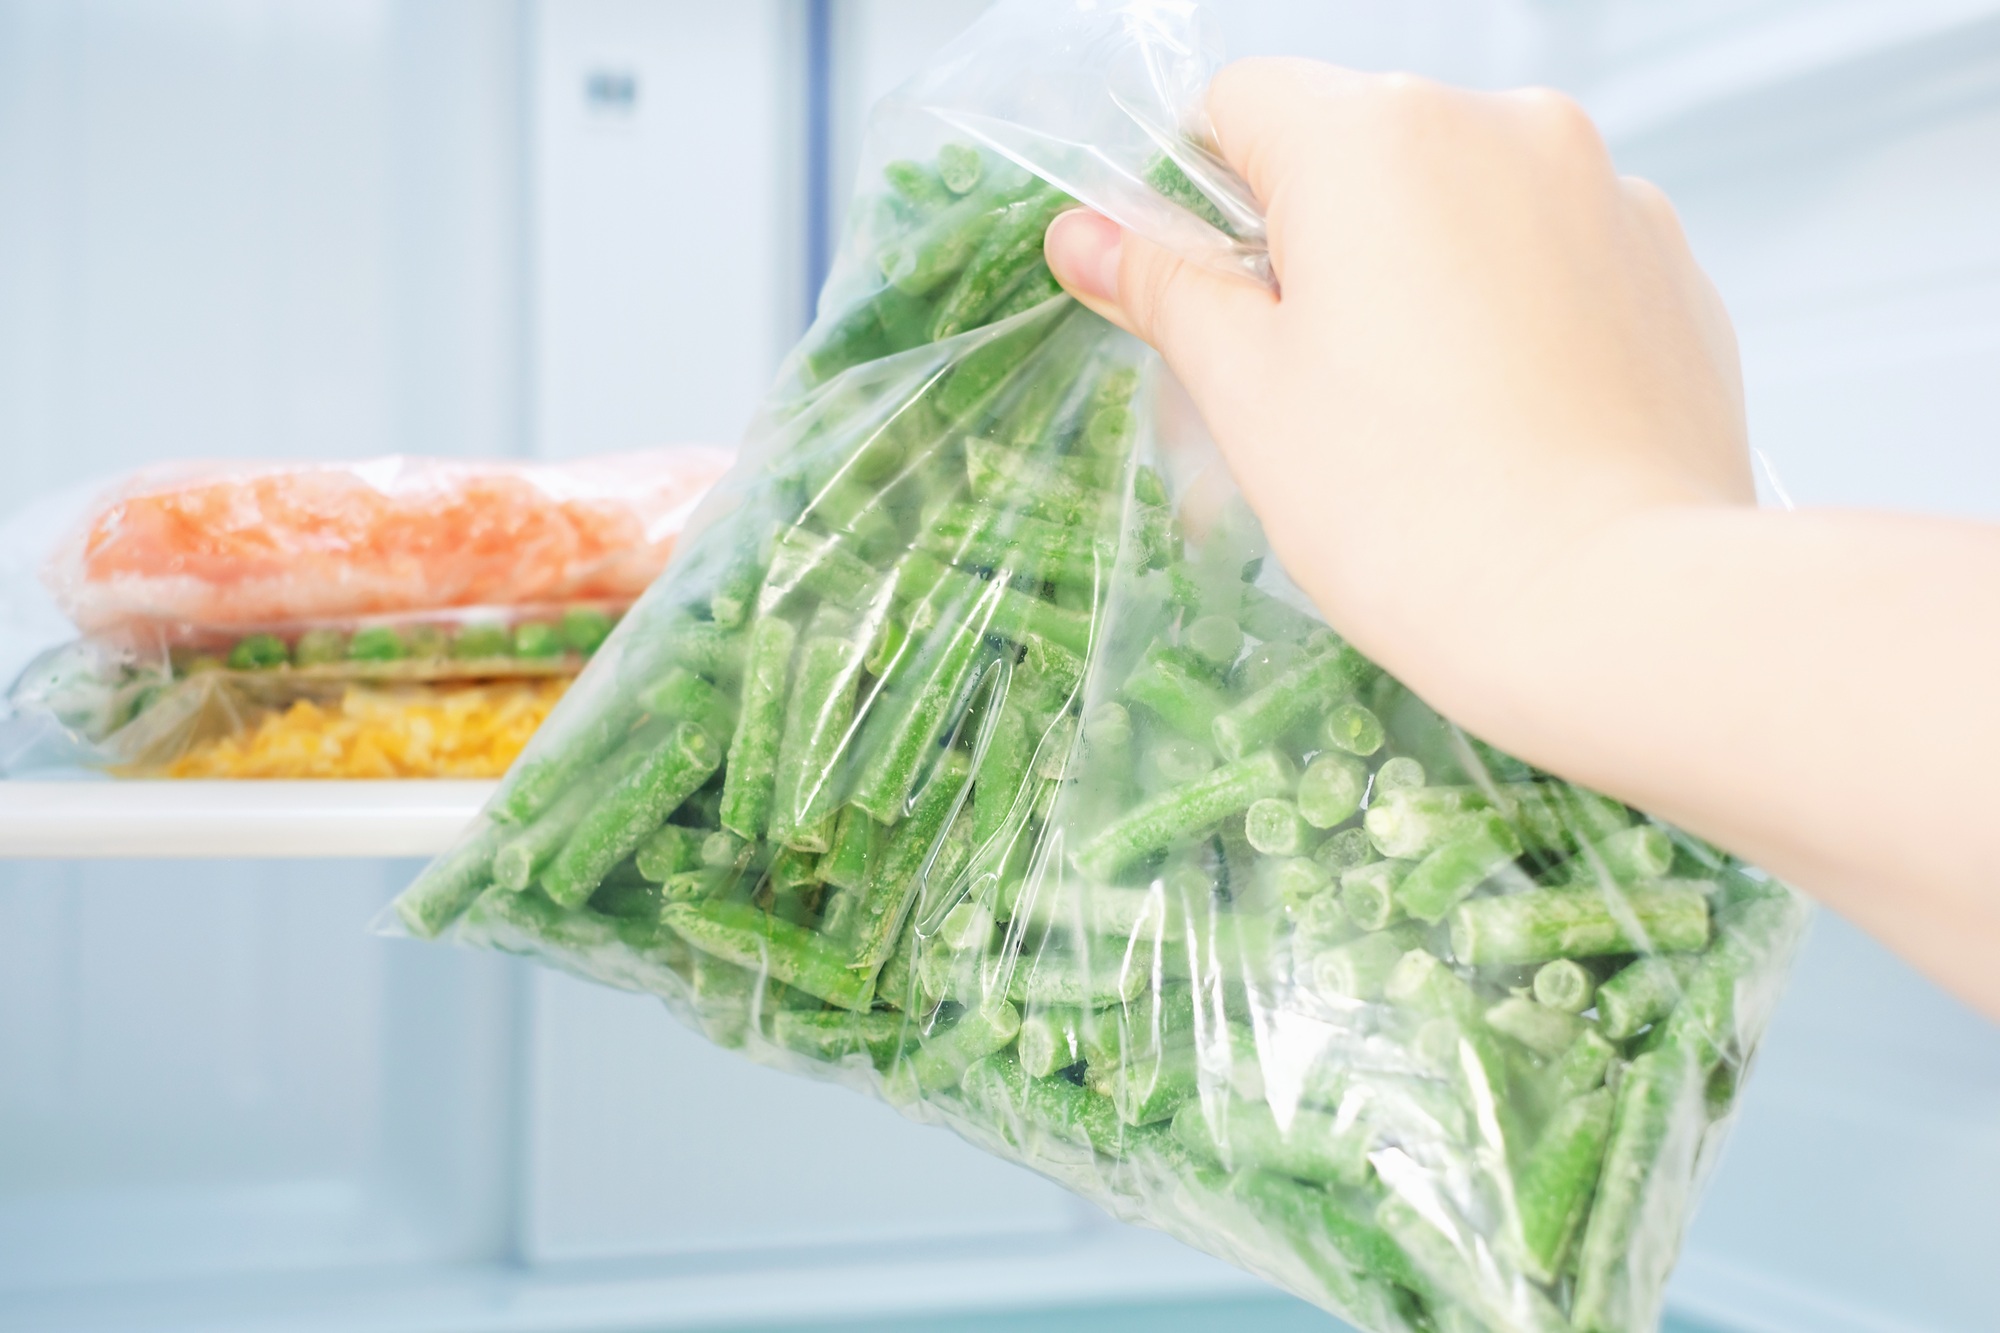
Transfer the frozen green beans to labeled freezer bags or airtight containers. Press out as much air as possible to prevent freezer burn and keep the beans tasting fresh.
If you pre-portioned your beans (like 2-cup servings), label the bags for easy meal prep later.
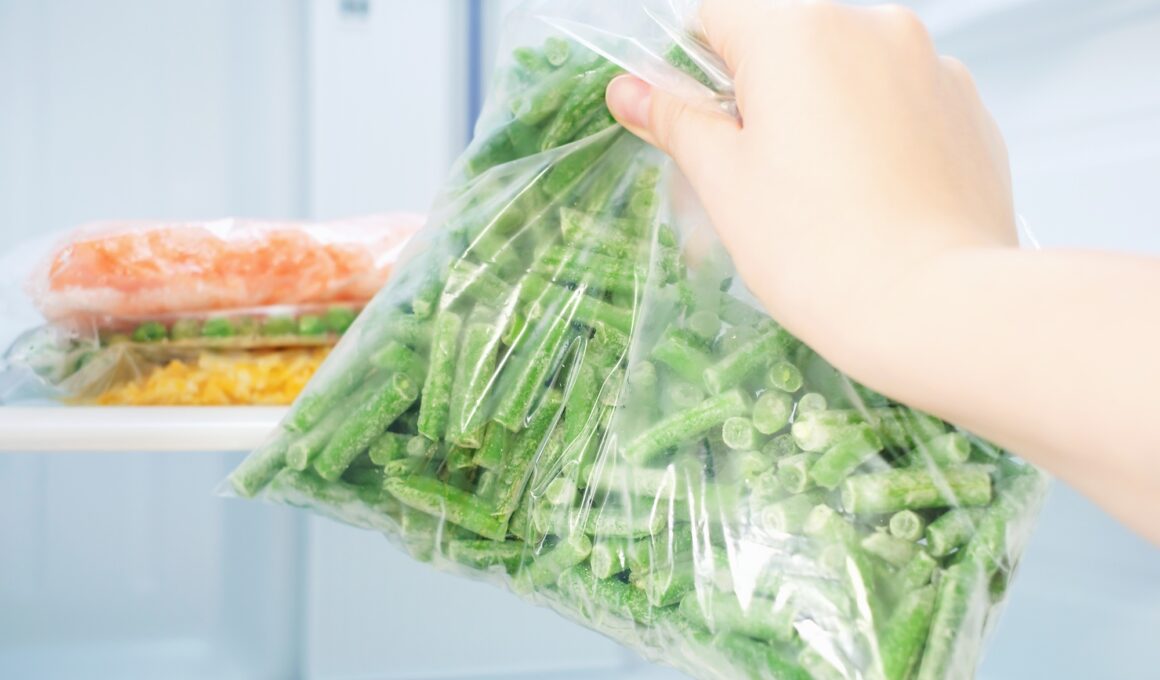
Step 6: Store and Use Within 10–12 Months
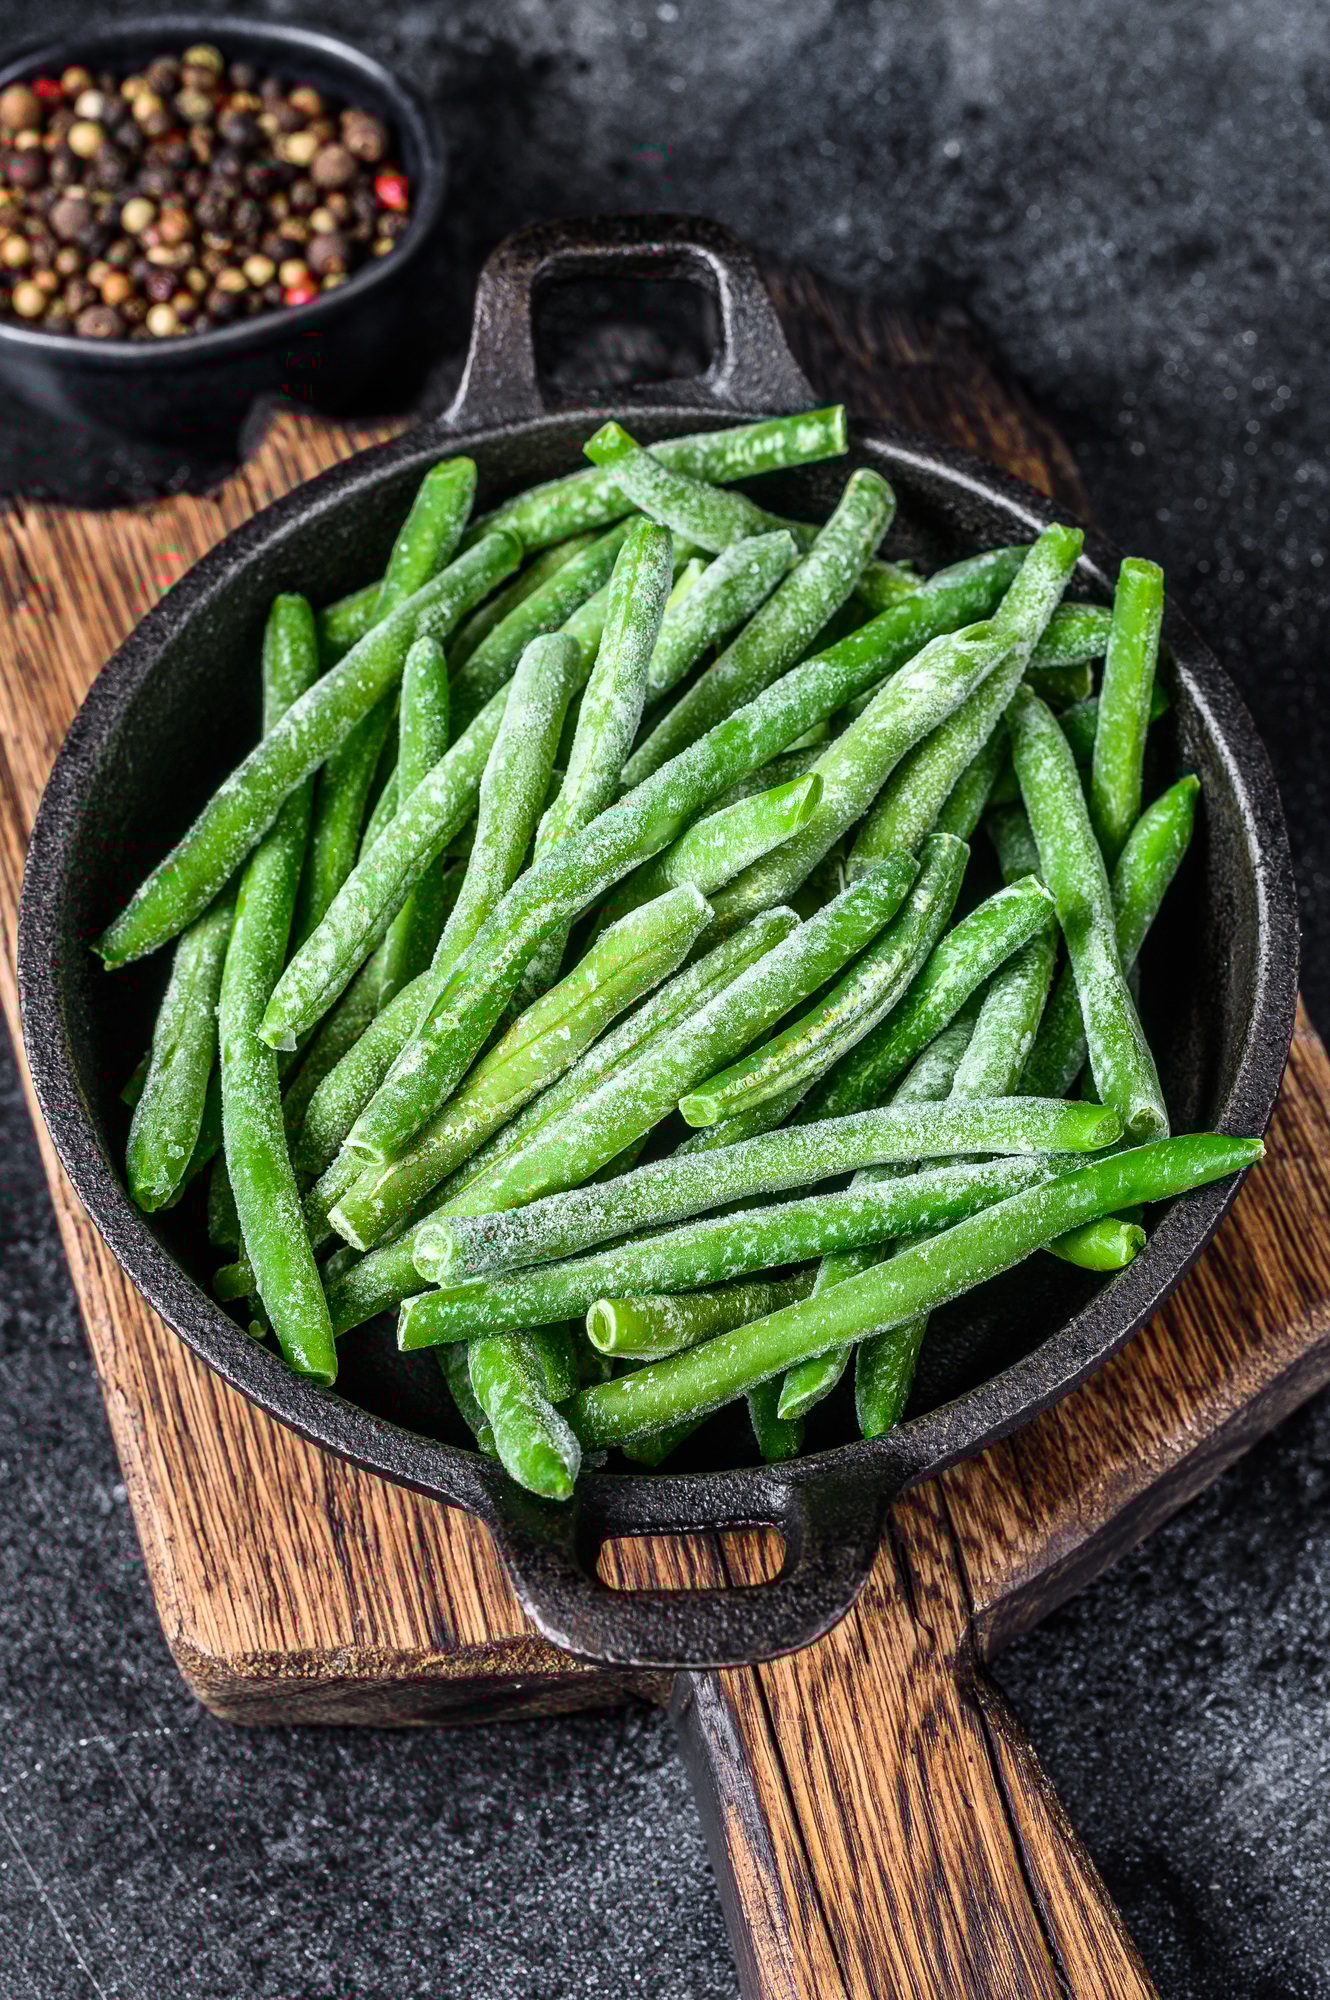
Frozen green beans are best used within a year. Keep them in the coldest part of your freezer and use them straight from frozen—no need to thaw.
They’re perfect for quick sautés, soups, casseroles, or boiling as a simple side dish. Just add them to your dish and cook as usual. With the right prep, they’ll taste like they came straight from the garden.