



In This Article Show
Fall garden cleanup is not only about making the yard look tidy. The work you complete after the final harvest can reduce plant diseases, interrupt pest cycles, protect valuable soil, and make spring planting much easier.
A well-prepared garden also gives next year’s crops a healthier place to establish roots and produce stronger harvests.The goal is not to remove every leaf, stem, and seedhead from the garden. Some plant material supports birds, insects, and healthy soil.
The most effective cleanup focuses on removing genuine problems while keeping useful organic matter and improving the beds that will grow food again next season.
1. Remove Diseased Vegetable Plants Completely
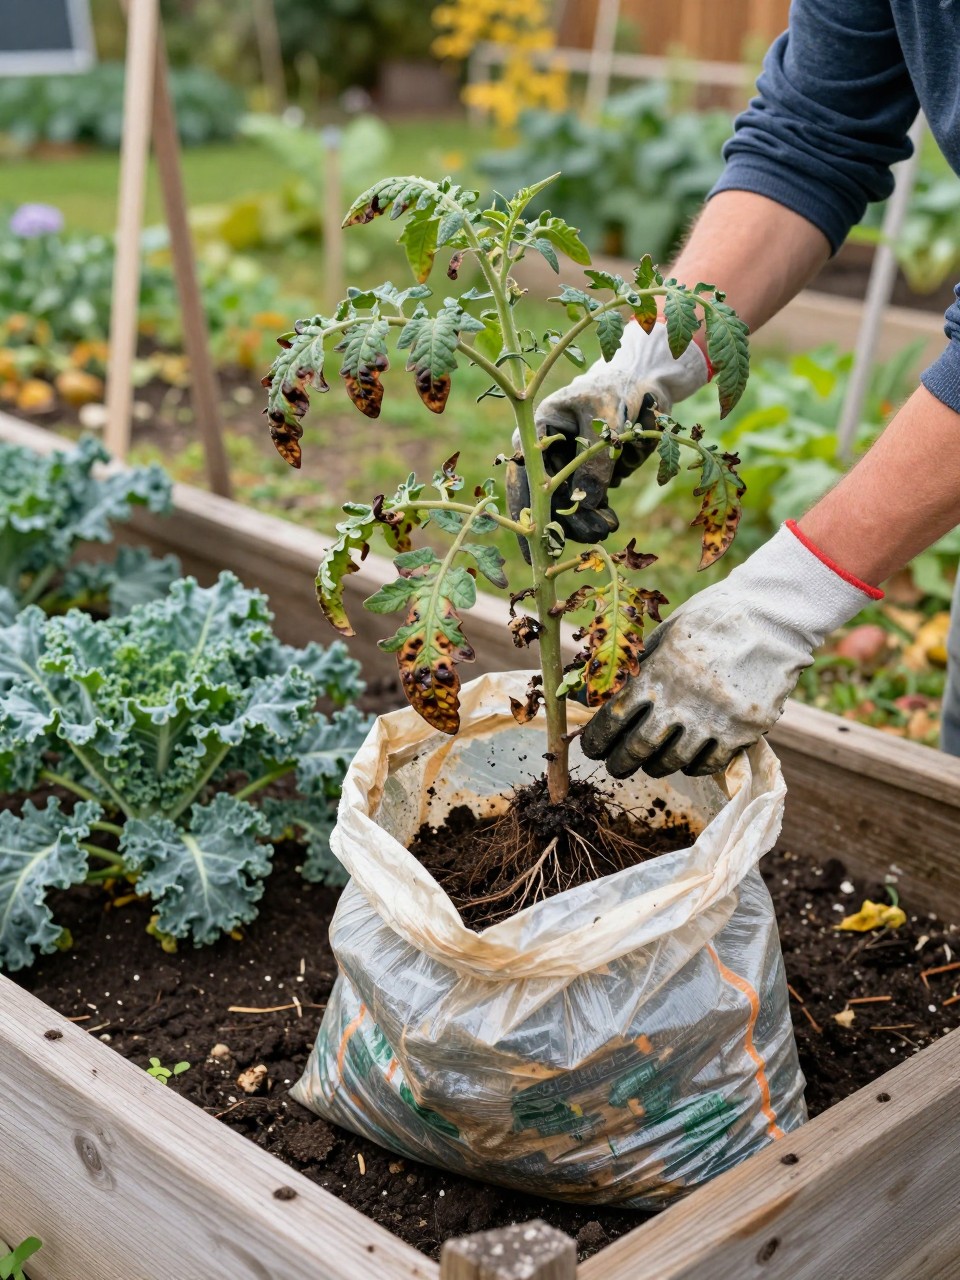
Pull out plants that show signs of serious fungal, bacterial, or viral disease. This includes tomato plants affected by blight, mildew-covered squash vines, badly spotted bean plants, and vegetables with unusual wilting or distorted growth. Leaving infected material in the bed can allow some problems to survive and return when conditions become favorable again.
Do not add heavily diseased plants to a basic backyard compost pile unless you know the pile becomes hot enough to destroy pathogens. Bag them for local green-waste collection or dispose of them according to local guidance. Clean your pruners and gloves afterward so you do not carry the problem into healthy beds.
2. Harvest Everything That Is Still Usable
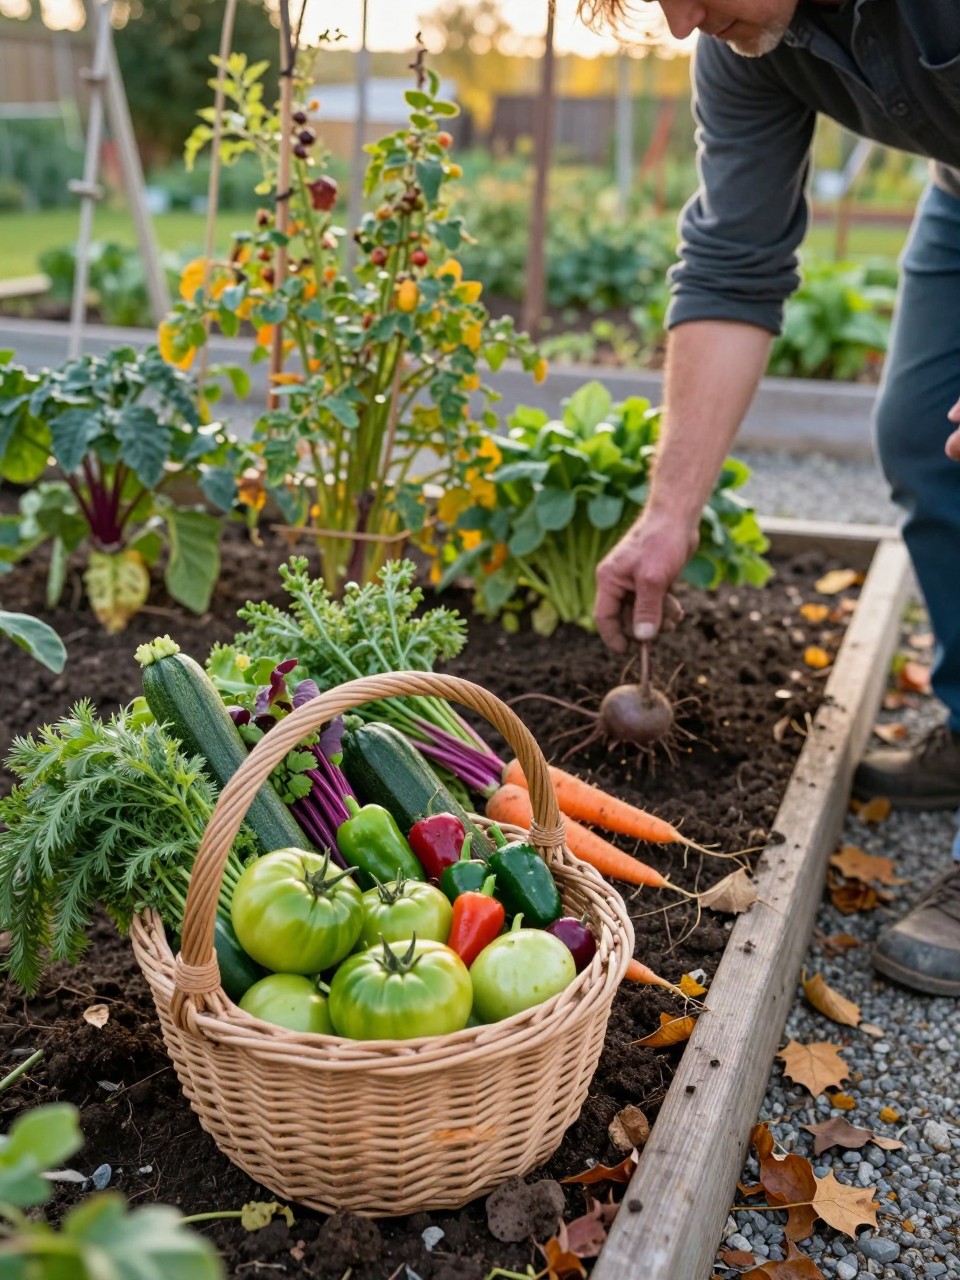
Before pulling out old plants, check the garden carefully for remaining vegetables and herbs. Small peppers, green tomatoes, hidden squash, root vegetables, beans, and late herbs are easy to overlook beneath tired foliage. Harvesting everything usable prevents waste and removes food that might attract rodents or other unwanted visitors.
Green tomatoes can ripen indoors, while herbs can be dried, frozen, or turned into sauces. Carrots, beets, leeks, and some hardy greens may stay in the ground longer if your weather remains mild. Label anything you plan to leave so it is not accidentally disturbed during the rest of the cleanup.
3. Pull Weeds Before They Drop More Seeds
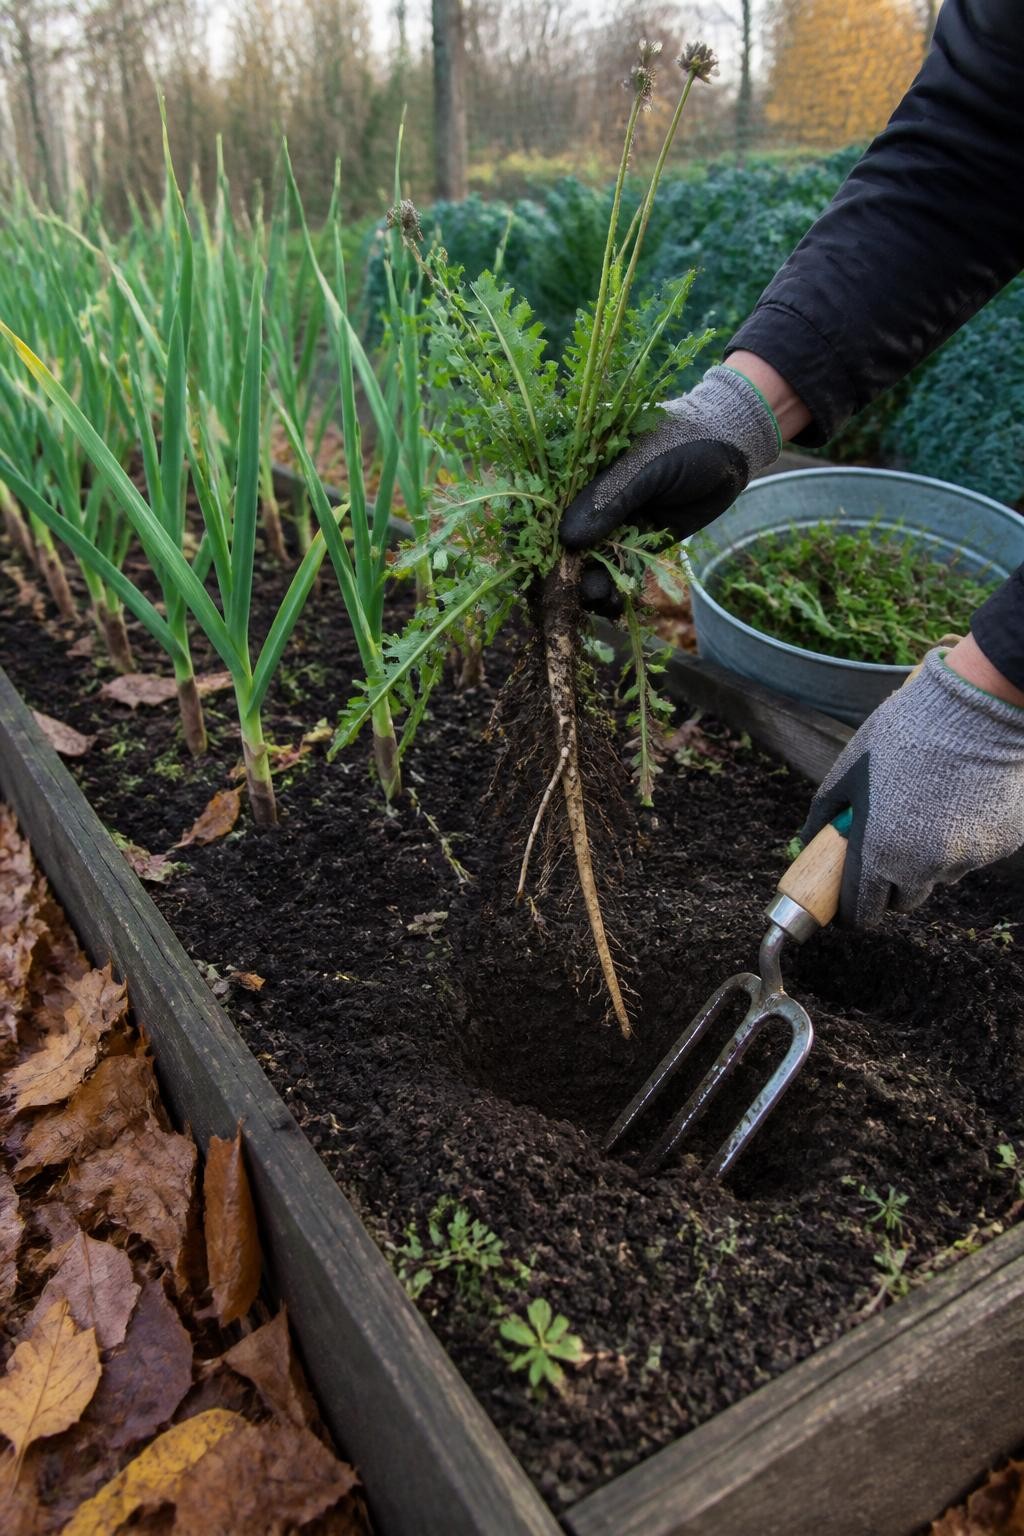
Fall weeds may look harmless once vegetable production slows, but many are preparing to release hundreds of seeds. Pull them before the seedheads mature, paying special attention to weeds growing along bed edges, fences, paths, and beneath old vegetable plants. Removing them now can reduce the amount of weeding required next spring.
Work after light rain when the soil is softer and roots come out more easily. Use a hand fork for plants with deep taproots, and avoid shaking mature seedheads over the bed. Weeds that have not produced seeds and show no disease can usually be composted, while seeding weeds should be disposed of more carefully.
4. Clear Dead Annual Crops and Chop Healthy Material
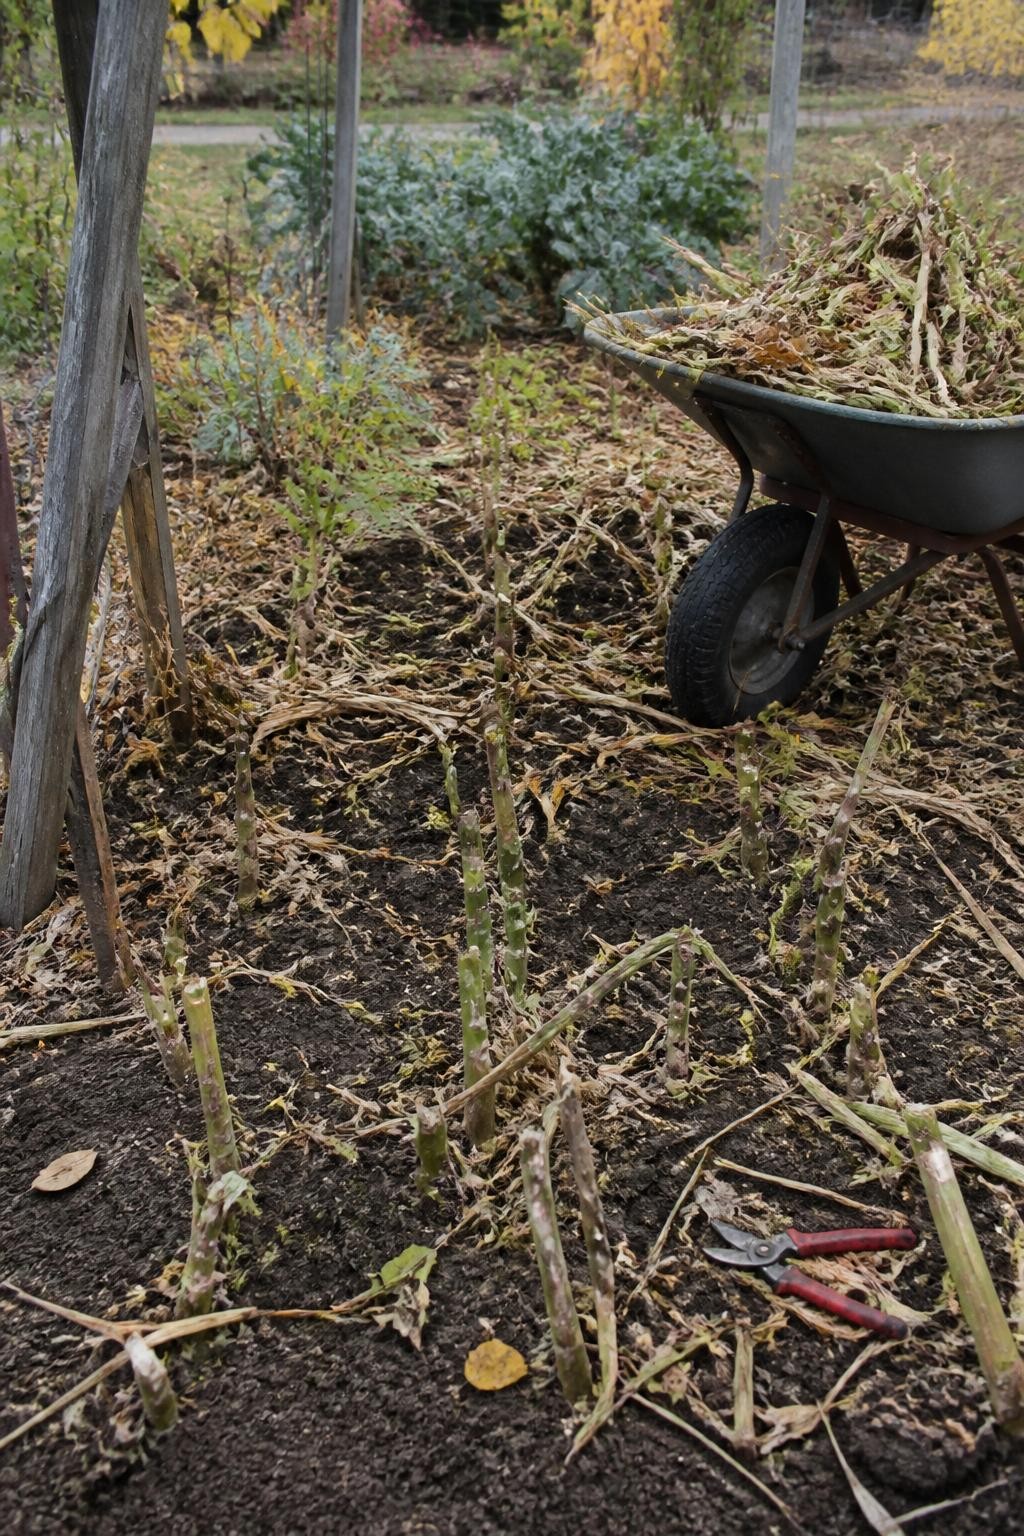
Once annual crops stop producing, remove the stems, vines, and roots so the bed is easier to inspect and prepare. Healthy plant material can be chopped into smaller pieces before composting. Smaller pieces break down more quickly and prevent large tangled vines from taking over the compost pile.
You do not need to pull every fine root from the soil. Healthy roots can be cut at ground level and left to decompose underground, where they help feed soil organisms and create small channels for water and air. Remove only thick crowns, diseased roots, or plants that may regrow where they are not wanted.
5. Clean Stakes, Cages, Trellises, and Garden Tools
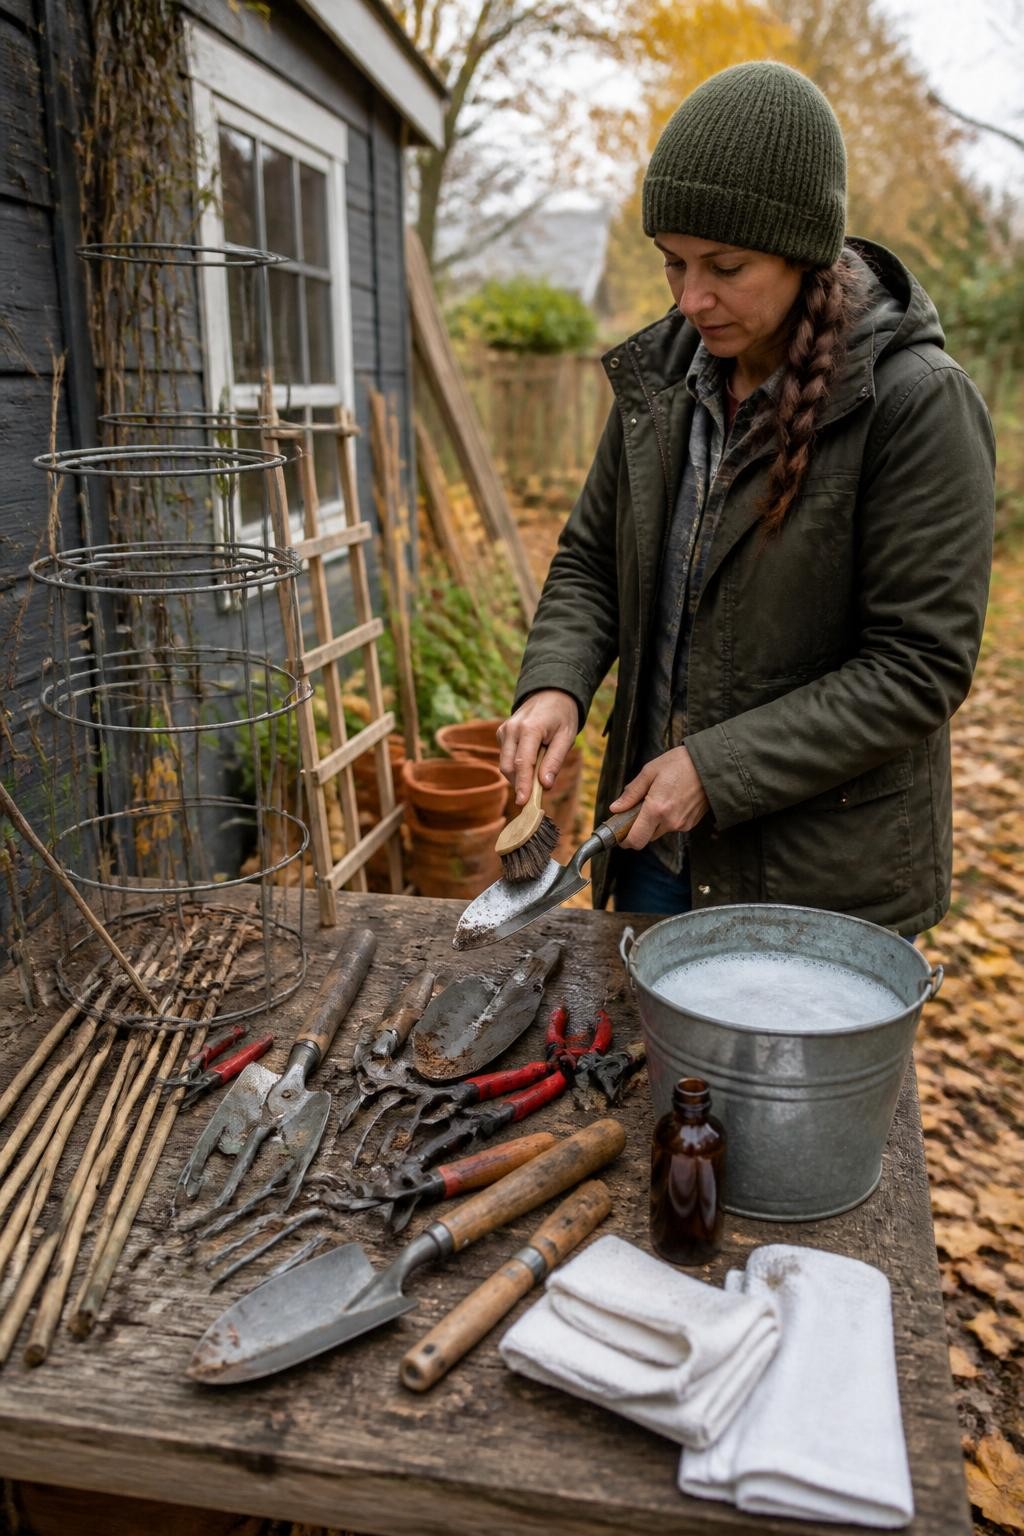
Soil and dried plant sap left on tools and supports can carry pests or disease from one season to the next. Remove old vines and plant ties from cages and trellises, then brush away loose soil. Wash reusable supports and let them dry completely before storing them under cover.
Clean cutting tools more carefully, especially if they were used on diseased plants. Wipe the blades with an appropriate disinfectant, dry them, and apply a light protective oil to metal surfaces. Sharpen dull pruners and hoes now so they are ready when spring work begins.
6. Empty and Repair the Irrigation System
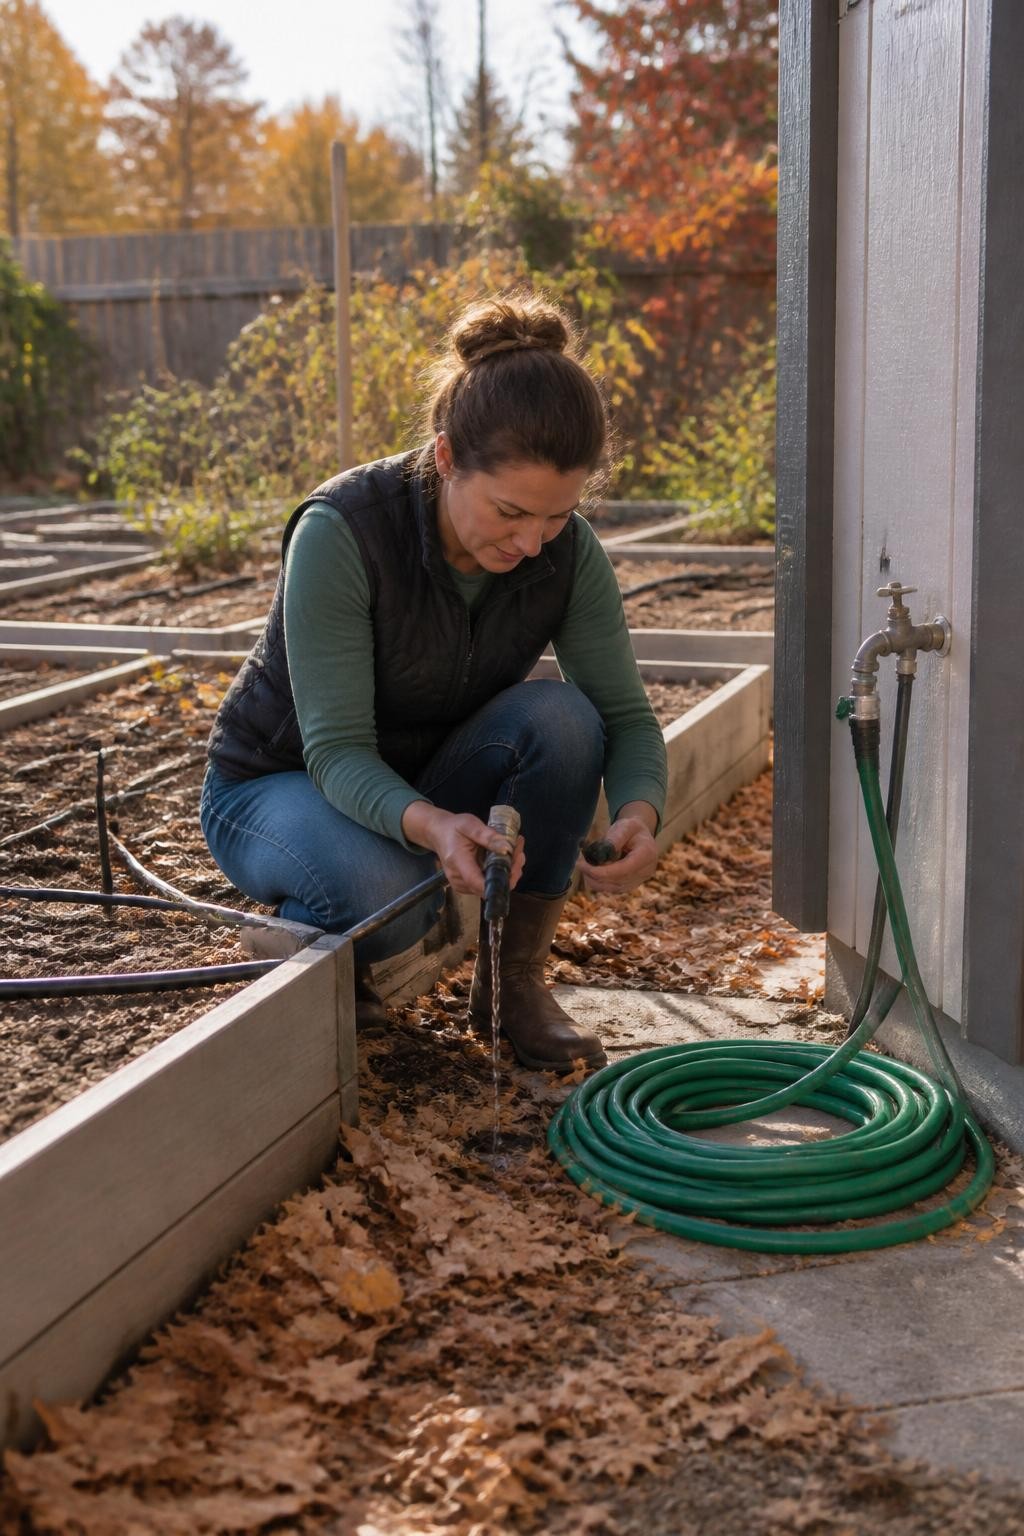
Inspect drip lines, soaker hoses, watering wands, and connectors before freezing weather arrives. Flush soil from irrigation lines, repair leaks, and replace blocked emitters. Drain hoses and watering equipment completely in cold climates so trapped water does not freeze, expand, and damage the fittings.
This is also a good time to check whether each bed received even moisture during the growing season. Dry corners and consistently wet areas may explain weak growth or lower yields. Adjust the layout now or record the changes needed before planting next year.
7. Add Finished Compost to Tired Beds
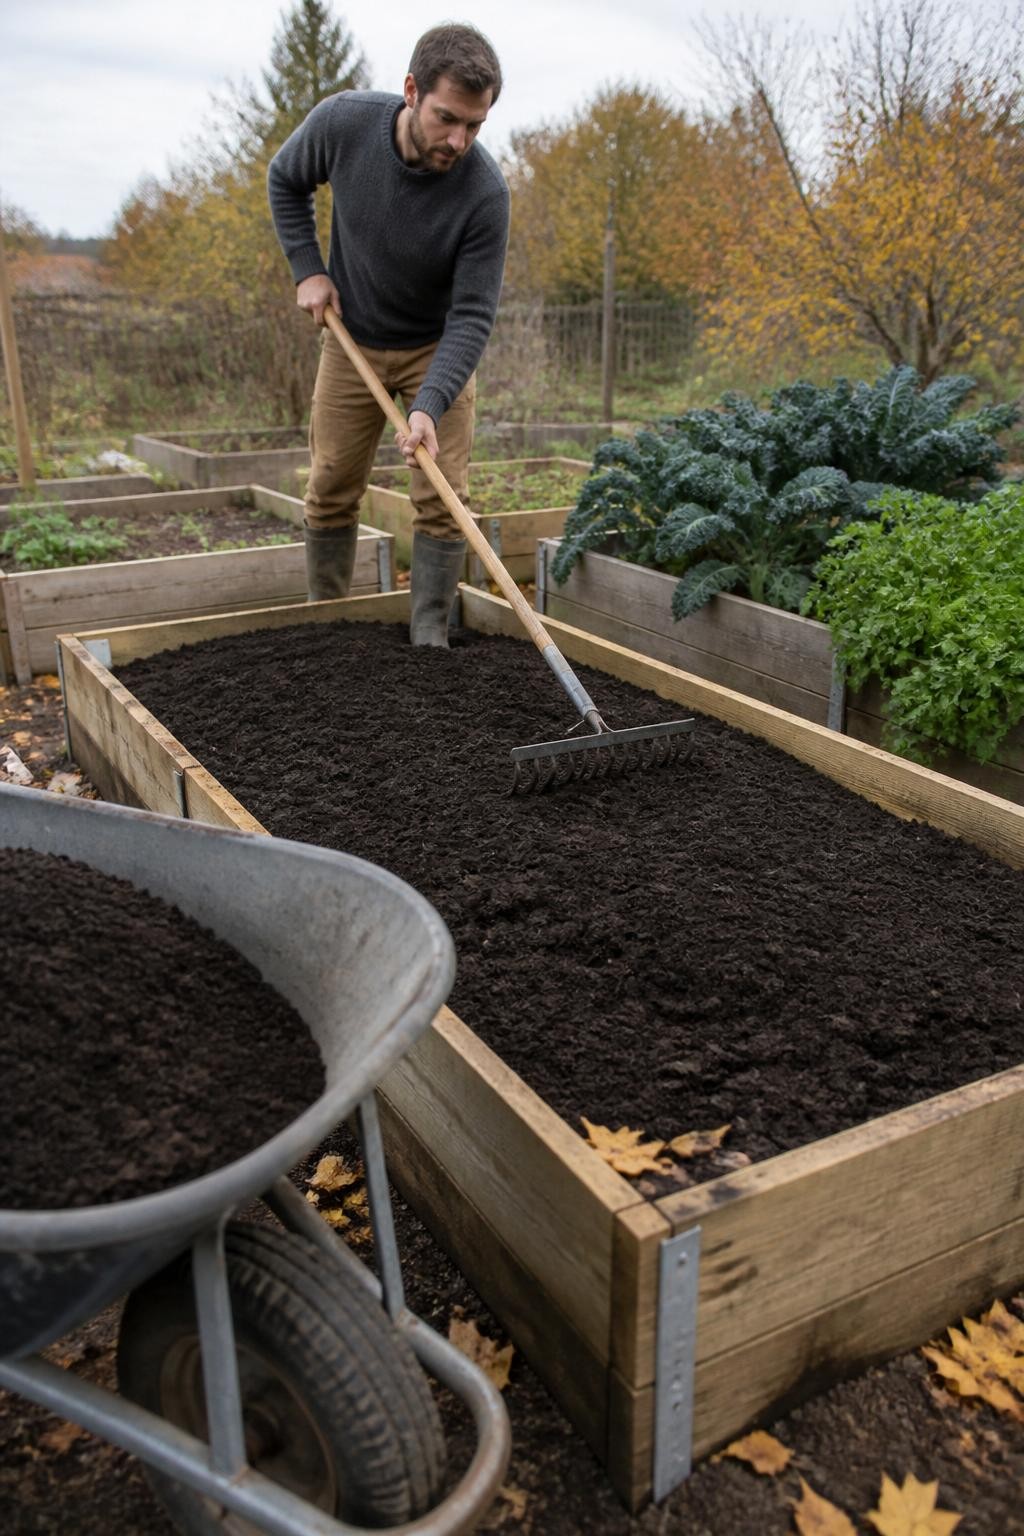
Vegetable crops remove nutrients and organic matter from the soil throughout the season. After clearing the beds, spread a layer of finished compost over the surface. Compost supports soil life, improves water retention, and helps loosen both heavy and overly sandy soils.
There is usually no need to turn the bed deeply. Rake the compost level and allow worms, rain, and natural soil activity to mix it gradually into the upper layers. Avoid adding large amounts of unfinished manure or rich amendments without knowing what the soil actually needs.
8. Cover Bare Soil with Organic Mulch
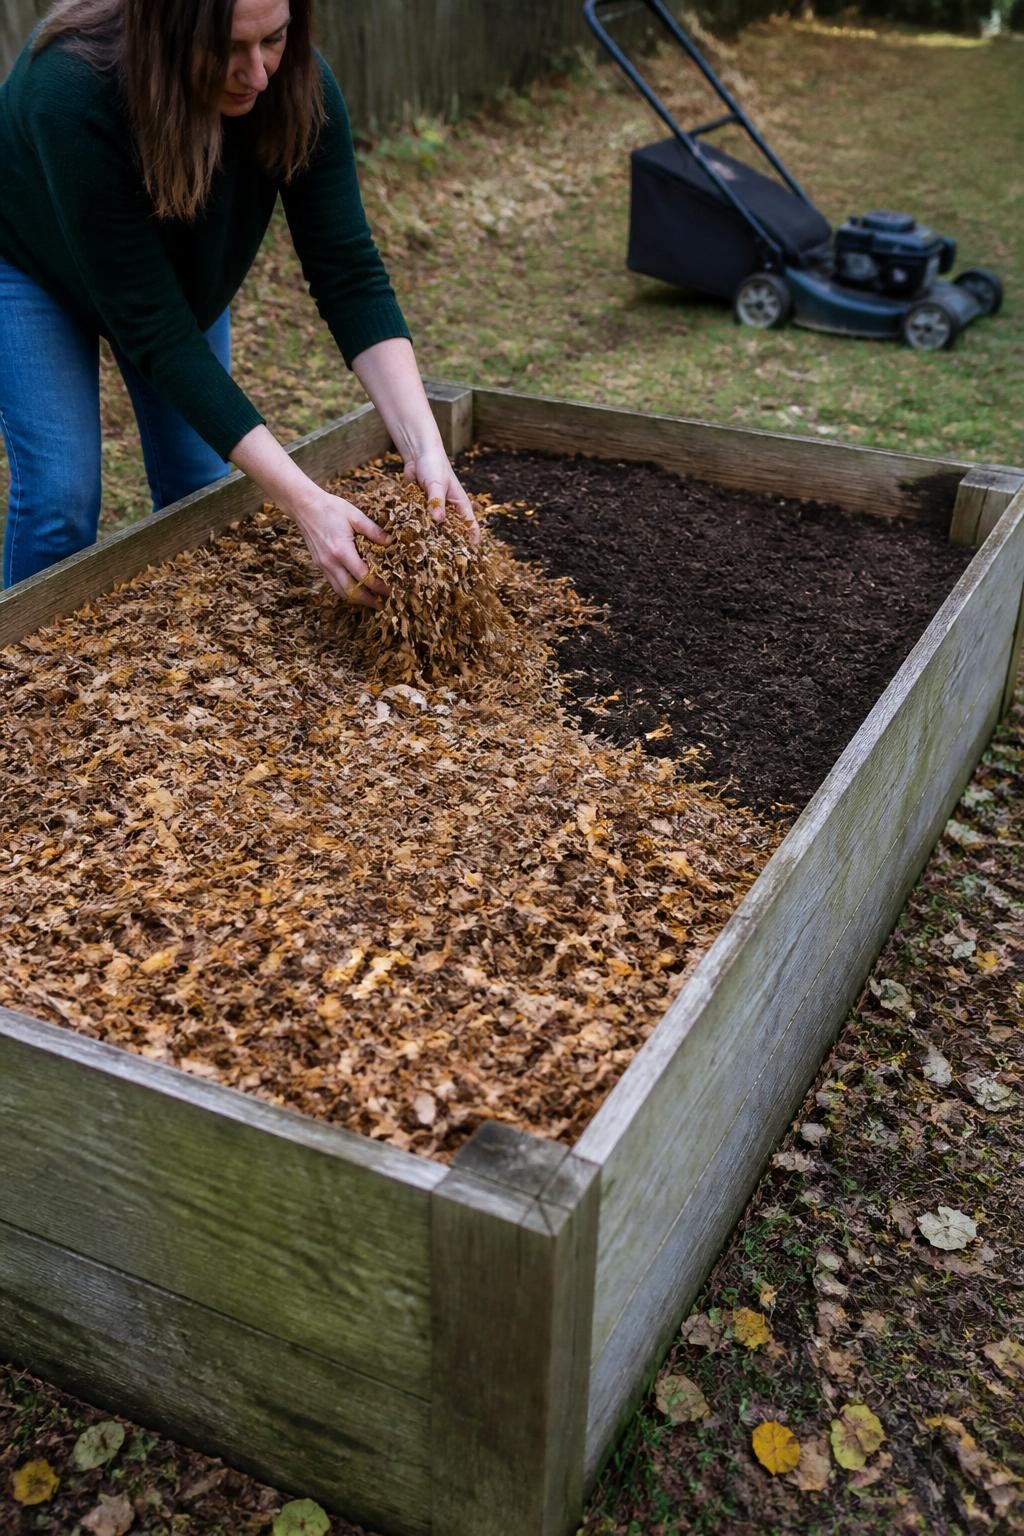
Bare soil is vulnerable to erosion, compaction, nutrient loss, and weed growth. Cover empty beds with shredded leaves, clean straw, or another loose organic mulch. The layer protects the surface from heavy rain and slowly adds organic material as it breaks down.
Shredded leaves are especially useful because they are free and less likely to form a dense wet mat than whole leaves. Apply enough to cover the soil without creating a thick, soggy layer. Pull the mulch aside when direct-sowing small seeds in spring, or leave it around established transplants.
9. Remove Rotting Fruit and Check for Hidden Pests
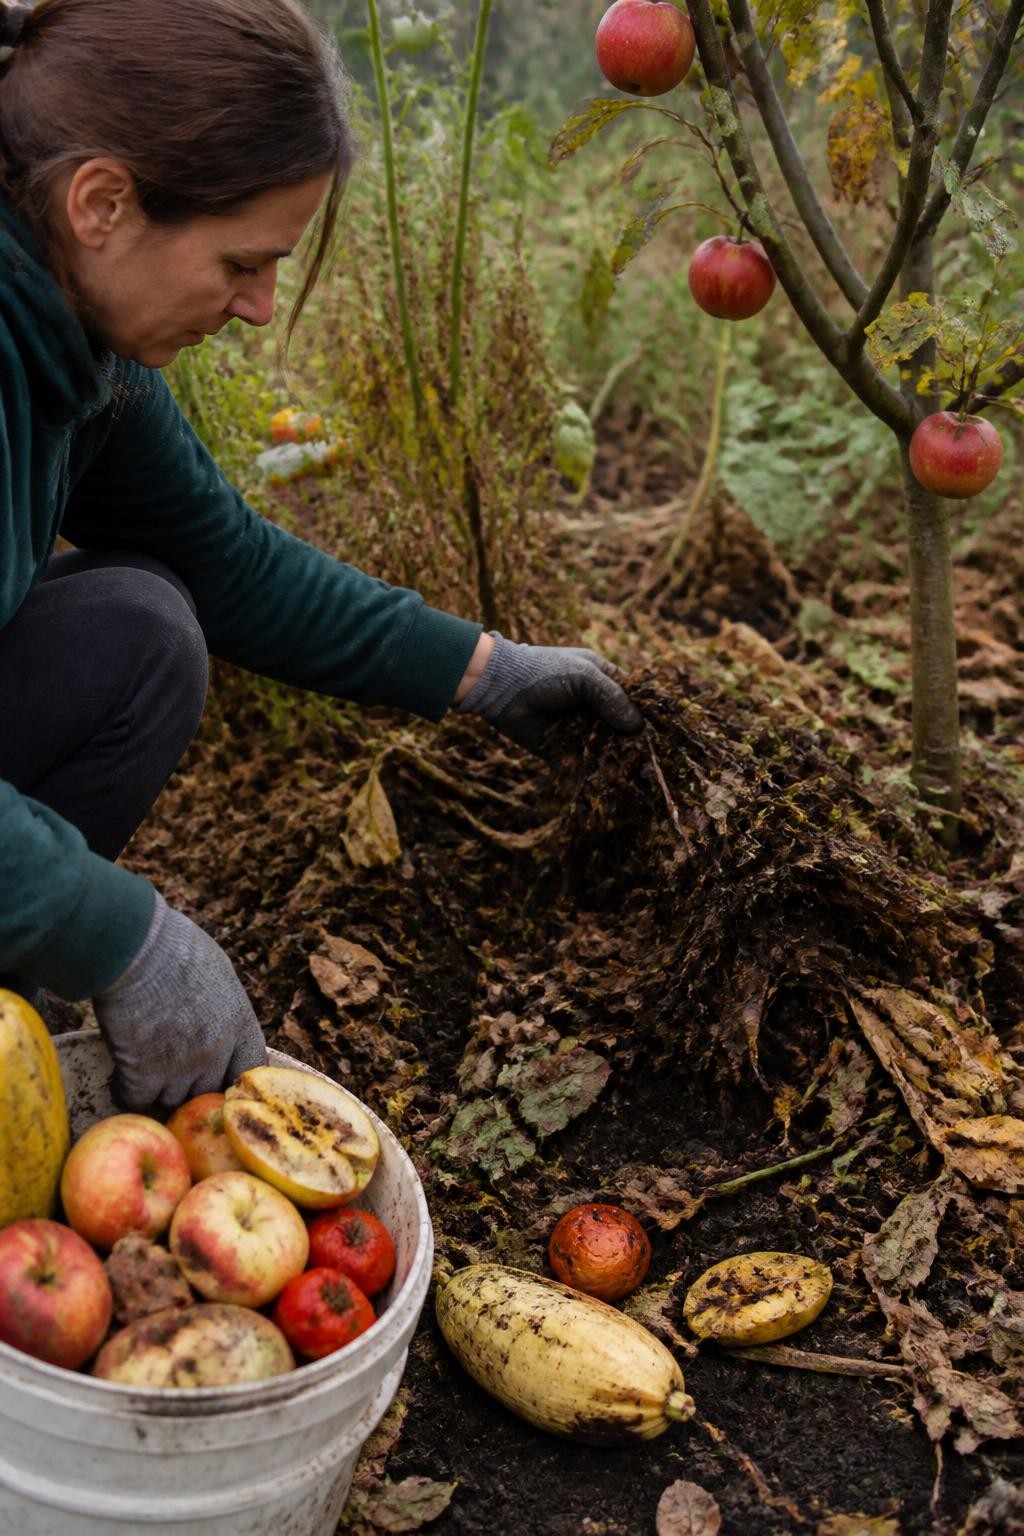
Fallen fruit, damaged vegetables, and forgotten produce can shelter insects, slugs, and disease organisms. Check beneath tomato cages, squash leaves, fruit trees, boards, containers, and thick mulch. Remove anything that is rotting or likely to become a winter food source for pests.
Inspect the soil surface for insect eggs, damaged roots, tunnels, and clusters of slugs. You do not need to destroy every insect you find, since many are harmless or beneficial. Focus on known garden pests and record where serious problems occurred so you can monitor those areas closely next season.
10. Map the Beds and Plan Crop Rotation
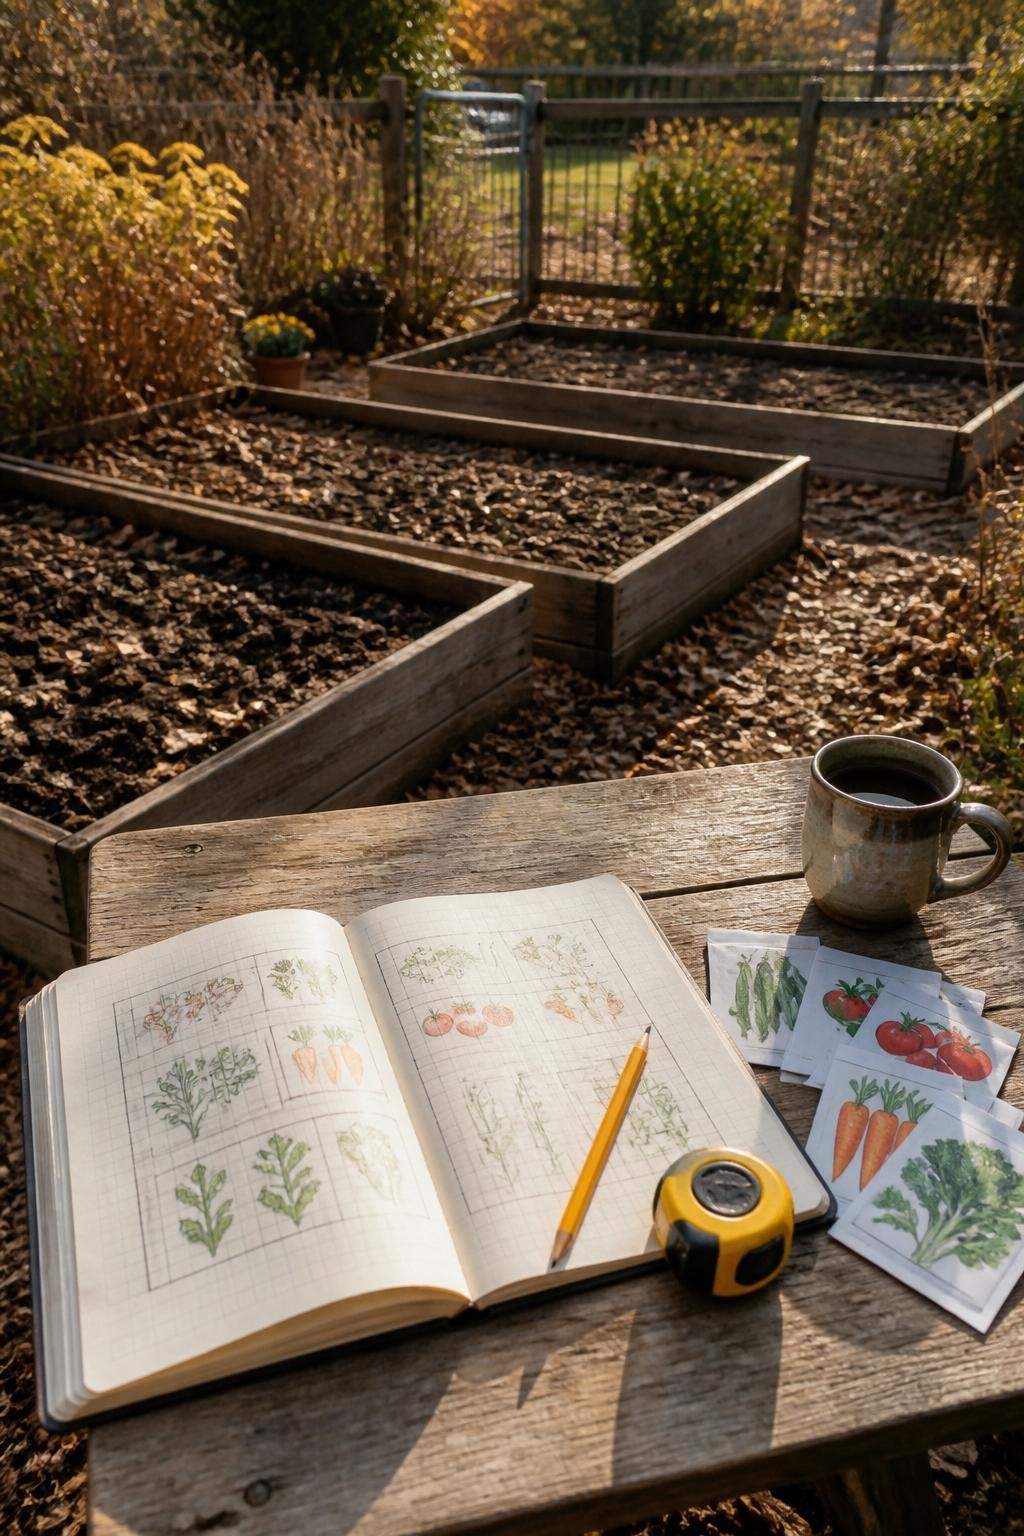
Before the garden becomes completely bare, draw a simple map showing where each crop grew. Note areas that had weak plants, disease, pest pressure, poor drainage, or unusually good production. Photos taken from the same position each fall can also help you remember bed layouts.
Use these notes to rotate crop families where space allows. Avoid planting tomatoes, peppers, potatoes, or eggplants repeatedly in the same small area, and do the same for other closely related crops. Rotation is not a complete solution to pests and disease, but it can reduce repeated pressure and help you plan more balanced soil care.