

In This Article Show
Keeping kids busy and happy can be tough, especially on rainy days or during long weekends. If you’re looking for simple projects that feel special and a little beachy, capiz shell crafts are perfect.
They shine, they’re light, and they turn into pretty decor or small gifts. This list gives you fun, beginner-friendly ideas you can make at home or in the classroom. Let’s dive into easy ways to craft with capiz shells.
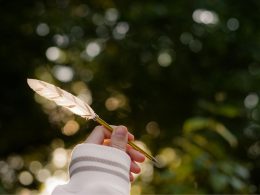
1. Capiz Sun-Catcher Window Charm
This project makes a string of glowing capiz circles that catch the light in the window. Kids love watching the shells shimmer and hearing the gentle clink when a breeze comes through; it’s simple and relaxing to make.
Materials Needed:
- Capiz shell discs (pre-drilled if possible)
- Clear fishing line or thin twine
- Small wooden dowel or stick
- Beads (optional)
- Clear-drying craft glue
How to make it:
- Cut fishing line into several equal lengths and tie them to the dowel.
- Thread capiz discs and beads onto each line, knotting under each disc to hold it in place.
- Add a small dot of glue to secure knots if needed.
- Tie a hanging loop to the dowel and hang in a sunny window to enjoy the sparkle.
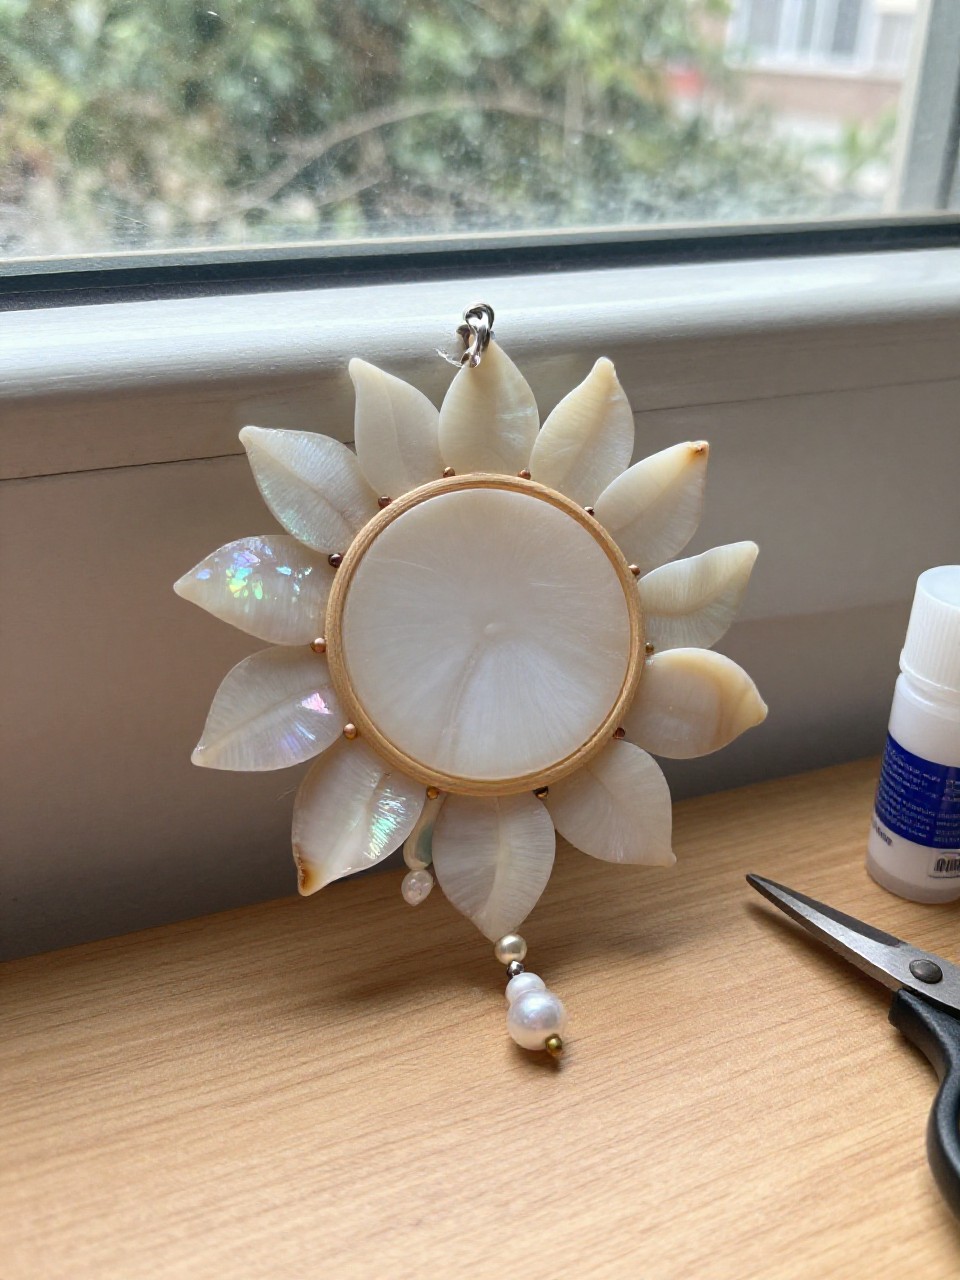
2. Mini Capiz Shell Wind Chime

This looks like a tiny wind chime with layered capiz pieces that tinkle softly. Kids enjoy choosing the pattern and hearing the calm sound; it’s a satisfying, beginner-friendly decor piece.
Materials Needed:
- Small embroidery hoop or metal ring
- Capiz shell discs (some pre-drilled)
- Fishing line or thin wire
- Beads (optional)
- Ribbon for hanging
How to make it:
- Tie several lengths of fishing line around the hoop.
- String capiz discs and beads onto each line, spacing them out and knotting between pieces.
- Add a ribbon loop on top for hanging.
- Hang near a door or porch and listen to the light chime.
3. Capiz Shell Night-Light Jar
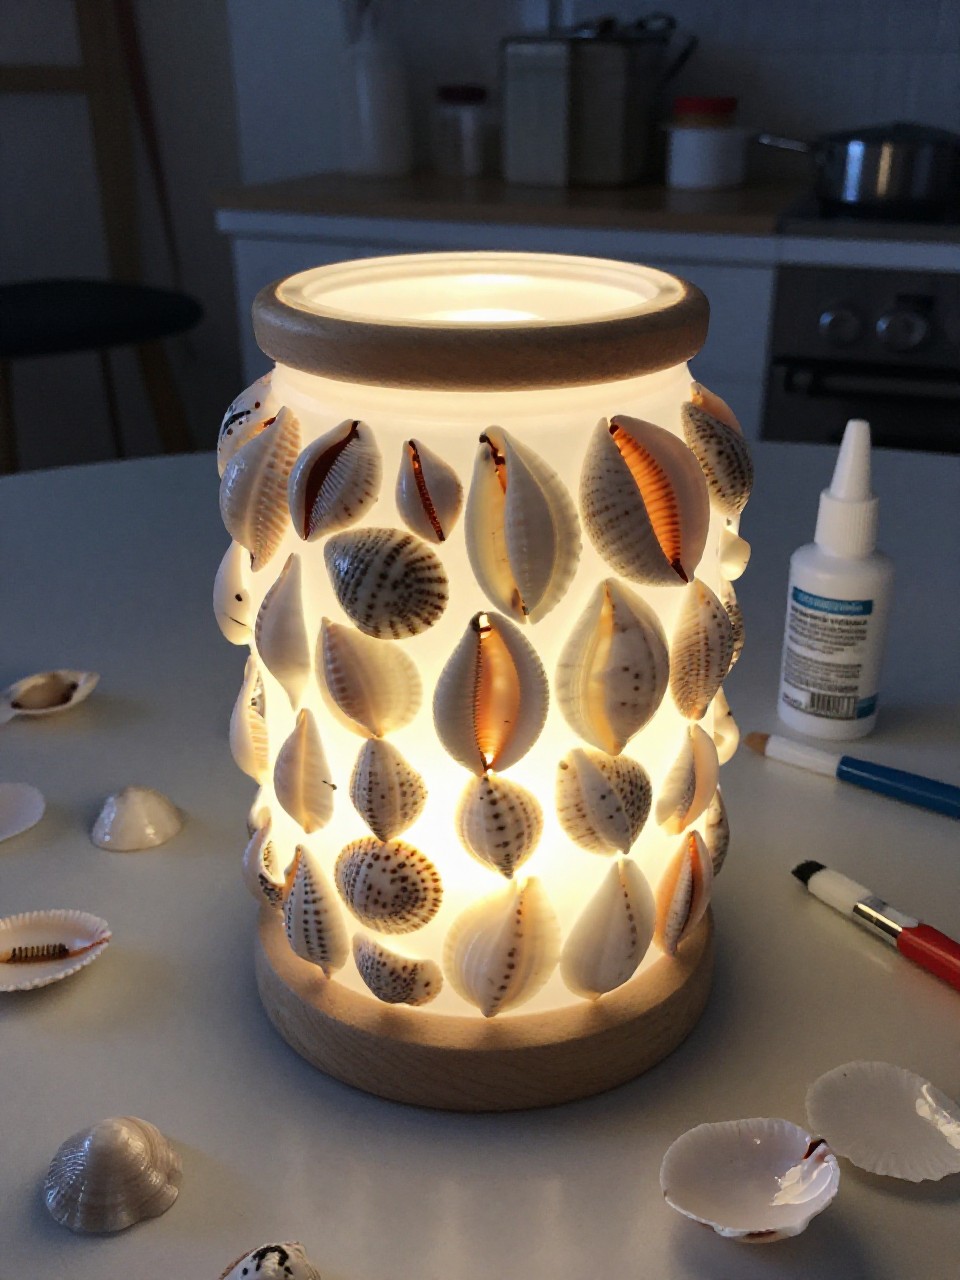
This looks like a glowing jar with capiz shells layered around the sides, giving off a warm, seaside glow. Kids love the magical lantern effect, and it’s easy to make with battery tea lights.
Materials Needed:
- Clean glass jar
- Flat capiz shell pieces or small discs
- Clear-drying craft glue or Mod Podge
- Battery tea light
- Soft brush
How to make it:
- Brush a thin layer of glue on the outside of the jar.
- Press capiz pieces onto the jar in overlapping rows.
- Seal with another light coat of glue and let dry fully.
- Place a battery tea light inside and enjoy the soft shine.
4. Ocean Blue Capiz Coasters
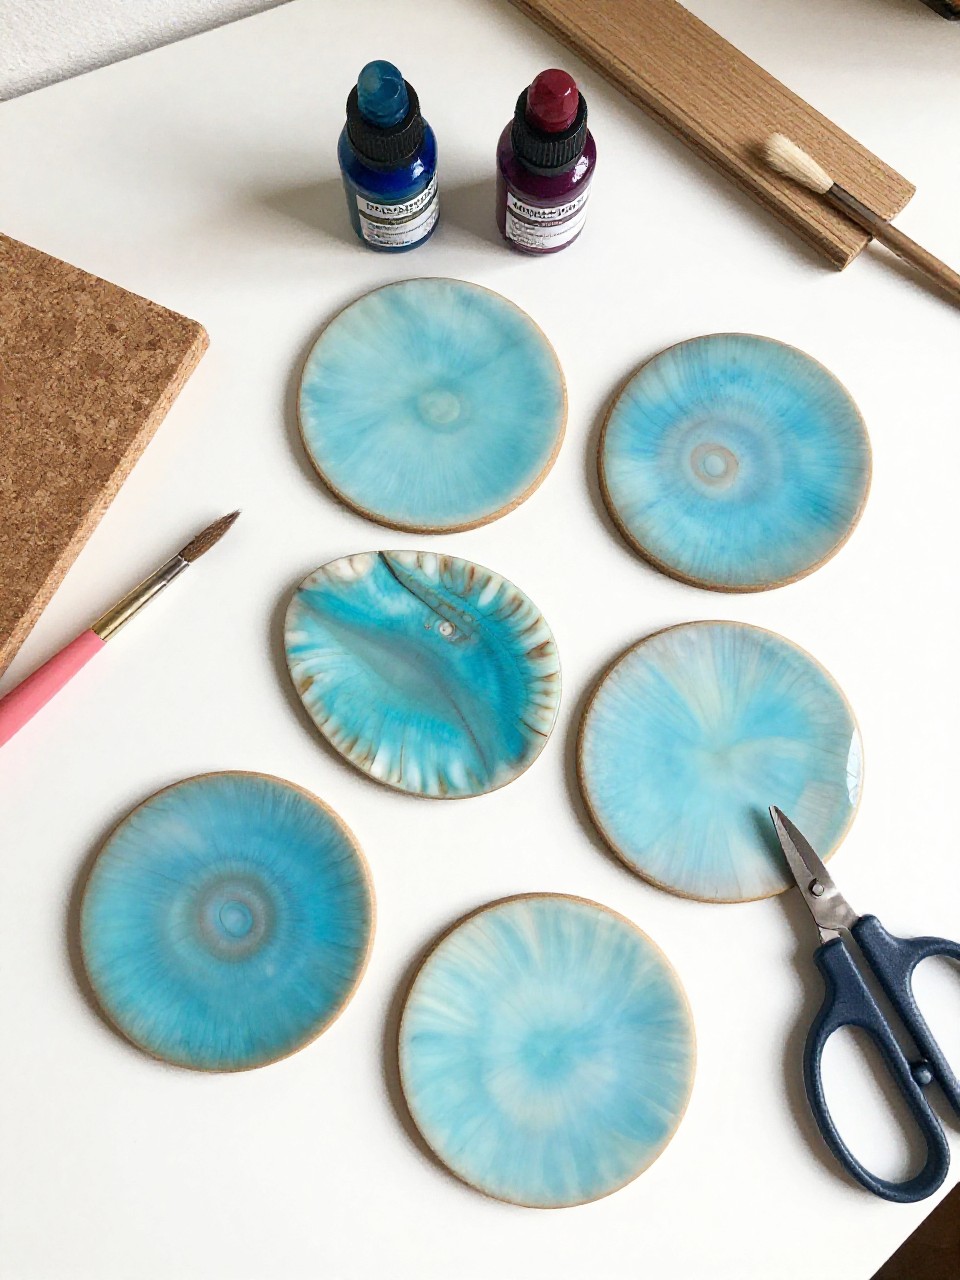
These look like round capiz coasters washed with ocean-blue watercolor and sealed smooth. Kids like mixing the colors and seeing the shell grain show through; they make quick, giftable sets.
Materials Needed:
- Flat capiz discs (3–4 inches)
- Alcohol inks or watered-down acrylics (blue/teal)
- Felt circles or cork backing
- Clear sealer (spray or brush-on)
- Glue
How to make it:
- Lightly tint capiz discs with inks or watered acrylics and let dry.
- Spray or brush a clear sealer to protect the color.
- Glue felt or cork circles to the backs.
- Stack and tie with ribbon for a sweet handmade gift.
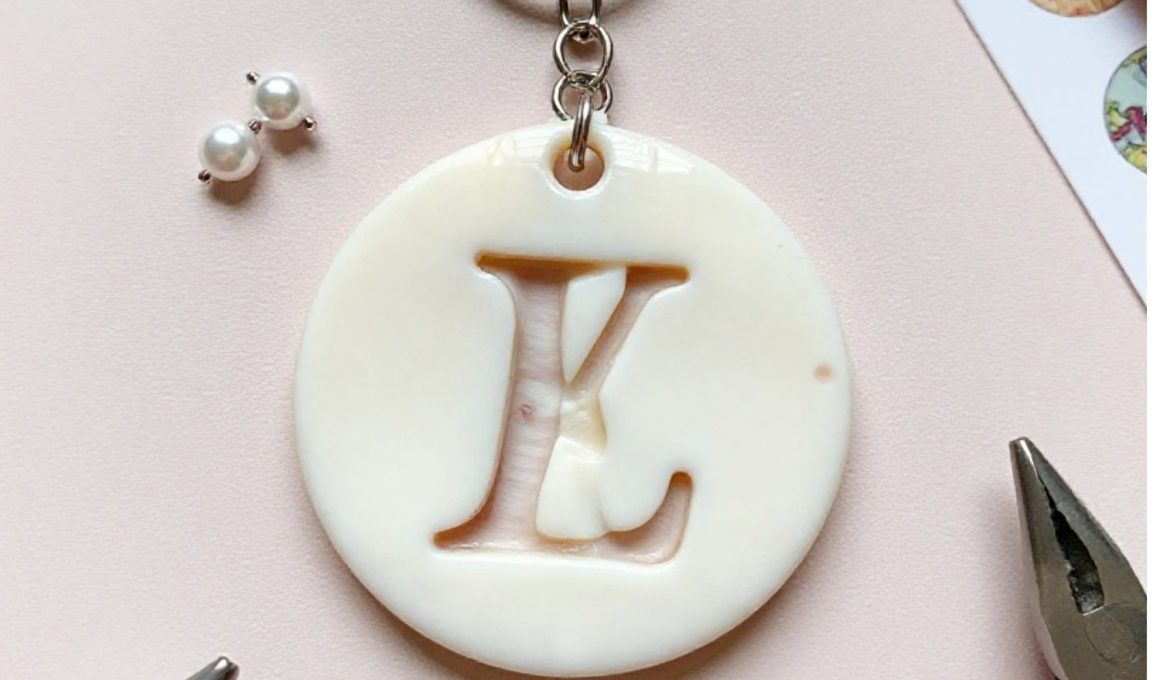
5. Capiz Shell Initial Keychain
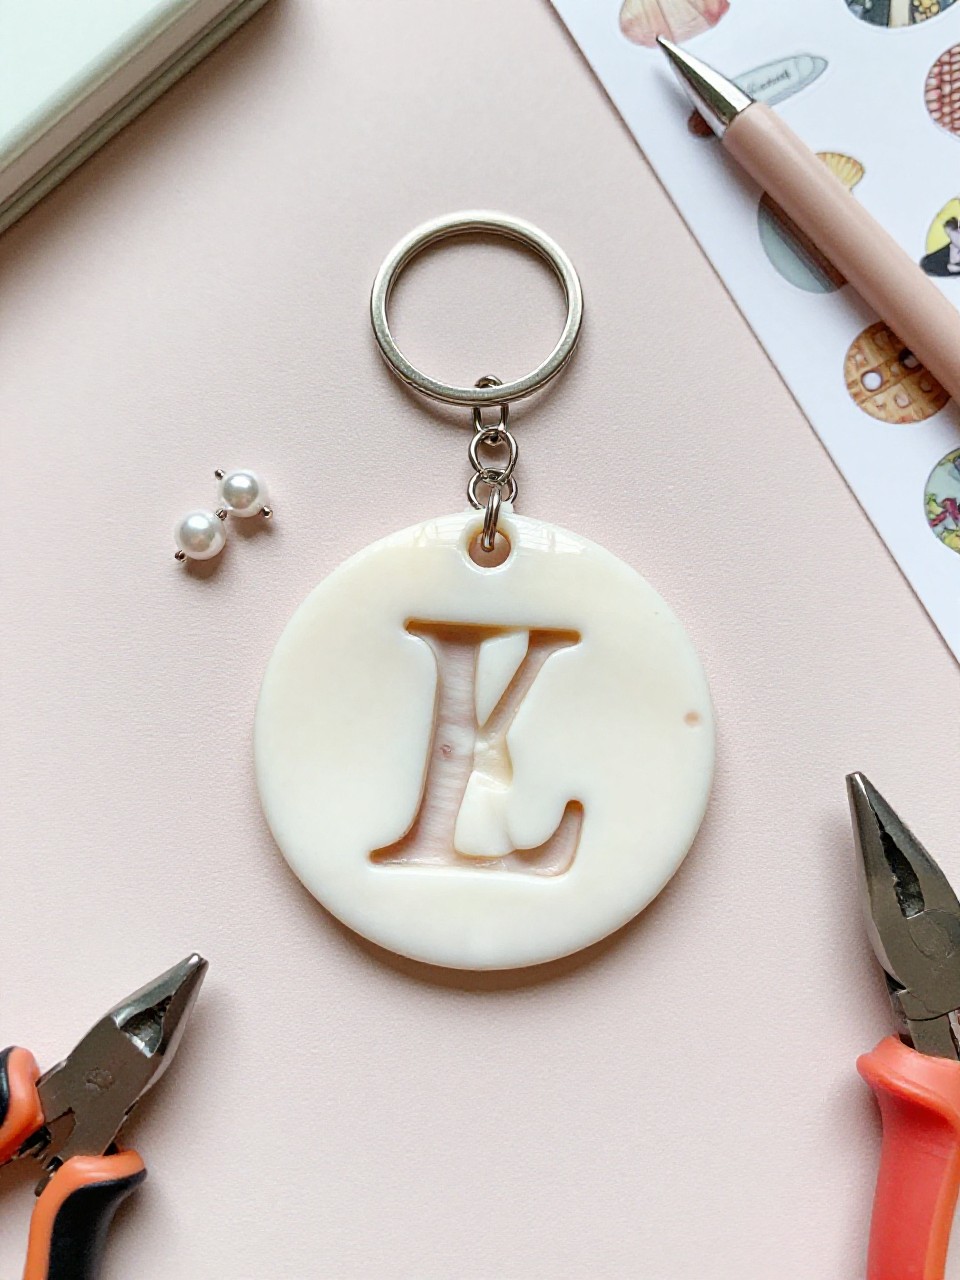
This craft becomes a shiny keychain with a letter charm on a small capiz disc. Kids love picking their initials and decorating a personal accessory.
Materials Needed:
- Small capiz disc (pre-drilled)
- Alphabet sticker or paint pen
- Jump ring and key ring
- Small bead or charm (optional)
- Pliers
How to make it:
- Place an alphabet sticker or draw a neat letter on the capiz disc.
- Attach a jump ring through the hole and add a bead or charm if desired.
- Connect to the key ring with pliers.
- Clip it to a backpack or keys and show it off.
6. Beachy Capiz Picture Frame
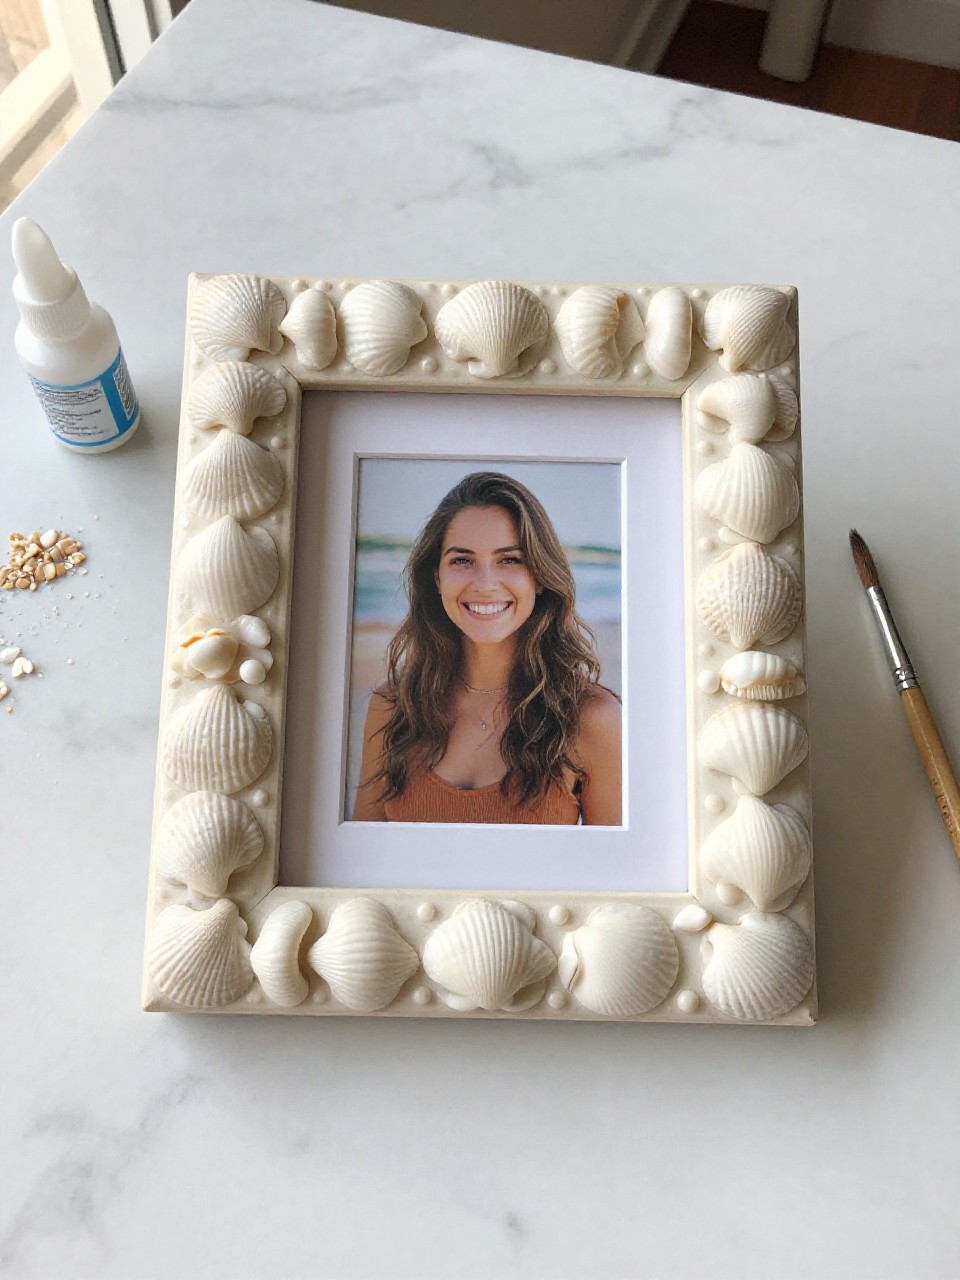
This is a simple frame covered in capiz pieces, giving photos a coastal glow. Kids enjoy arranging the shells like a puzzle; it feels fancy but is very easy.
Materials Needed:
- Plain wooden photo frame
- Flat capiz shell chips or tiles
- Strong craft glue
- White paint (optional)
- Clear sealer (optional)
How to make it:
- Paint the frame white if you want a bright base; let dry.
- Glue capiz pieces around the front, fitting them edge to edge.
- Seal lightly for durability.
- Add a favorite beach photo and display.
7. Capiz and Bead Bookmark Tassel
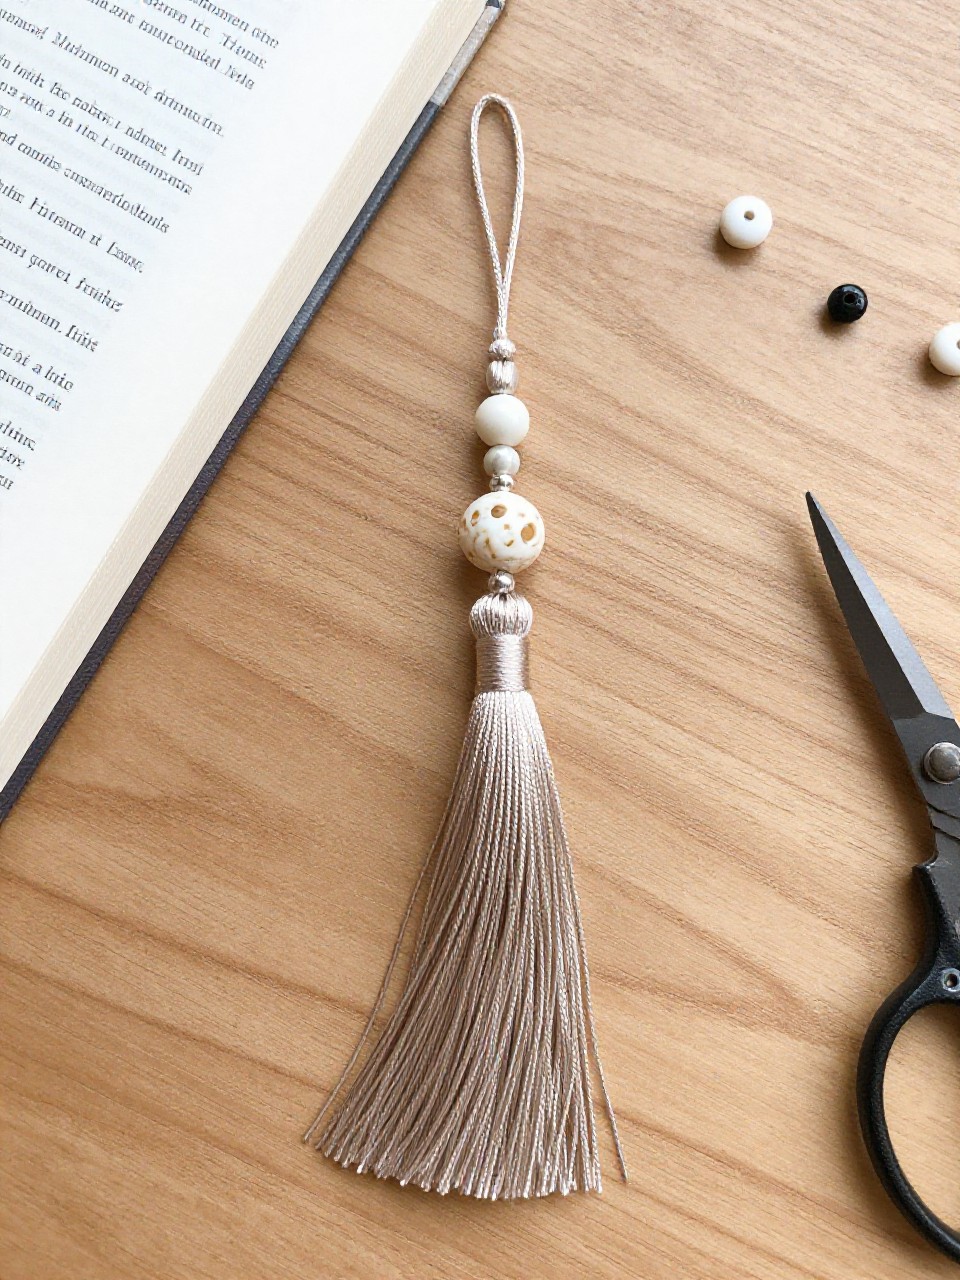
This looks like a slim tassel bookmark with a dangling capiz charm at the end. Kids like choosing bead colors and using it with their favorite book.
Materials Needed:
- Ribbon or thin leather cord
- Small capiz disc (pre-drilled)
- Beads
- Jump ring
- Scissors
How to make it:
- Cut ribbon to about 10–12 inches for a bookmark tail.
- Thread beads onto one end and tie a knot to hold them.
- Attach the capiz disc using a jump ring on the other end.
- Slip into a book and enjoy the shimmer peeking out.
8. Painted Capiz Shell Magnets
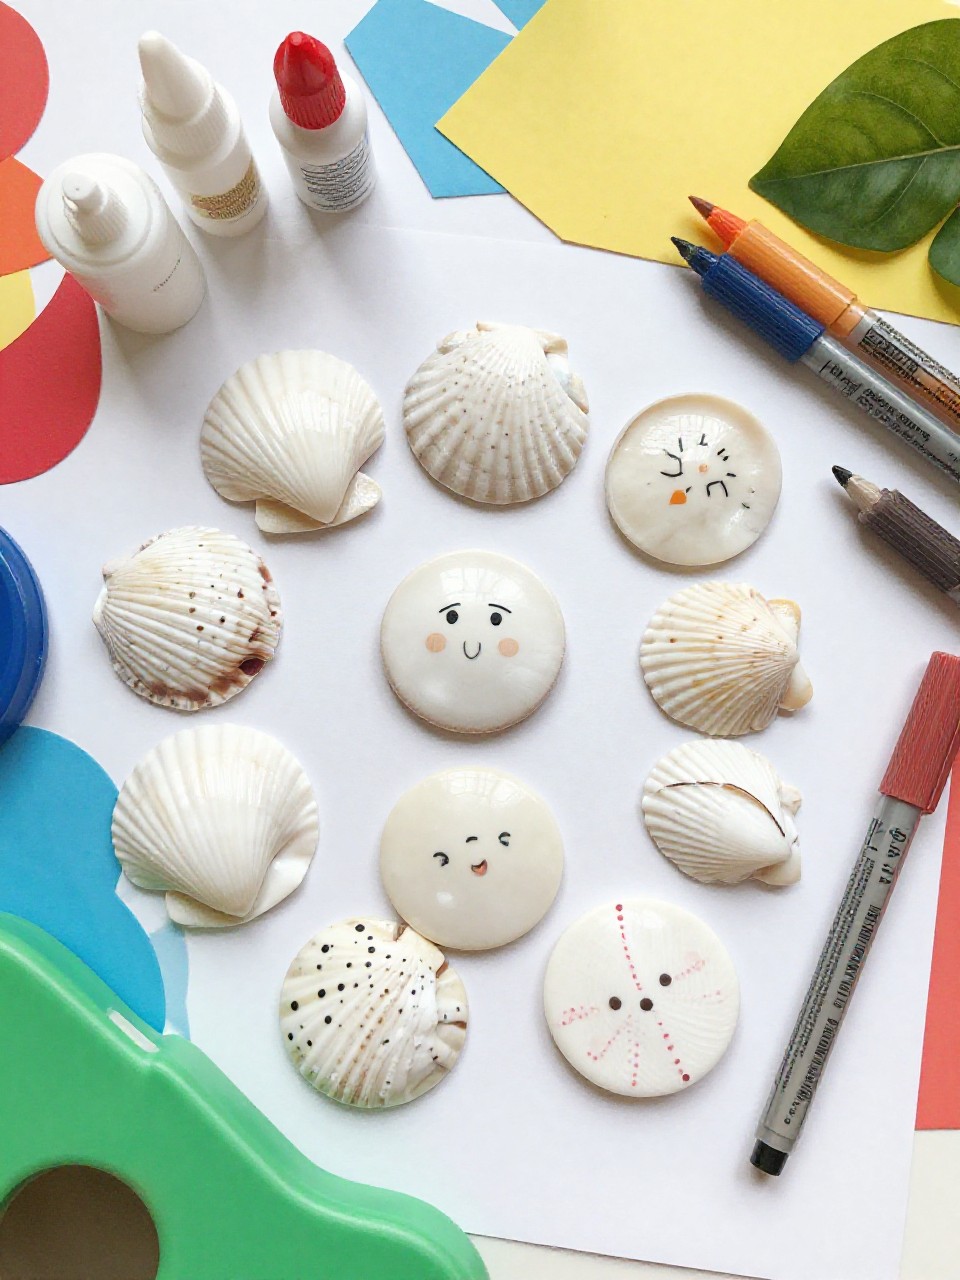
These are small fridge magnets made from painted capiz circles with simple designs like waves, stars, or hearts. Kids love the quick painting step and seeing their art on display every day.
Materials Needed:
- Small capiz discs
- Acrylic paint or paint pens
- Small round magnets
- Strong glue
- Clear sealer (optional)
How to make it:
- Paint simple designs on each capiz disc and let dry.
- Seal if you want extra protection.
- Glue a magnet to the back of each disc.
- Stick them on the fridge or a locker for instant cheer.
9. Capiz Flower Hair Clip
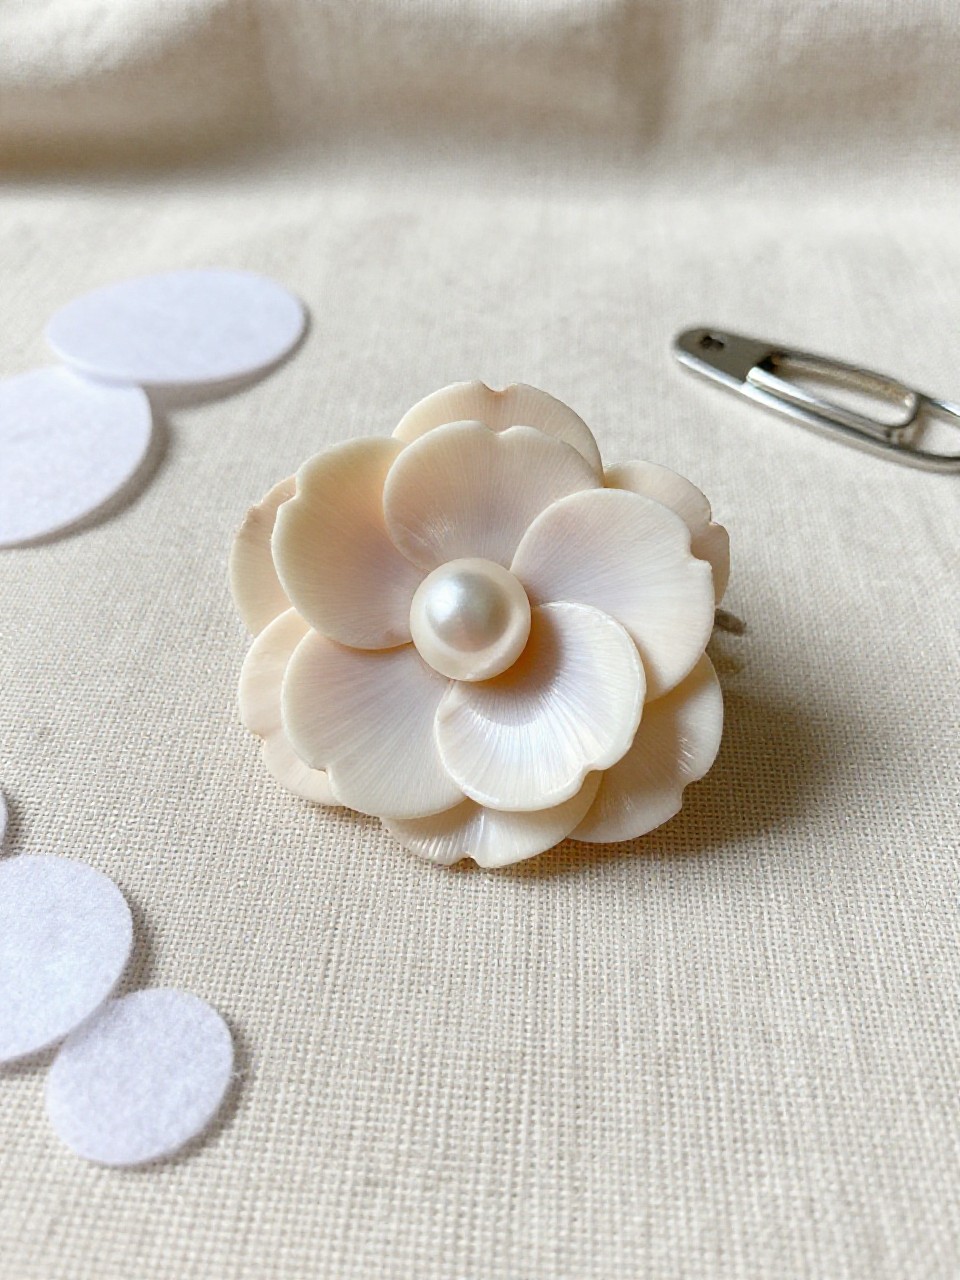
This looks like a soft, shiny flower made from layered capiz petals on a clip. Kids enjoy choosing colors and wearing their handmade accessory; it feels special for parties or picture day.
Materials Needed:
- Capiz petals or cut capiz pieces shaped like petals
- Alligator hair clip or snap clip
- Felt circle
- Strong craft glue
- Small bead or faux pearl
How to make it:
- Glue a felt circle as the base for petals.
- Arrange and glue capiz petals in a circle, layering for fullness.
- Add a bead or pearl in the center and let dry.
- Glue the flower to the hair clip and wear.
10. Seashell and Capiz Garland
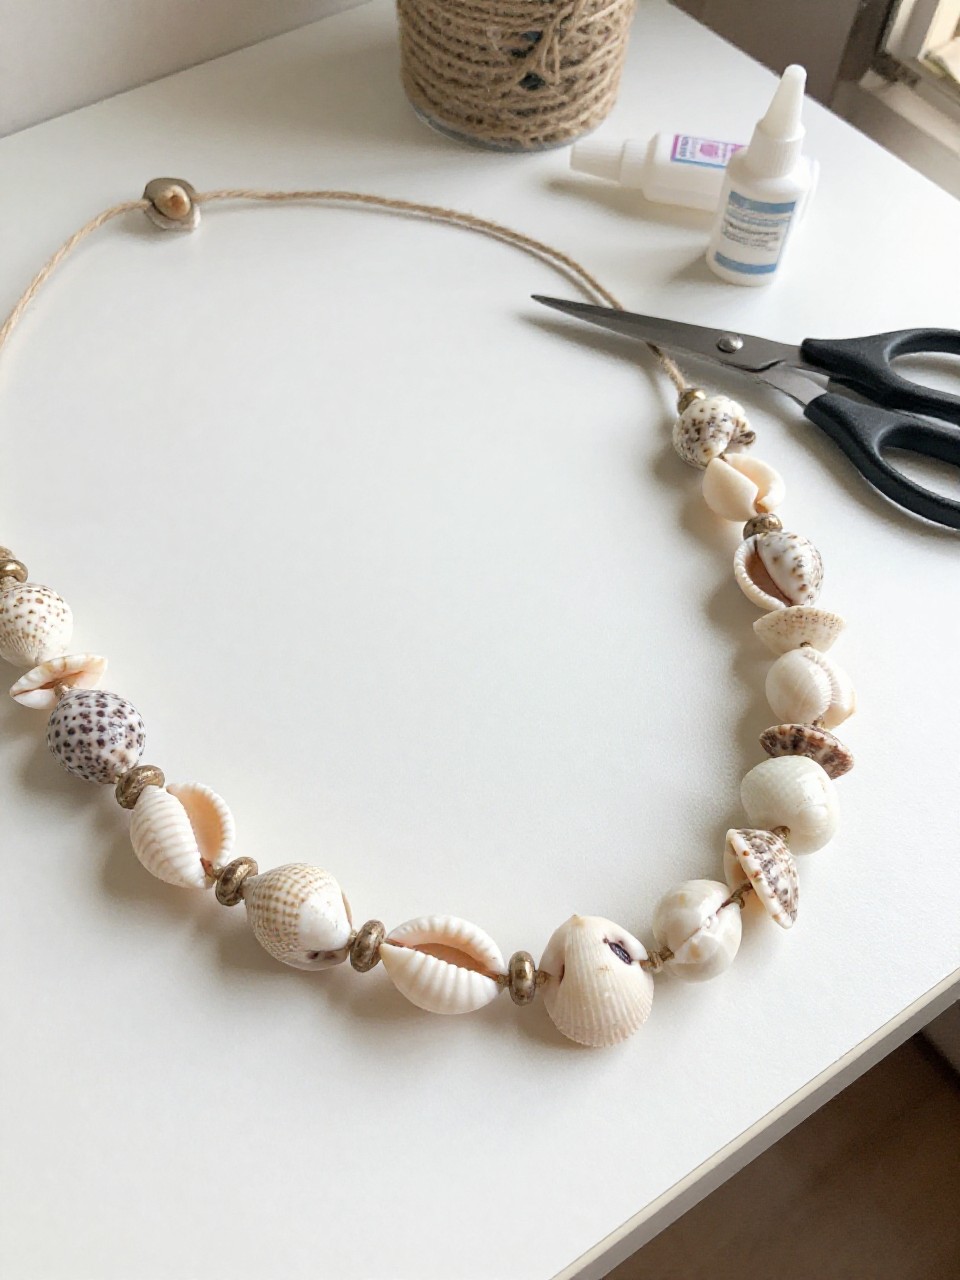
This is a long garland mixing small seashells and capiz discs for wall or party decor. Kids love threading the pieces and planning patterns; it looks festive and beachy.
Materials Needed:
- Capiz discs (pre-drilled)
- Small lightweight seashells (drilled or with holes)
- Jute twine or cotton string
- Beads (optional)
- Scissors
How to make it:
- Cut a long piece of twine for your space.
- Thread capiz discs and shells in repeating patterns, tying knots to hold items in place.
- Add beads between pieces if desired.
- Hang across a wall, mantle, or doorway.
11. Capiz Shell Candle Tray
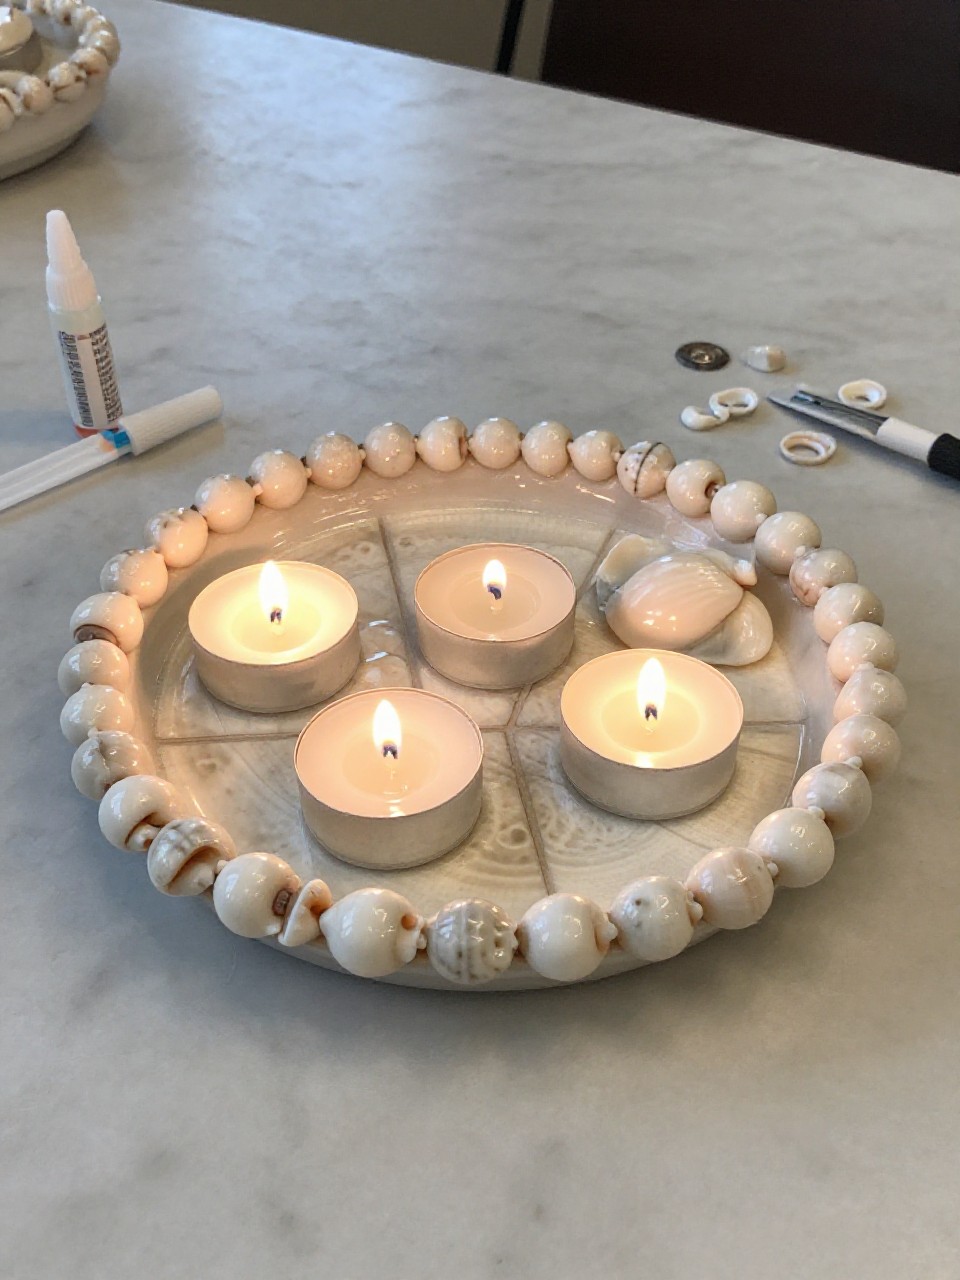
This looks like a small tray or plate covered with capiz tiles that reflect candlelight. Kids like arranging the mosaic, and the finished piece feels calm and grown-up.
Materials Needed:
- Plain wooden or ceramic tray
- Flat capiz tiles or chips
- Strong craft glue
- Felt pads for the bottom
- Battery tea lights
How to make it:
- Glue capiz pieces across the tray in neat rows or a mosaic.
- Press gently and let dry fully.
- Add felt pads under the tray to prevent scratches.
- Place battery tea lights on top and enjoy the glow.
12. Capiz Ocean Mobile
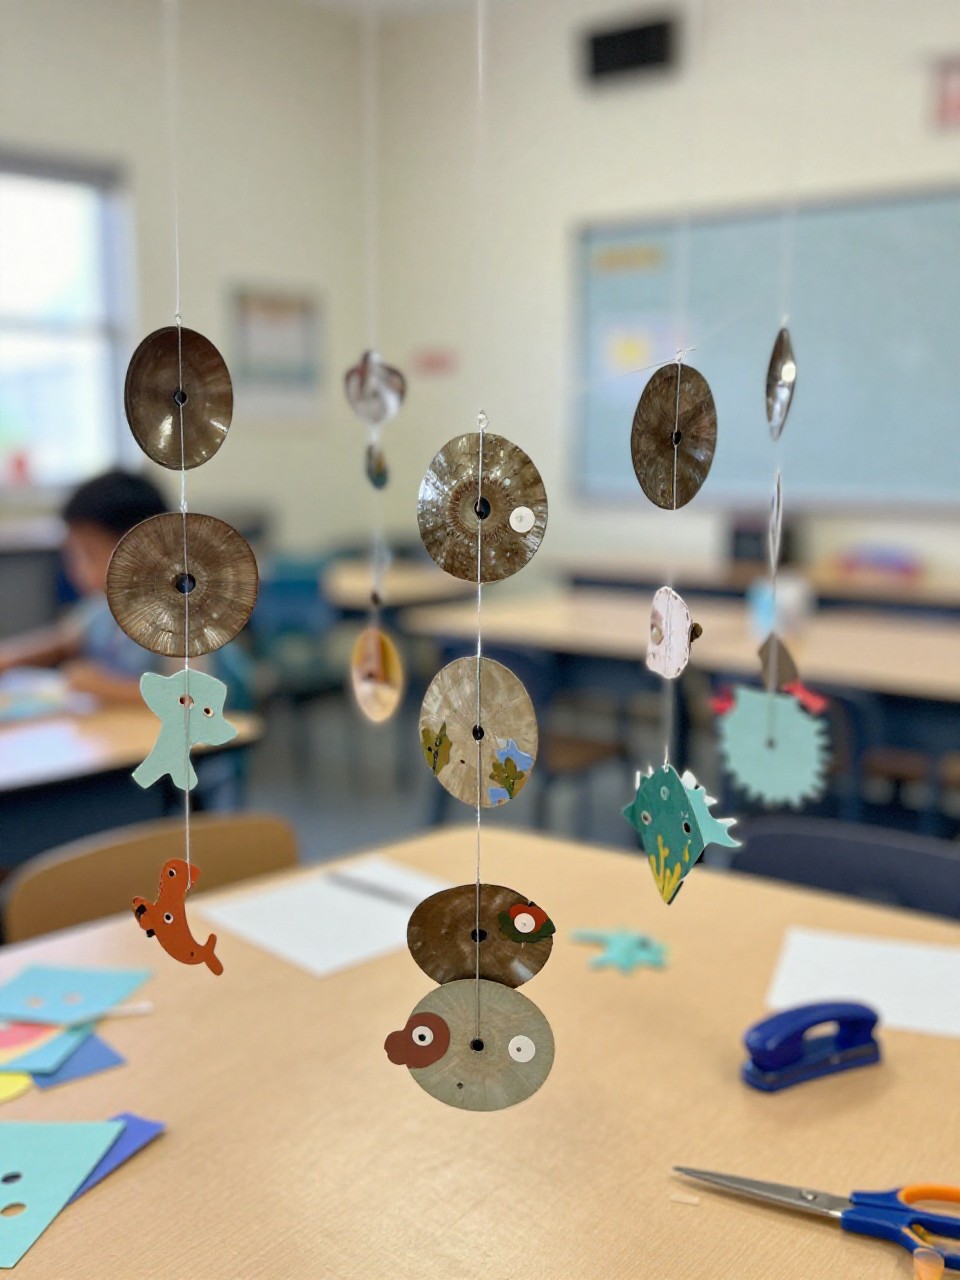
This mobile shows capiz discs mixed with ocean shapes like fish and starfish cut from lightweight cardstock. Kids enjoy the theme and movement; it’s great for a classroom reading corner.
Materials Needed:
- Capiz discs (pre-drilled)
- Colored cardstock (ocean shapes)
- Embroidery hoop or driftwood stick
- Fishing line
- Hole punch and scissors
How to make it:
- Cut fish, starfish, and shell shapes from cardstock and punch holes.
- Tie fishing line to the hoop or stick and attach capiz discs and shapes at different lengths.
- Balance the strands so it hangs evenly.
- Hang from the ceiling and watch it sway.
13. Stained-Glass Capiz Ornaments
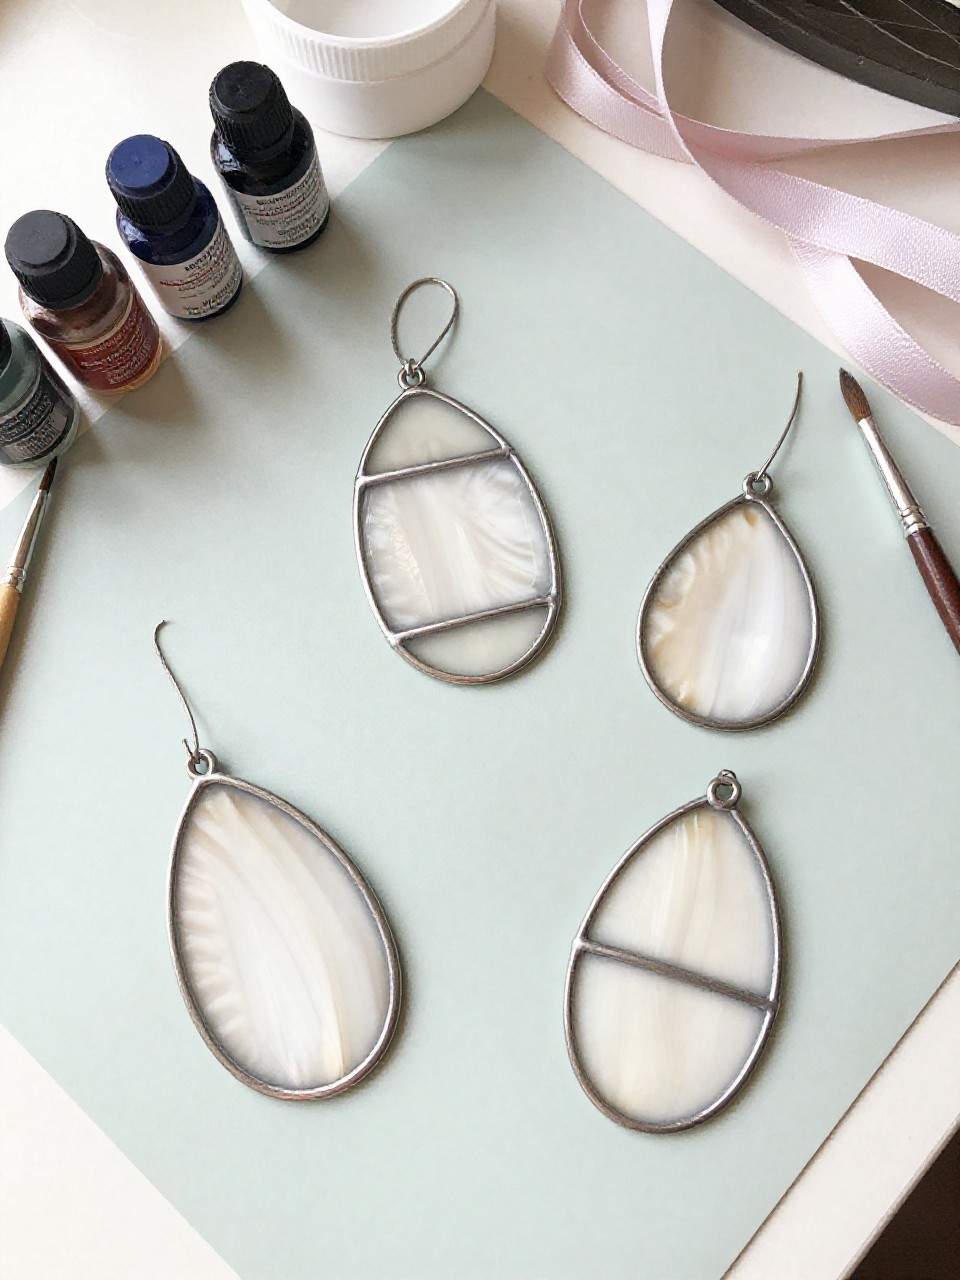
These look like mini stained-glass shapes using capiz as the “glass” with metallic paint lines. Kids love outlining simple designs and seeing light pass through them.
Materials Needed:
- Flat capiz shapes (circles, hearts, stars)
- Metallic paint pen or thin black paint
- Alcohol inks or watered acrylics
- Ribbon for hanging
- Clear sealer (optional)
How to make it:
- Draw simple “lead” lines with the metallic pen to make sections.
- Tint each section with inks or watered paint and let dry.
- Seal if desired for durability.
- Tie on a ribbon and hang near a window.
14. Capiz Shell Name Banner
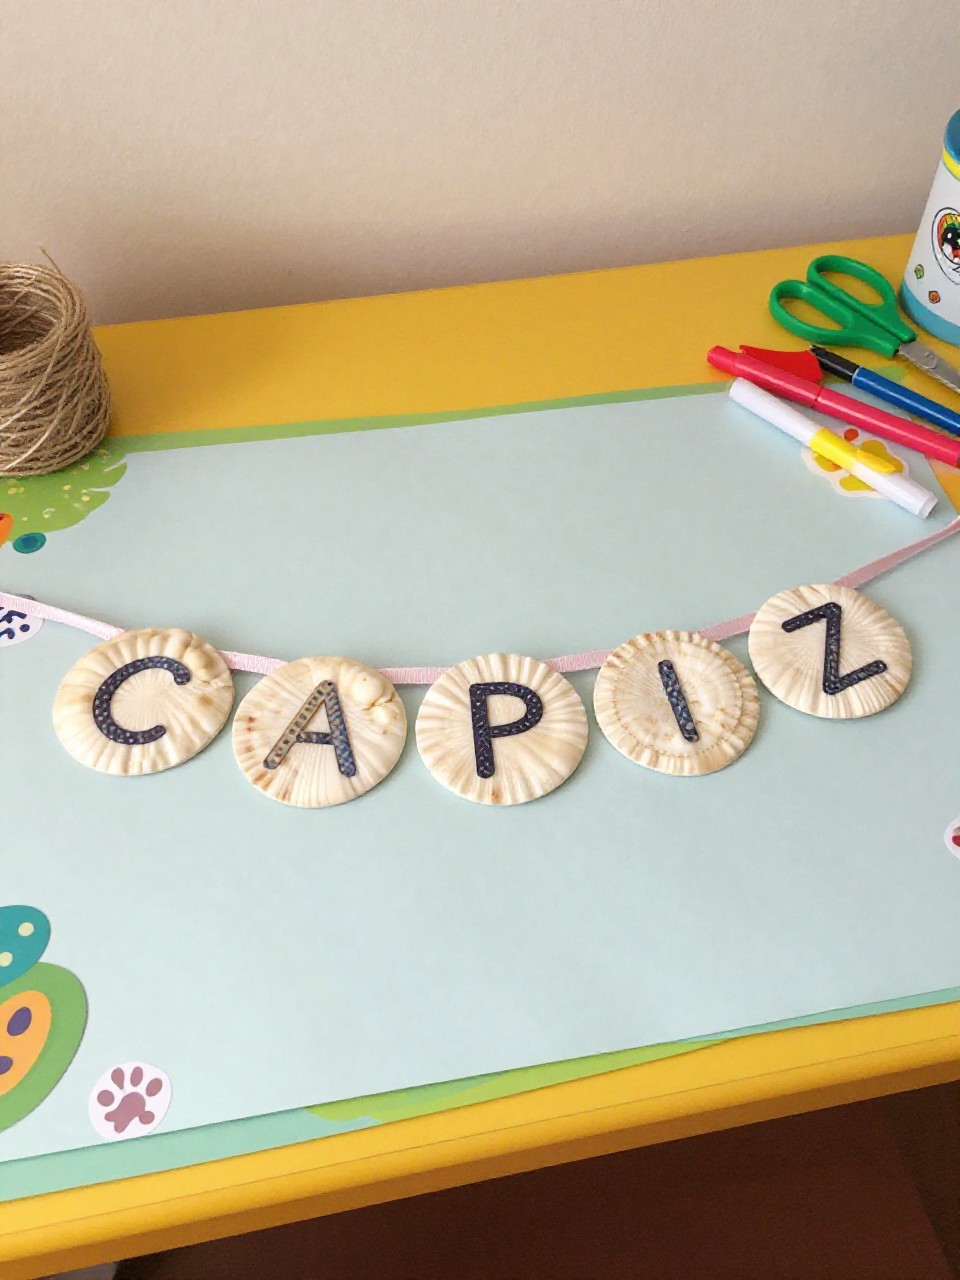
This craft becomes a short banner spelling a name, with one capiz disc per letter. Kids enjoy customizing colors and making their space feel personal.
Materials Needed:
- Capiz discs (one per letter)
- Alphabet stickers or paint pens
- Thin twine or ribbon
- Hole-punched discs (or use a small hand punch made for shells)
- Tape for hanging
How to make it:
- Add a letter to each capiz disc with stickers or paint pen.
- String discs in order onto twine or ribbon.
- Space evenly and knot ends to keep them in place.
- Tape or tie up above a desk or bed.
15. Capiz Shell Trinket Dish Rim
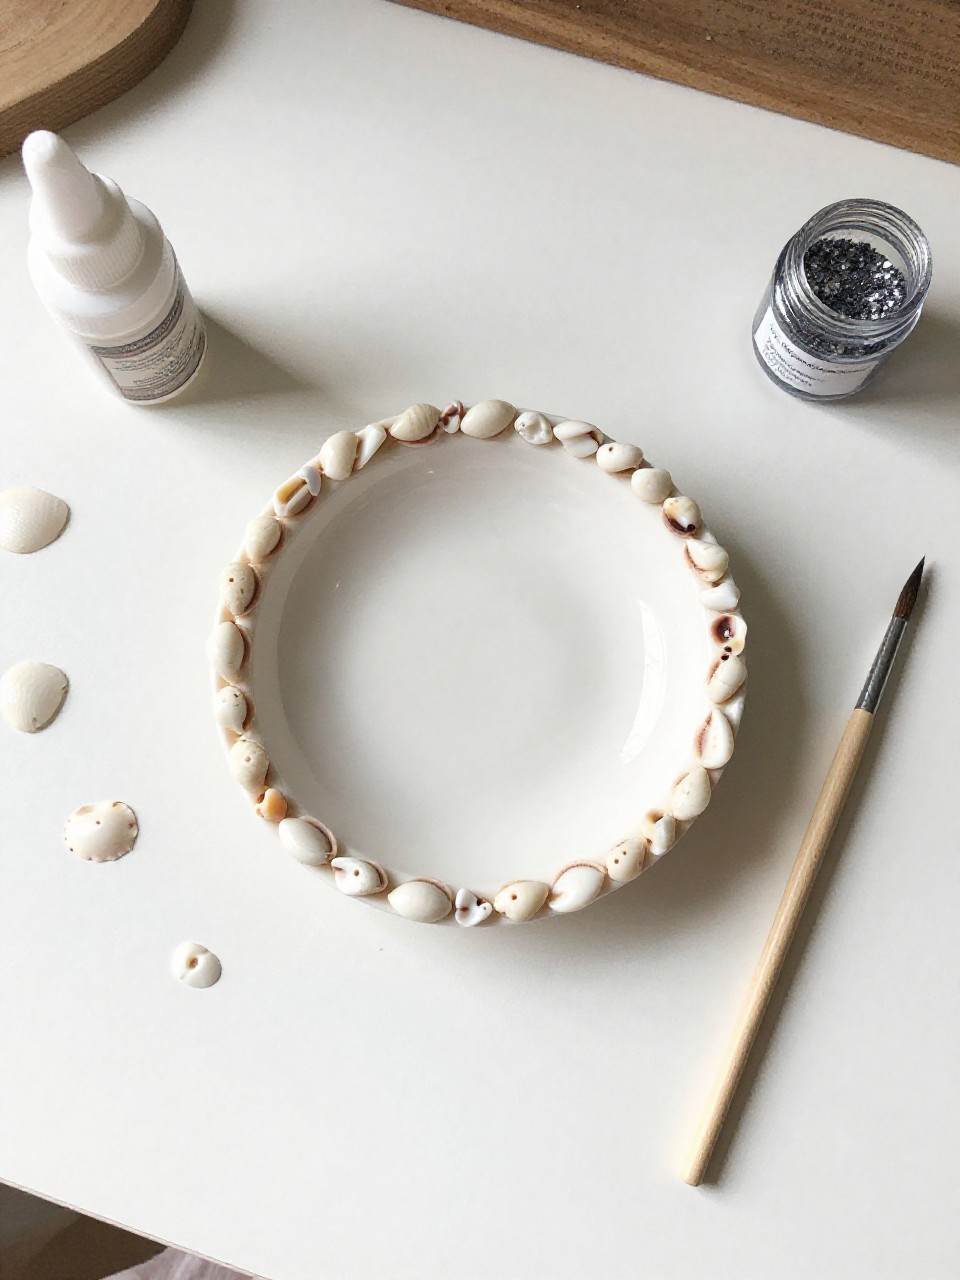
This looks like a small ceramic dish with a rim decorated in a ring of capiz chips. Kids enjoy the neat mosaic border and using it to hold rings, coins, or little treasures.
Materials Needed:
- Plain ceramic or wooden trinket dish
- Small capiz chips
- Strong craft glue
- Clear sealer (optional)
- Felt pad (optional for bottom)
How to make it:
- Glue capiz chips around the dish rim in a tight row.
- Fill small gaps with tiny pieces and press gently.
- Seal for shine and durability if desired; add a felt pad under the dish.
- Let dry fully and use for small keepsakes.