

In This Article Show
Keeping kids busy on rainy days or after school can be hard, and sometimes we just need a simple, satisfying activity that looks great, too. Paper quilling is perfect: you roll thin paper strips into shapes and glue them into bright designs.
This list gives you fun, easy projects that work for home, classrooms, and beginners. You’ll find quick wins and pretty keepsakes—let’s dive into 16 beautiful paper quilling craft ideas you can make at home.
1. Quilled Rainbow Heart Card
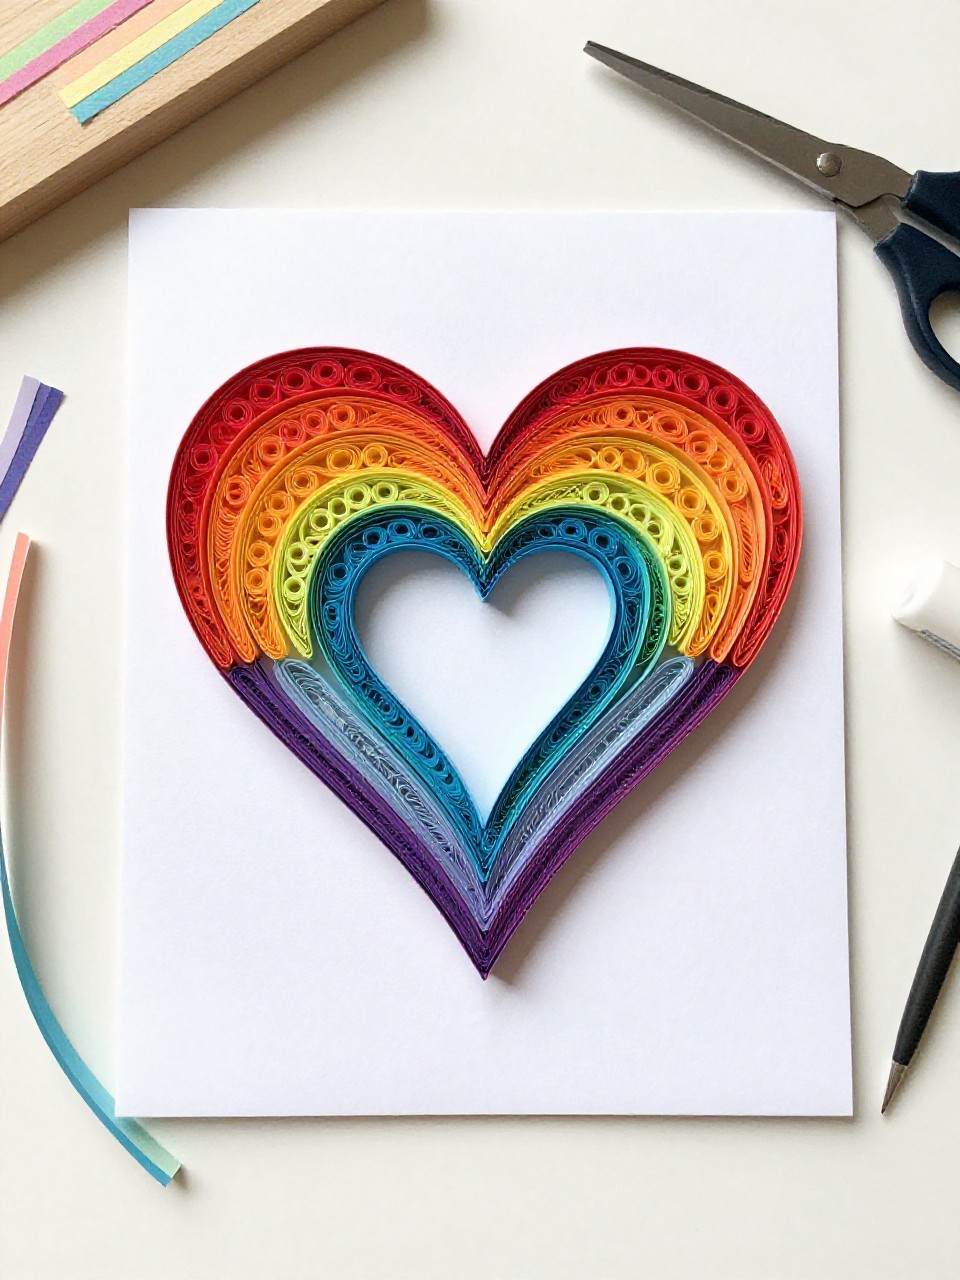
A bright heart made from curled paper strips in rainbow order sits on the front of a simple card. Kids love the bold colors and the relaxing roll-and-glue steps, and it makes a sweet gift for friends or family.
Materials Needed:
- Quilling paper strips (rainbow colors)
- Blank cardstock card
- White craft glue with fine-tip bottle
- Toothpick or quilling tool
- Ruler and pencil
How to make it:
- Lightly sketch a heart outline on the card.
- Roll strips into tight or loose coils using a quilling tool; secure ends with a dot of glue.
- Arrange and glue coils along the heart outline, filling the shape from red to violet.
- Let dry flat, then add a small message inside and display or gift.
2. Quilled Flower Garden Bookmark
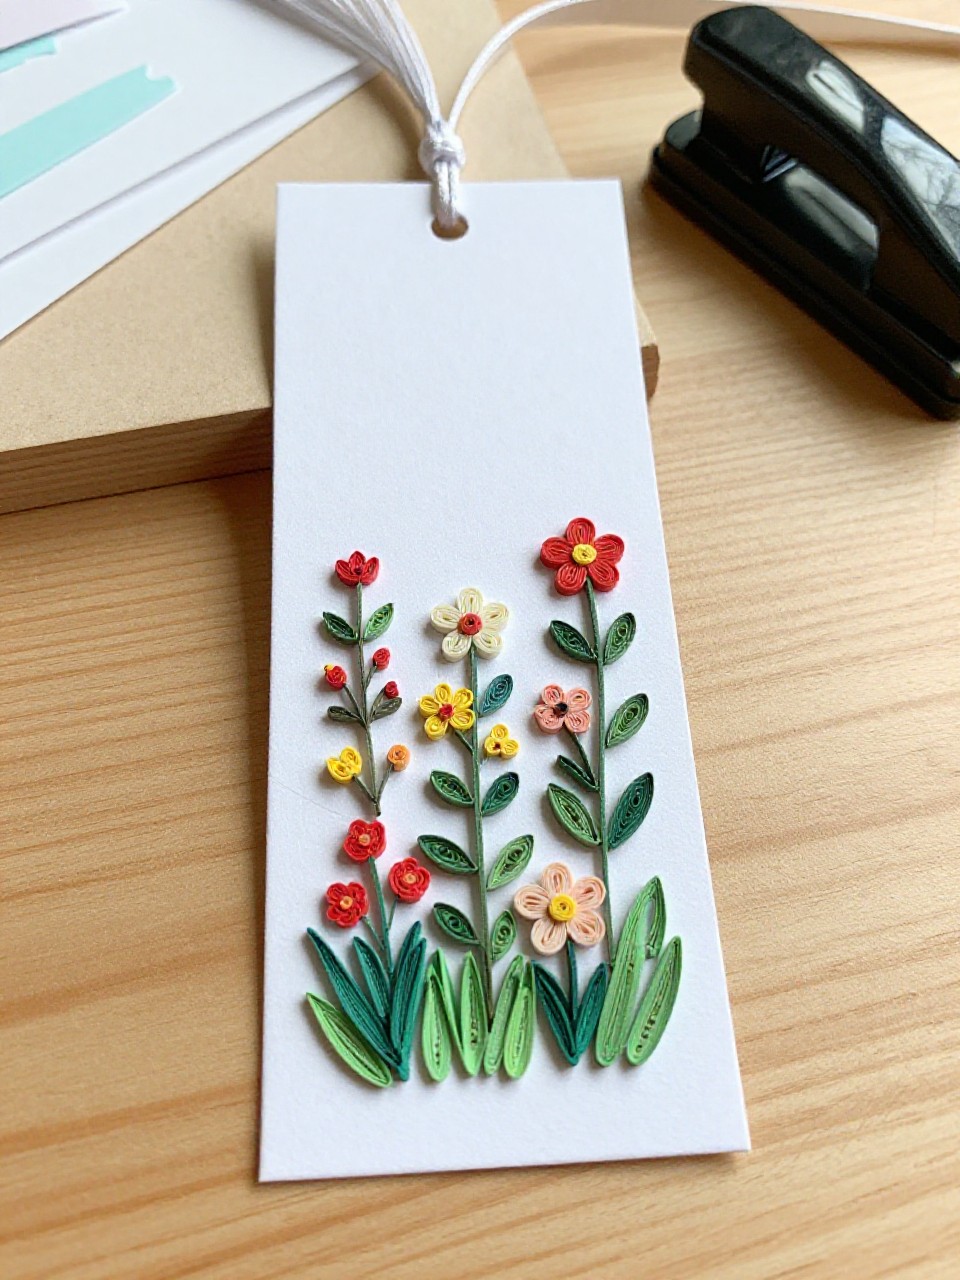
A slim bookmark shows tiny quilled flowers and leaves growing along one edge. It’s fun because kids can mix colors and try different petal shapes, and the finished bookmark is useful and giftable.
Materials Needed:
- Quilling paper strips (floral colors + green)
- Heavy cardstock strip (2 x 6 inches)
- Glue with fine tip
- Hole punch and ribbon (optional)
- Clear contact paper (optional for durability)
How to make it:
- Cut a neat cardstock strip; punch a hole at the top if adding ribbon.
- Roll small coils and pinch some into teardrops for petals and leaves.
- Glue flowers and leaves along one edge, clustering small blooms.
- Let dry, add ribbon, and optional clear cover to protect, then use in a book.
3. Quilled Balloon Birthday Card
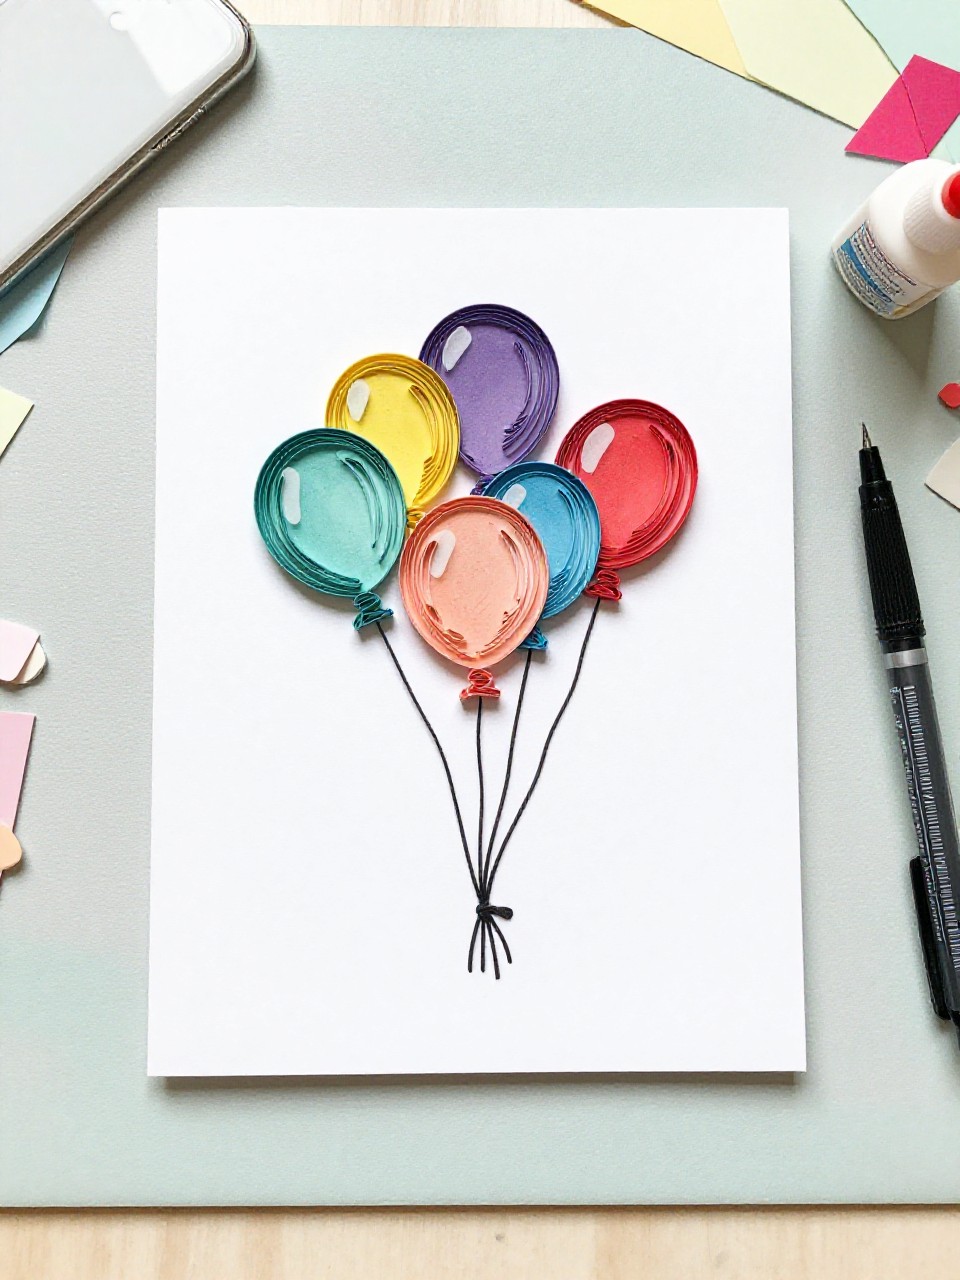
A bunch of colorful quilled balloons “floating” with drawn strings decorates a simple birthday card. Kids enjoy choosing colors and making fast, round coils that look cheerful and bright.
Materials Needed:
- Quilling strips in bright colors
- Blank cardstock card
- Fine-tip black pen
- Glue
- Quilling tool or skewer
How to make it:
- Sketch a cluster of balloon strings on the card with the pen.
- Roll loose round coils in different colors and glue an extra tiny strip as a “knot.”
- Glue balloons above the string ends, overlapping slightly for depth.
- Let dry, write “Happy Birthday,” and set under a book to keep flat.
4. Quilled Butterfly Wall Art
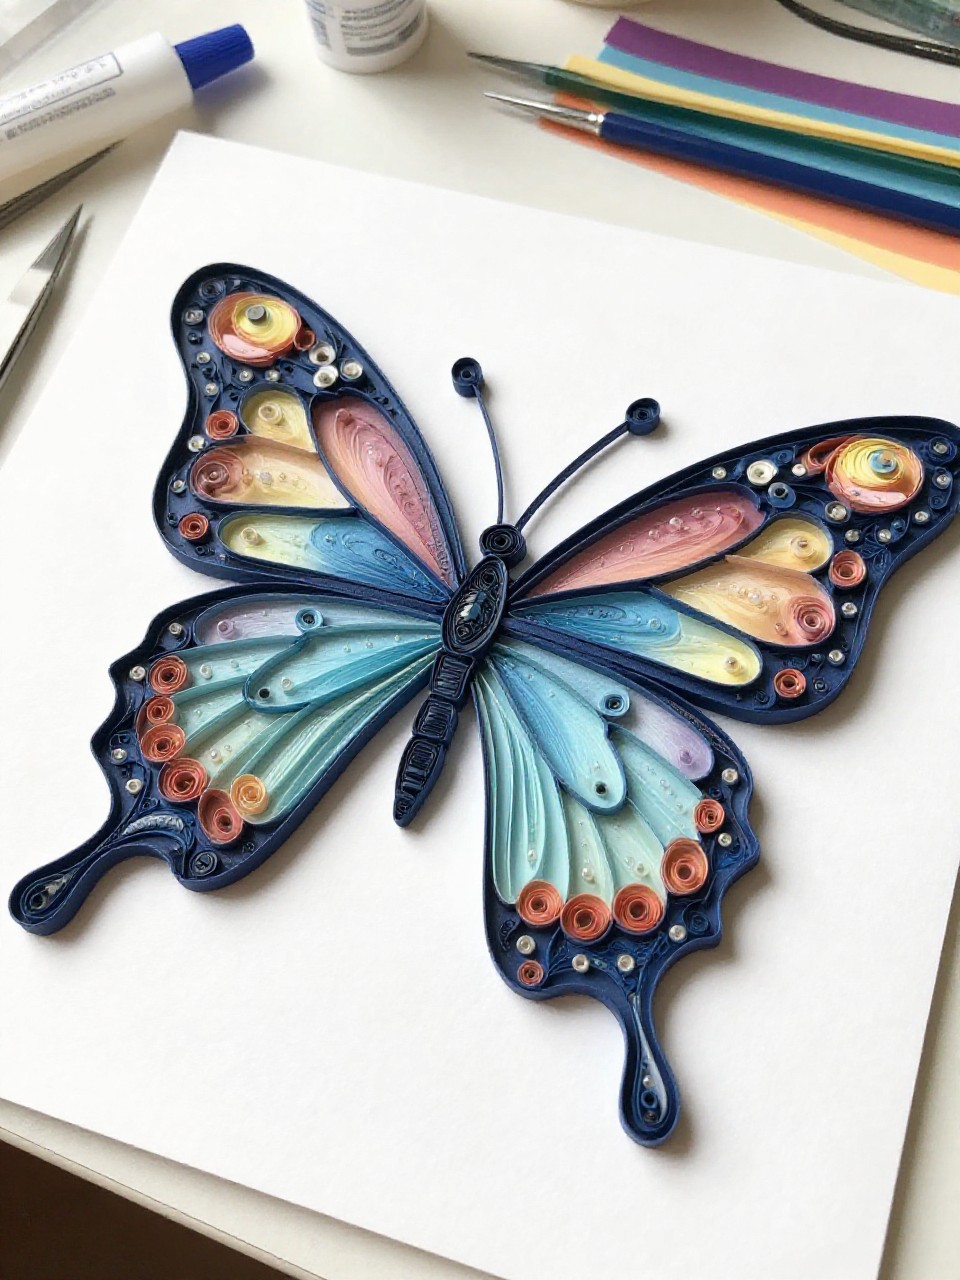
A large butterfly silhouette filled with quilled teardrops and coils sits on a square piece of cardstock ready for framing. Kids love the symmetry and bright wings, and it’s a satisfying medium-difficulty project that looks professional.
Materials Needed:
- Assorted quilling strips (2–3 wing colors + black)
- 8 x 8 inch cardstock background
- Printed butterfly outline (to trace)
- Glue
- Quilling tool and tweezers
How to make it:
- Lightly trace a butterfly outline centered on the cardstock.
- Roll coils, then pinch into teardrops and marquise shapes for wings.
- Glue shapes inside the outline, add black strip for the body and antennae.
- Dry flat, then place in a frame or hang with washi tape.
5. Quilled Monogram Letter
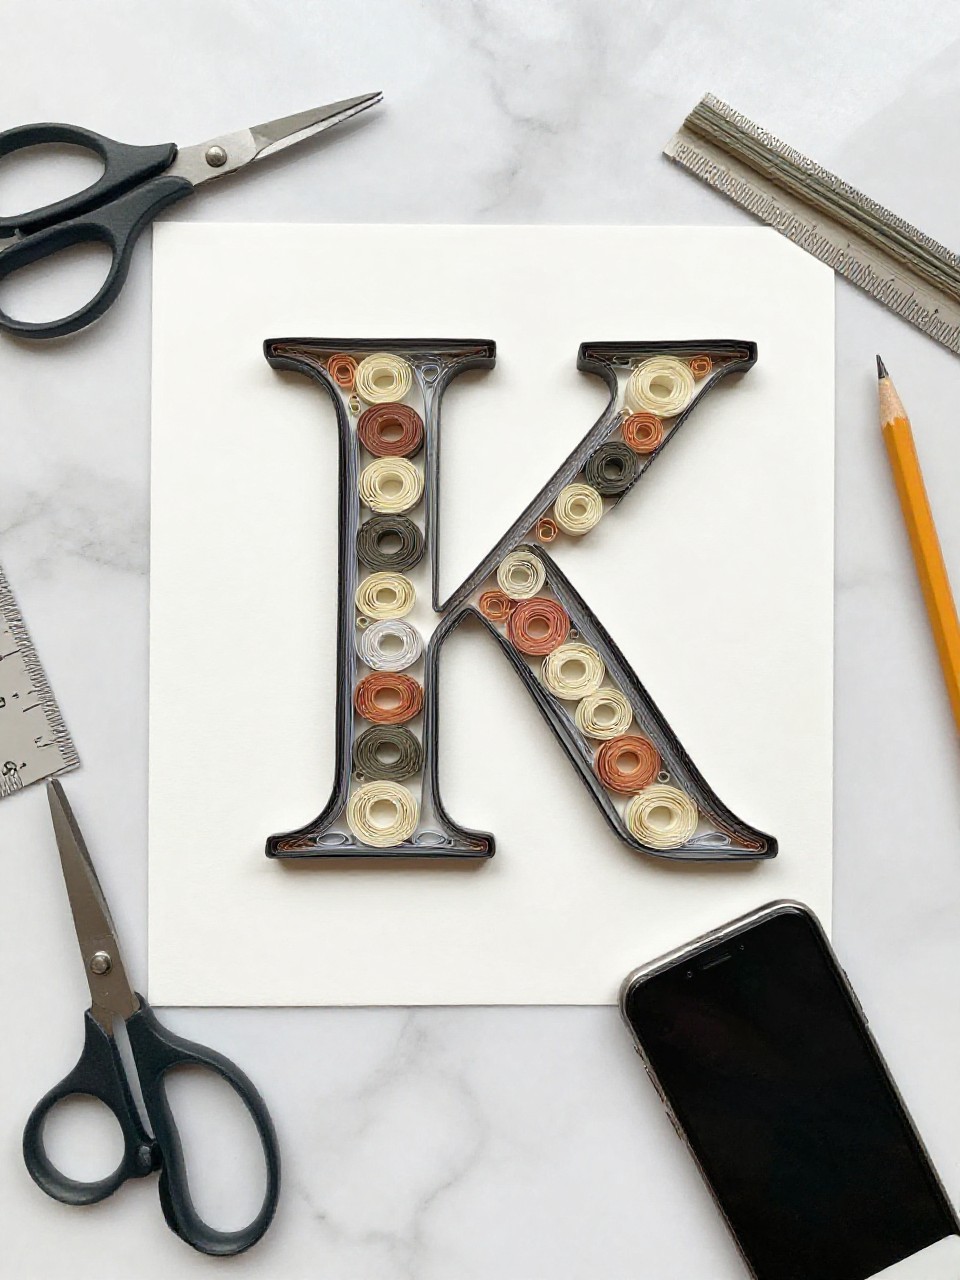
A single initial filled with curled paper shapes stands out on a clean background. It’s popular for kids’ rooms because it’s personal, easy to design, and teaches simple shape control.
Materials Needed:
- Quilling strips in 2–3 matching colors
- Thick cardstock or small canvas board
- Pencil and ruler
- Glue
- Quilling tool
How to make it:
- Lightly draw a large block letter in the center of the cardstock.
- Roll coils and shape them into teardrops and marquise pieces.
- Glue shapes to fill the letter; outline with a strip for a crisp edge if desired.
- Let dry, then display on a shelf or door.
6. Quilled Sunflower Magnet
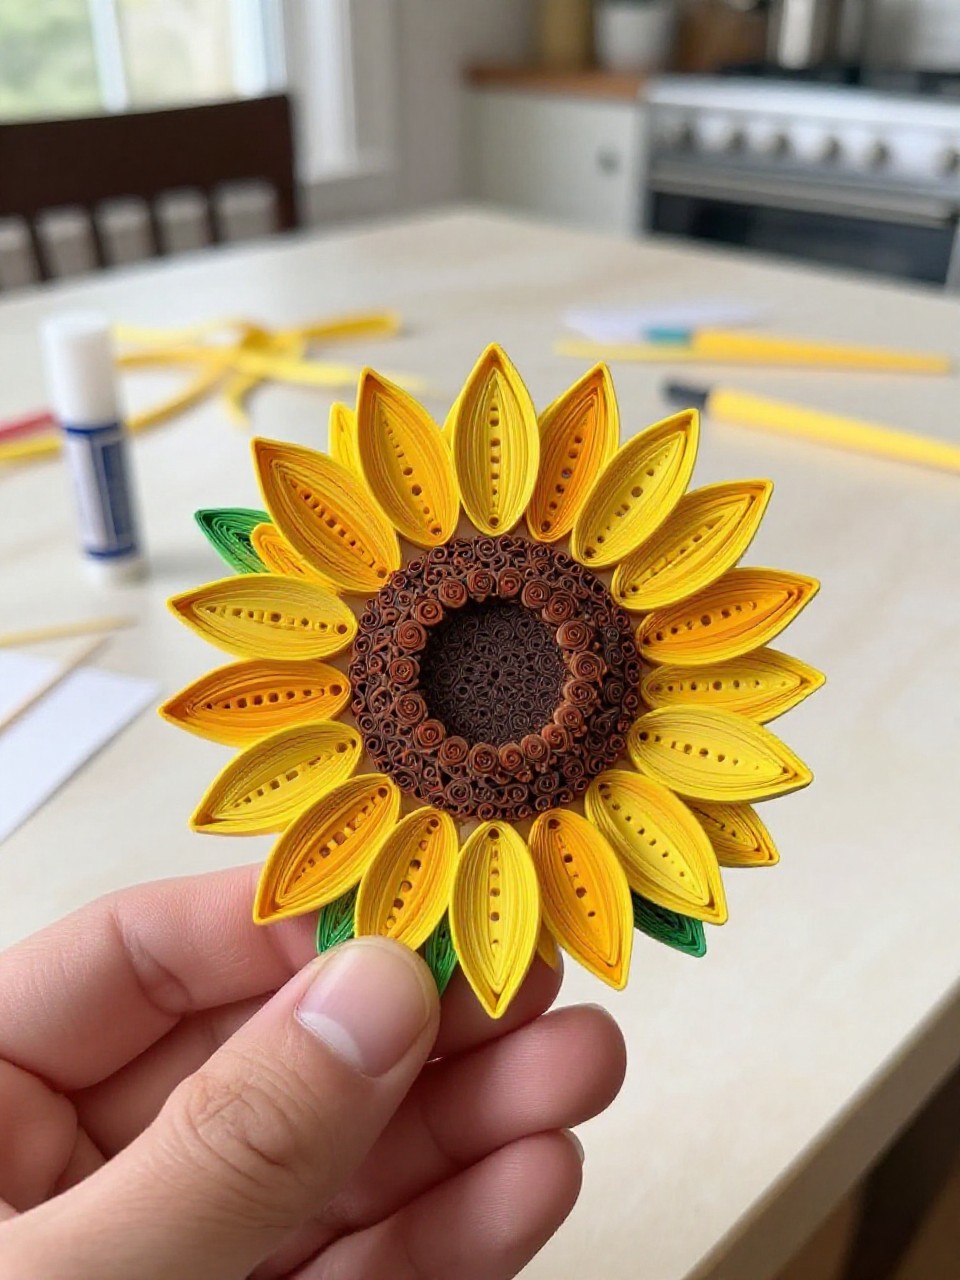
A bright yellow sunflower with a textured brown center becomes a cute fridge magnet. Kids enjoy building layered petals and seeing the flower pop into a circle shape.
Materials Needed:
- Yellow, brown, and green quilling strips
- Small round magnet and cardstock circle base
- Glue
- Quilling tool
- Clear-dry sealer (optional)
How to make it:
- Cut a cardstock circle slightly larger than your magnet.
- Roll brown tight coils to fill the center; glue onto the base.
- Make yellow teardrops for petals and green leaves; glue around the center.
- Attach magnet to back, let dry, and seal lightly if desired.
7. Quilled Ocean Wave Postcard
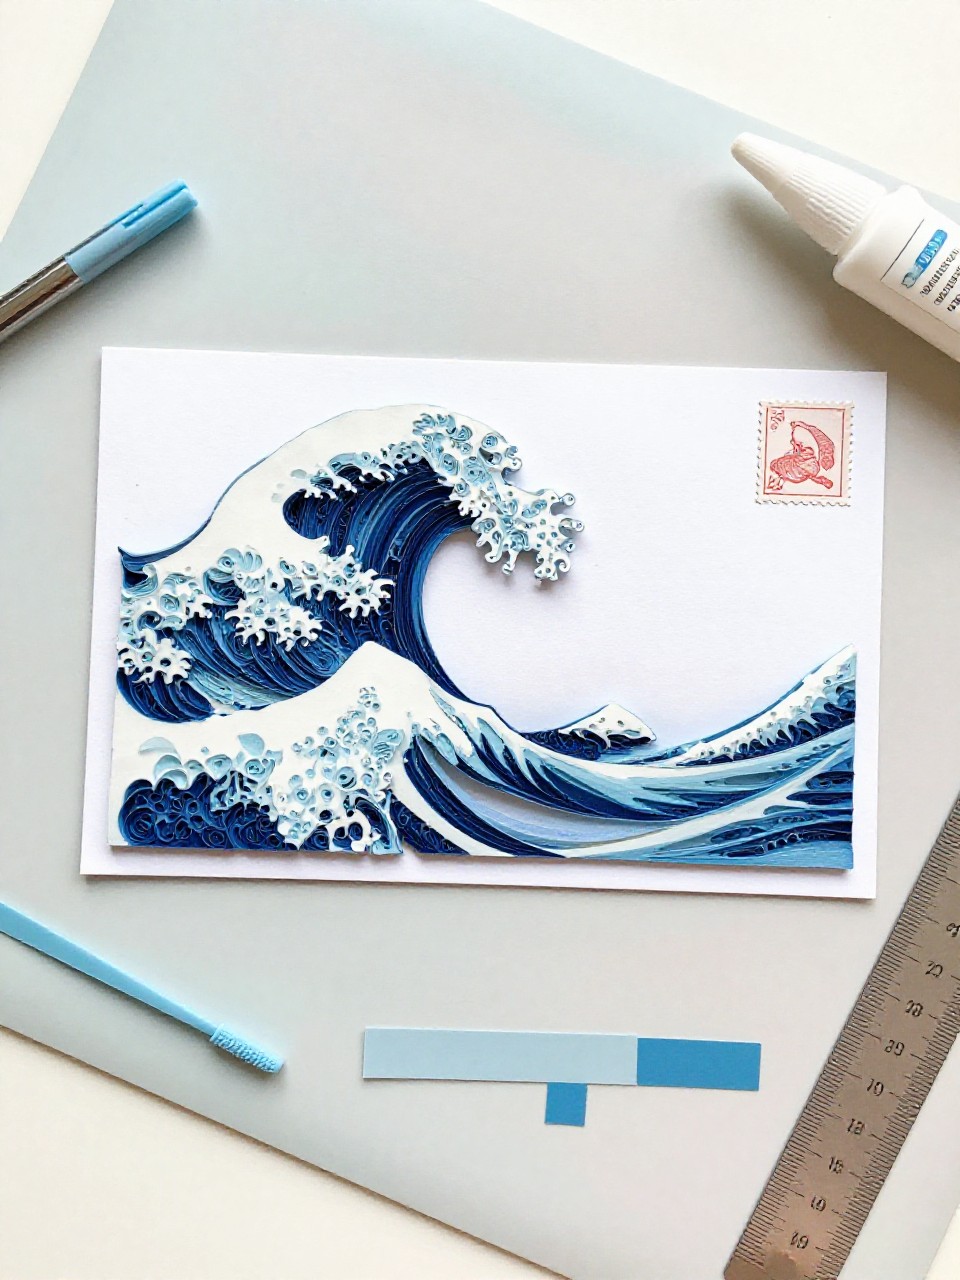
Curled blue strips form layered waves with a tiny quilled sun in the corner on a sturdy postcard. It’s soothing to make repeating curves, and the simple scene is great for beginners.
Materials Needed:
- Quilling strips in blues, white, and yellow
- Postcard-size cardstock
- Glue
- Quilling tool
- Pencil
How to make it:
- Lightly sketch wave lines across the lower half of the card.
- Roll loose coils and stretch them into curved “s” shapes; glue along the lines.
- Add a small yellow coil sun and white foam tips with tiny coils.
- Let dry and mail or display.
8. Quilled Cherry Blossom Branch
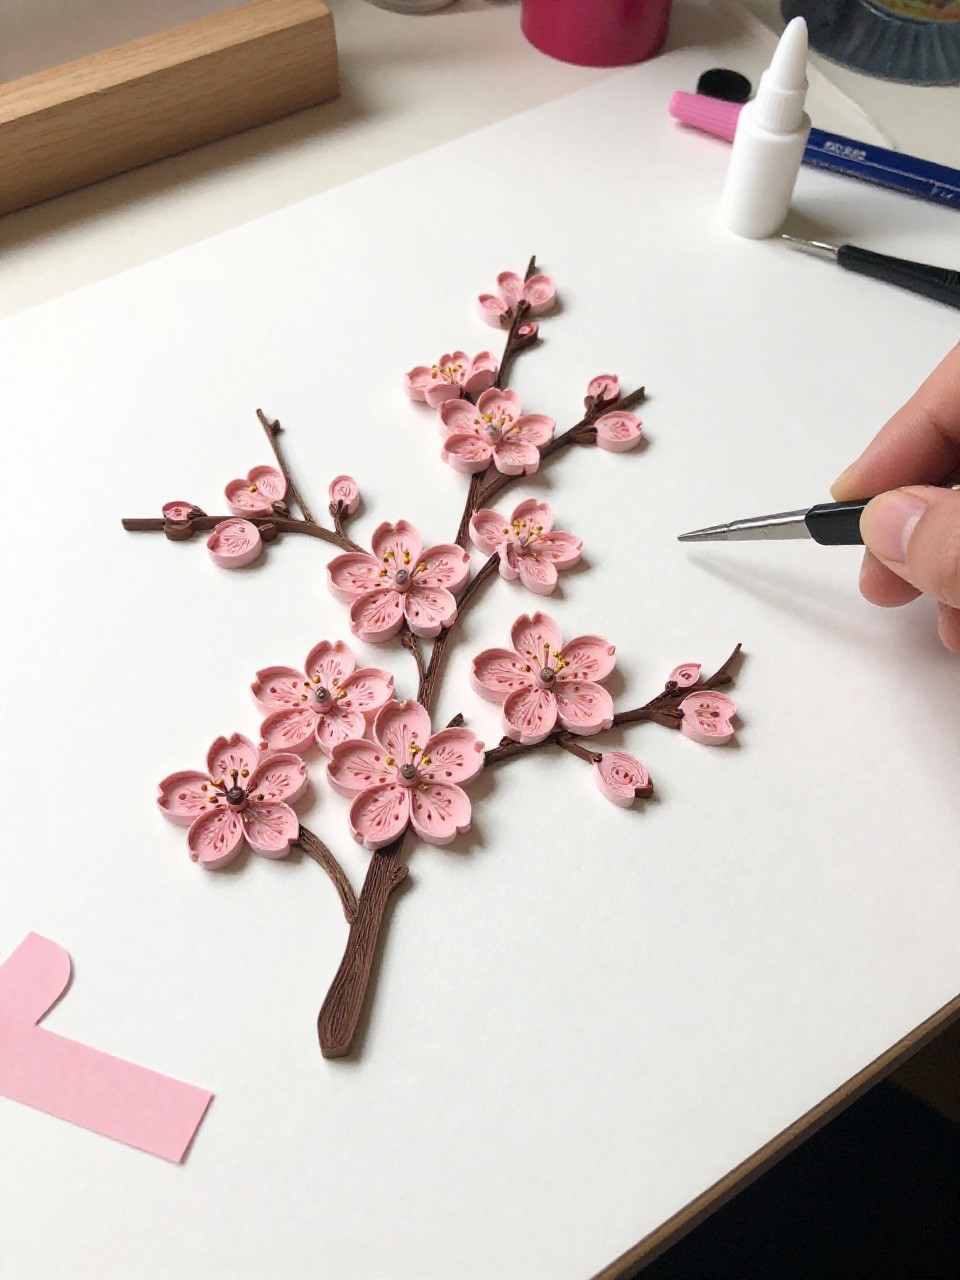
Soft pink blossoms and small green leaves sit along a simple brown paper branch on a white background. Kids enjoy assembling clusters of tiny flowers and seeing the branch come alive.
Materials Needed:
- Pink, green, and brown quilling strips
- White cardstock background
- Glue
- Quilling tool and tweezers
- Frame (optional)
How to make it:
- Glue a brown strip in a gentle curve for the branch and add smaller offshoots.
- Roll small pink loose coils; pinch into teardrops and arrange five per flower.
- Glue clusters along the branch; add tiny green leaves.
- Dry flat and frame or hang.
9. Quilled Hot Air Balloon Wall Hanging
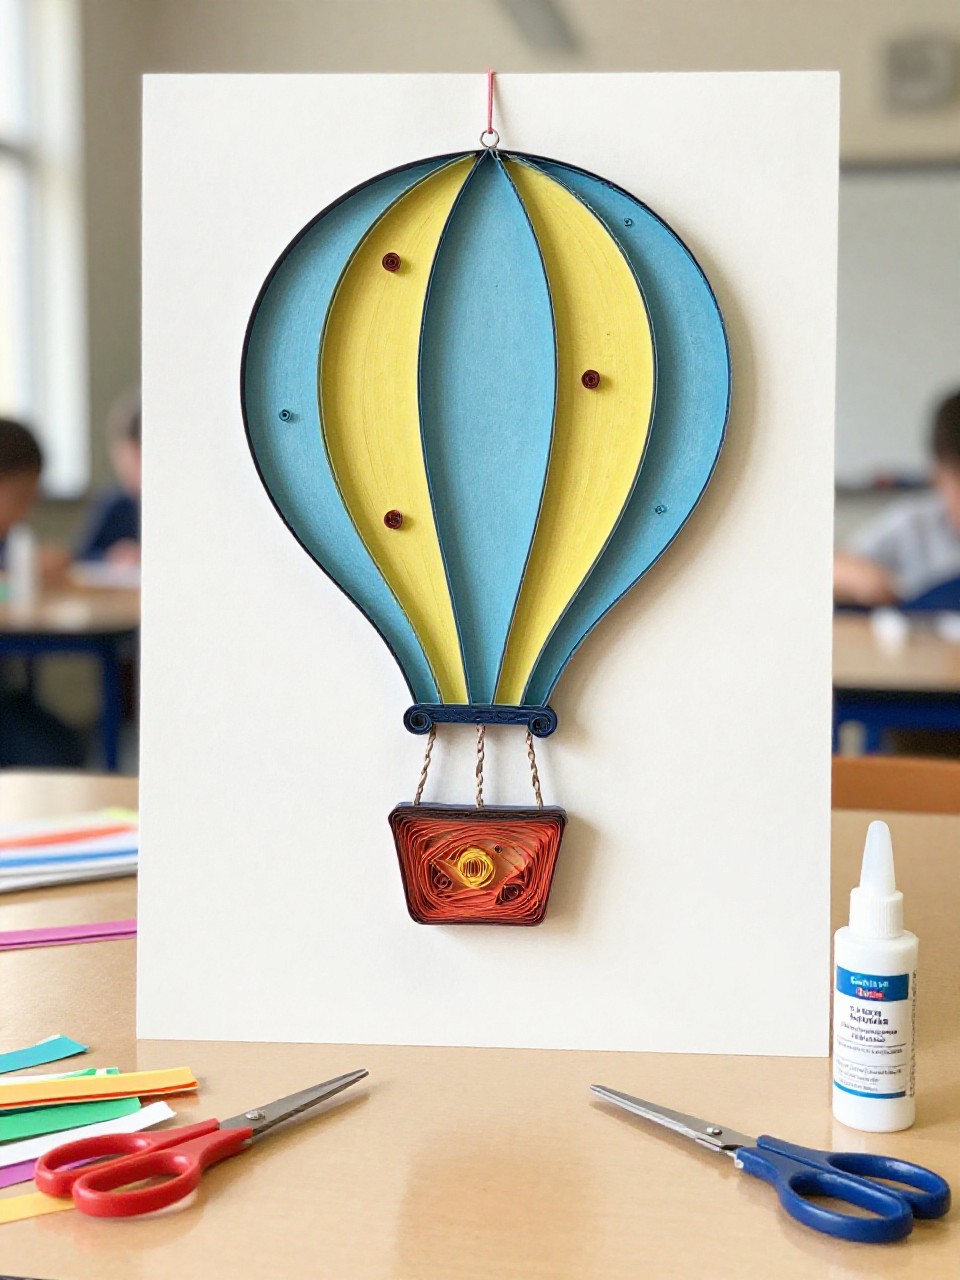
A large, rounded balloon made from colorful vertical coils floats above simple cloud shapes on cardstock. Kids love choosing a color pattern and watching the balloon shape appear piece by piece.
Materials Needed:
- Multicolor quilling strips
- Light blue cardstock background
- Glue
- Pencil
- Quilling tool and cotton balls (optional for clouds)
How to make it:
- Sketch a big balloon with a small basket underneath.
- Roll medium loose coils; press into ovals and line them inside the balloon shape.
- Add a brown strip basket and white quilled coils or cotton for clouds.
- Dry, then hang with tape or frame.
10. Quilled Ladybug Mini Art
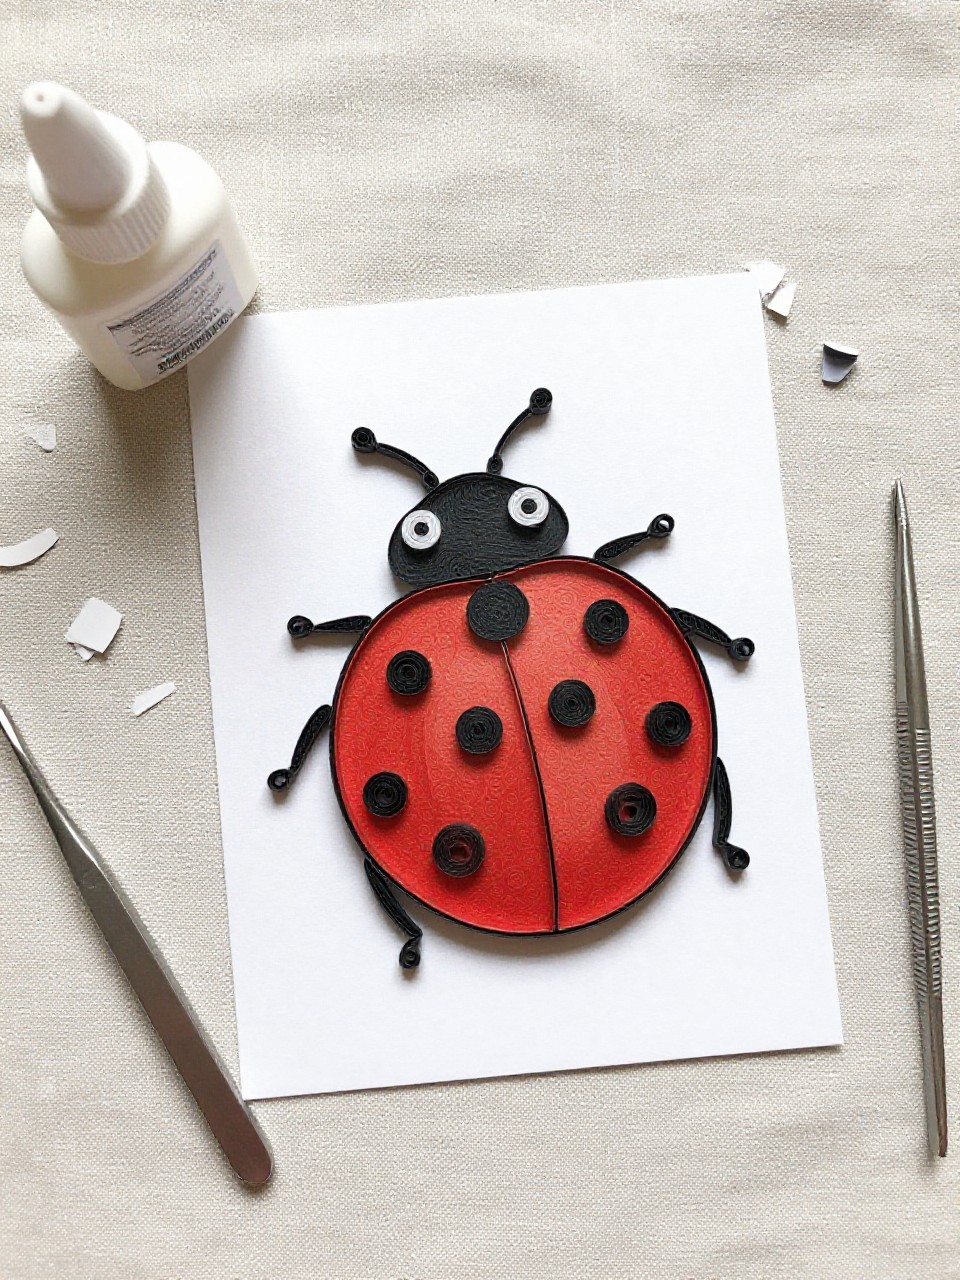
A cute red ladybug with black spots rests on a green leaf square. It’s quick, adorable, and perfect for short attention spans.
Materials Needed:
- Red, black, and green quilling strips
- Small square cardstock base (4 x 4 inches)
- Glue
- Quilling tool
- White gel pen (optional highlight)
How to make it:
- Roll a large red oval coil for the body and a smaller black coil for the head.
- Glue them onto the base; add a thin black strip down the center.
- Add tiny black tight coils for spots and a green leaf made of teardrops.
- Dry, add tiny highlights if you like, and display.
11. Quilled Spiral Feather Earrings

Lightweight paper feather shapes hang from simple earring hooks, with curled strands that look airy and elegant. Older kids or teens enjoy the wearable result and the neat spiral effect.
Materials Needed:
- Quilling strips in one or two colors
- Earring hooks and small jump rings
- Glue
- Quilling tool
- Clear sealer or Mod Podge (optional)
How to make it:
- Roll a tight coil, let it loosen slightly, and pinch into a long leaf shape.
- Fringe one edge of several short strips and glue along the leaf center spine.
- Gently curl fringes with a tool; glue top to secure and attach a jump ring and hook.
- Let dry fully and seal lightly for strength before wearing.
12. Quilled Ice Cream Cone Art
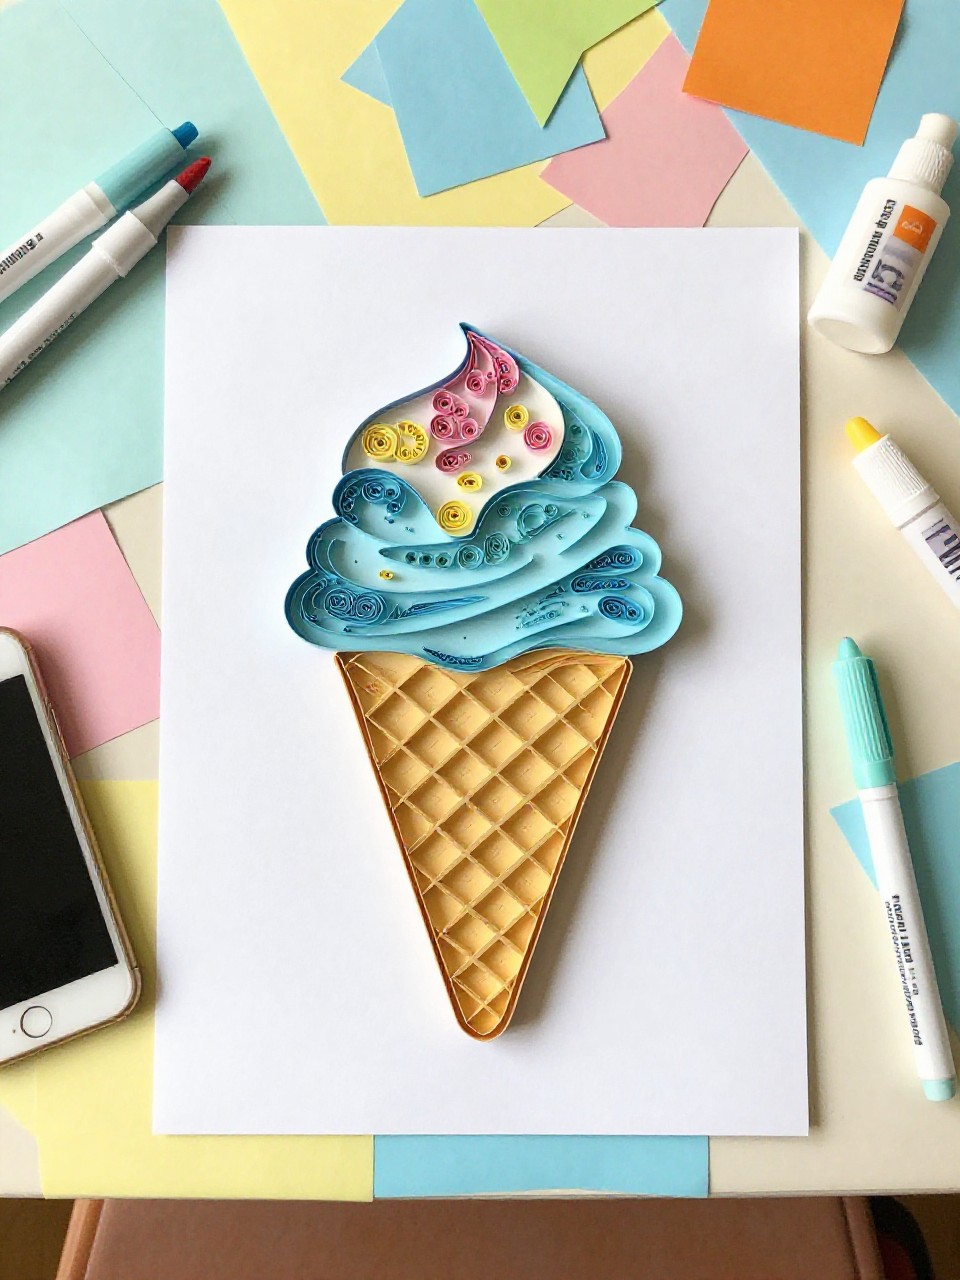
A waffle cone drawn in pen holds three scoops made from pastel quilled coils with sprinkle accents. Kids love the dessert theme and easy round shapes.
Materials Needed:
- Pastel quilling strips
- White cardstock
- Fine-tip brown pen
- Glue
- Quilling tool and tiny seed beads (optional sprinkles)
How to make it:
- Draw a simple cone with a crisscross pattern on the cardstock.
- Roll three large loose coils in different colors; glue as stacked scoops.
- Add tiny coils or mini beads as sprinkles and a red tight coil cherry.
- Dry flat and hang on the fridge.
13. Quilled Owl Greeting Card
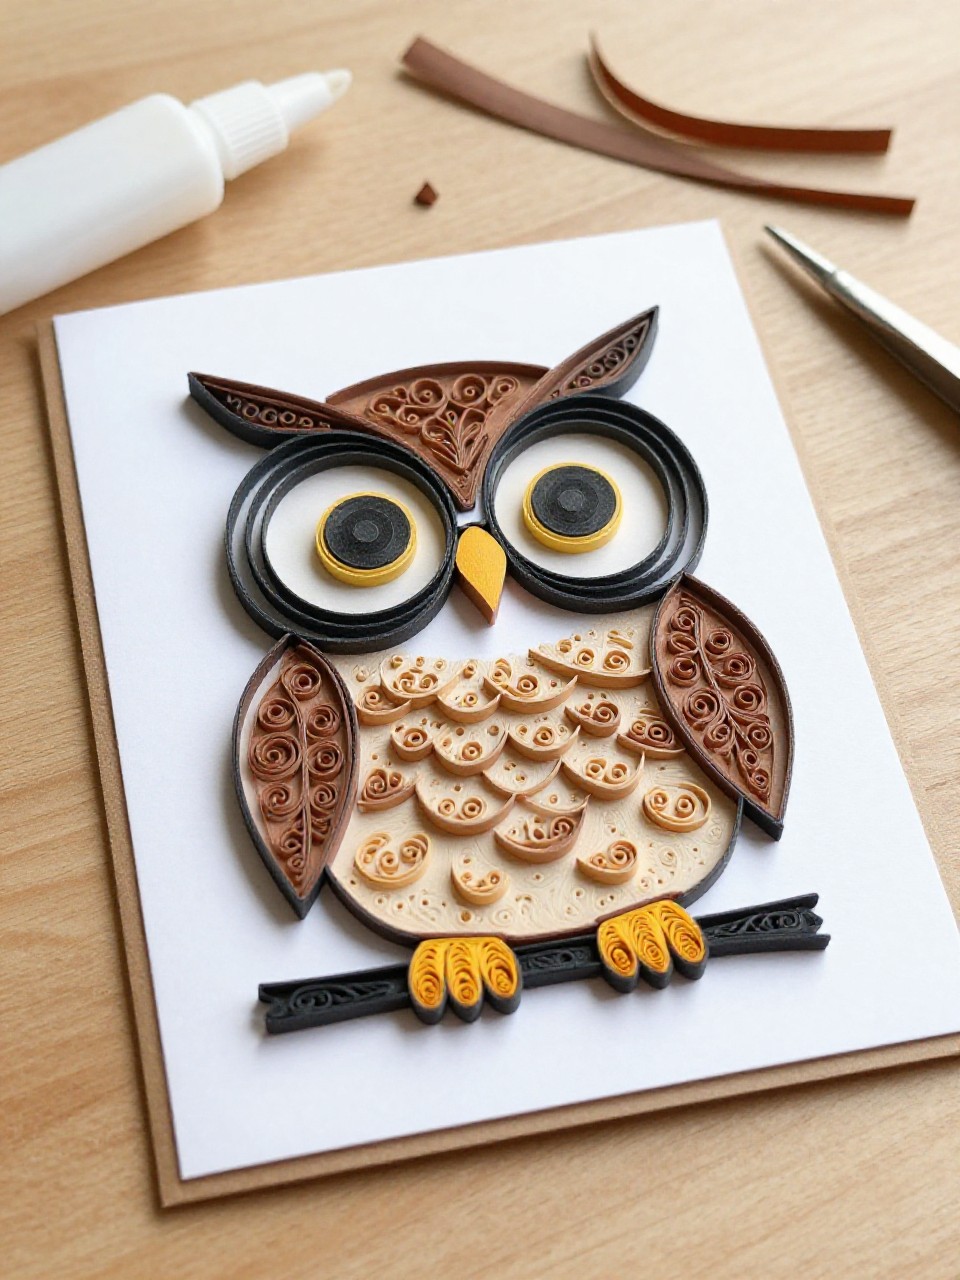
A round, big-eyed owl sits on a branch with layered feathers made from marquise shapes. Kids enjoy the cute face and mixing browns, tans, and a pop of color.
Materials Needed:
- Brown, tan, yellow, white, and black quilling strips
- Blank card
- Glue
- Quilling tool
- Pencil
How to make it:
- Sketch a small branch on the card.
- Make two large white tight coils for eyes, add black pupils, and yellow beak.
- Create marquise shapes in browns for body and wings; glue onto branch.
- Let dry and add a short note inside.
14. Quilled Galaxy Star Jar
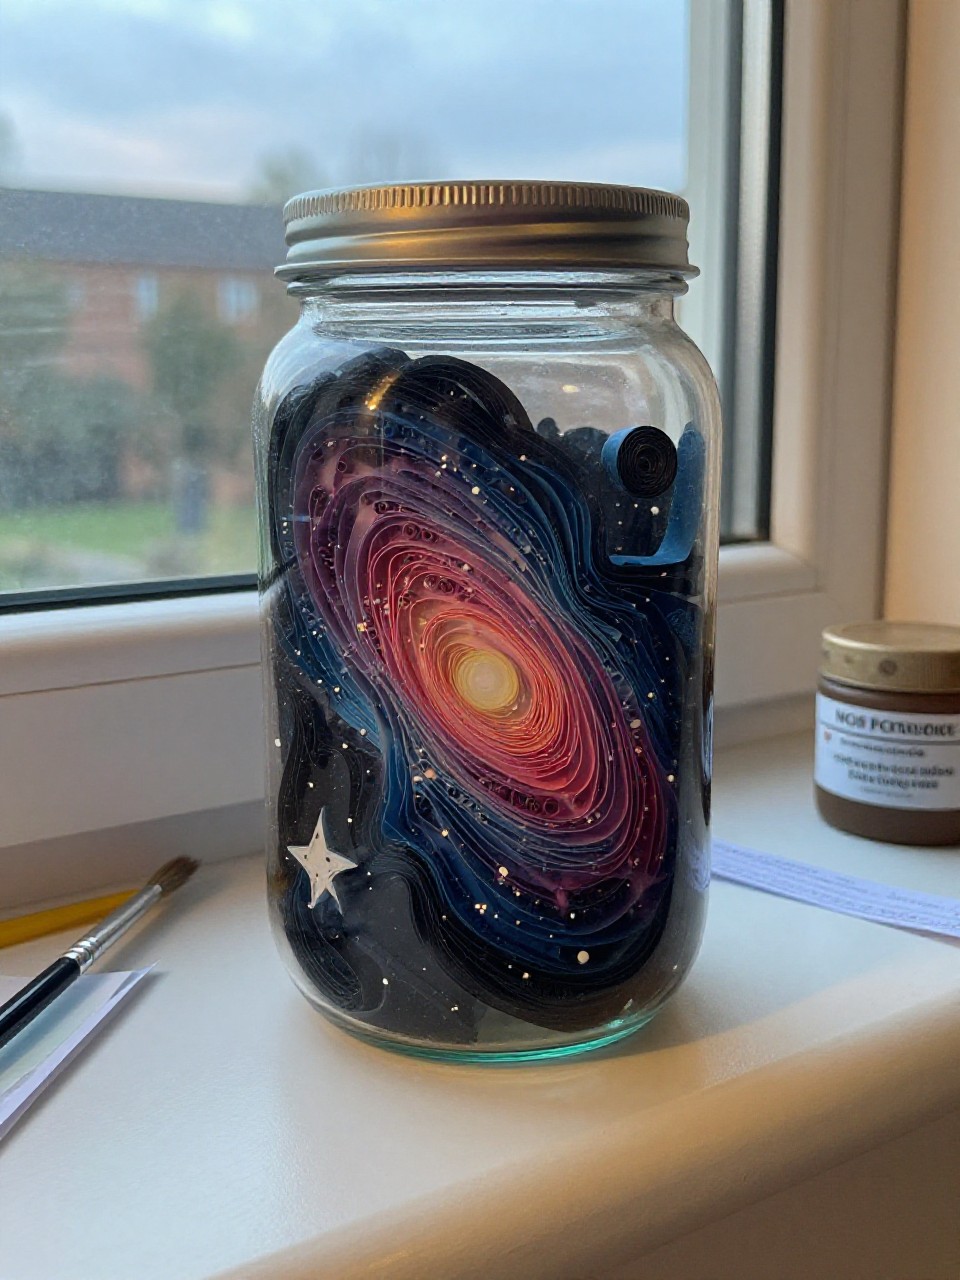
Tiny quilled stars and swirls are glued on a painted jar to make a night-sky lantern. Kids love the sparkle and the magic glow when a tea light is inside.
Materials Needed:
- White, yellow, and blue quilling strips
- Clean glass jar
- Mod Podge or clear-dry glue
- Battery tea light
- Paint (navy or black) and brush
How to make it:
- Paint the outside of the jar dark and let it dry.
- Roll small tight coils and star shapes (pinch points) from strips.
- Glue stars and swirl trails onto the jar; seal with a thin Mod Podge coat.
- Dry fully and place a battery tea light inside to display.
15. Quilled Cactus Mini Planter Art
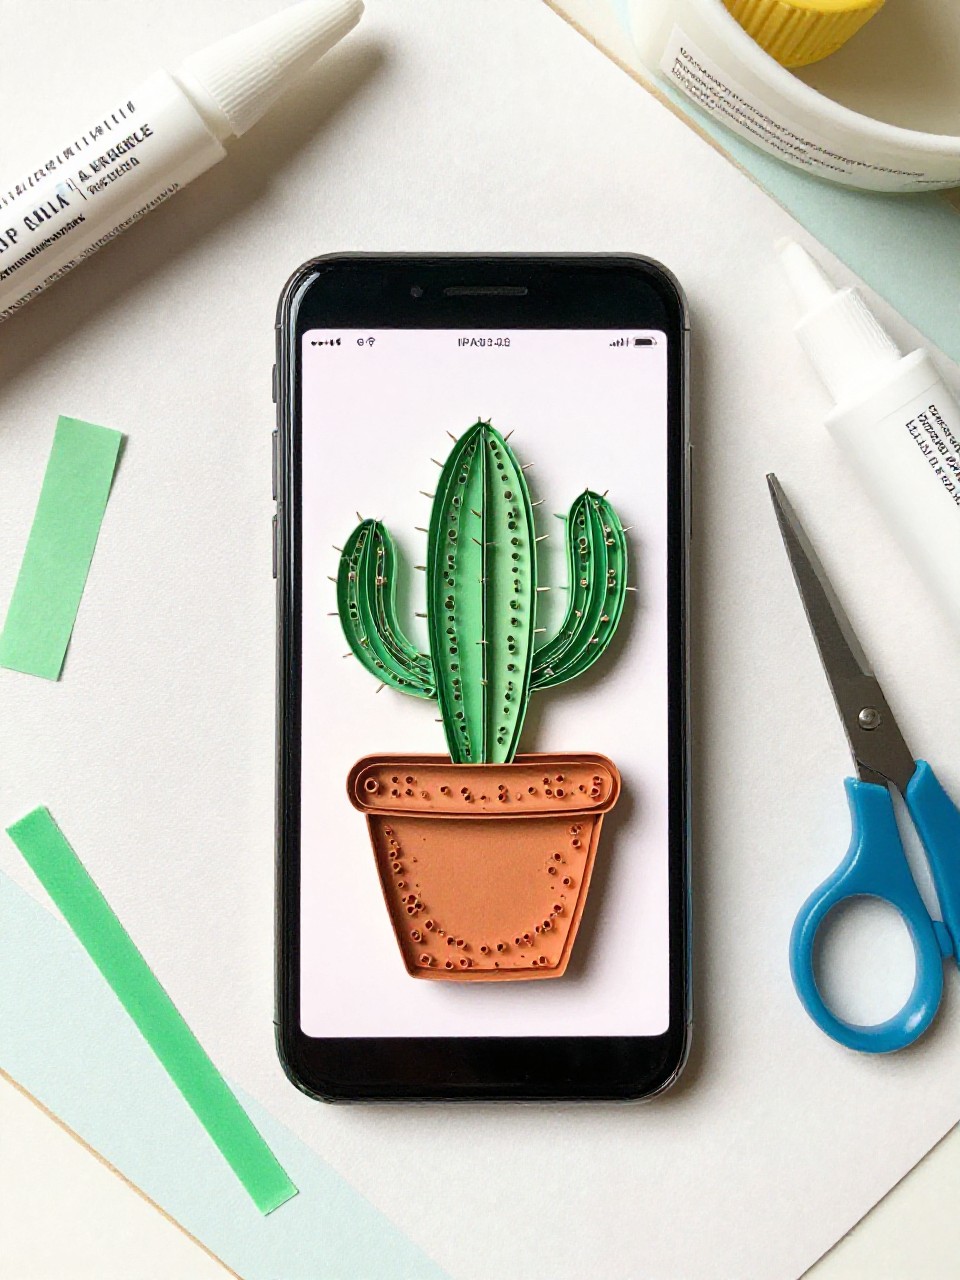
A cute cactus made of green coils and teardrops sits in a tiny paper pot with a bright quilled flower. It’s fun because kids can make bouncy shapes that look like real cactus pads without any prickles.
Materials Needed:
- Green, pink, and terracotta quilling strips
- Small cardstock square or mini canvas
- Glue
- Quilling tool
- Fine-tip pen (optional pot details)
How to make it:
- Draw or glue a terracotta strip rectangle as the pot on the base.
- Roll green coils and pinch into teardrops or ovals; stack to form cactus pads.
- Add a small pink tight coil flower and tiny white pen dots for “spines.”
- Dry and set on a shelf.
16. Quilled Rainbow Name Banner
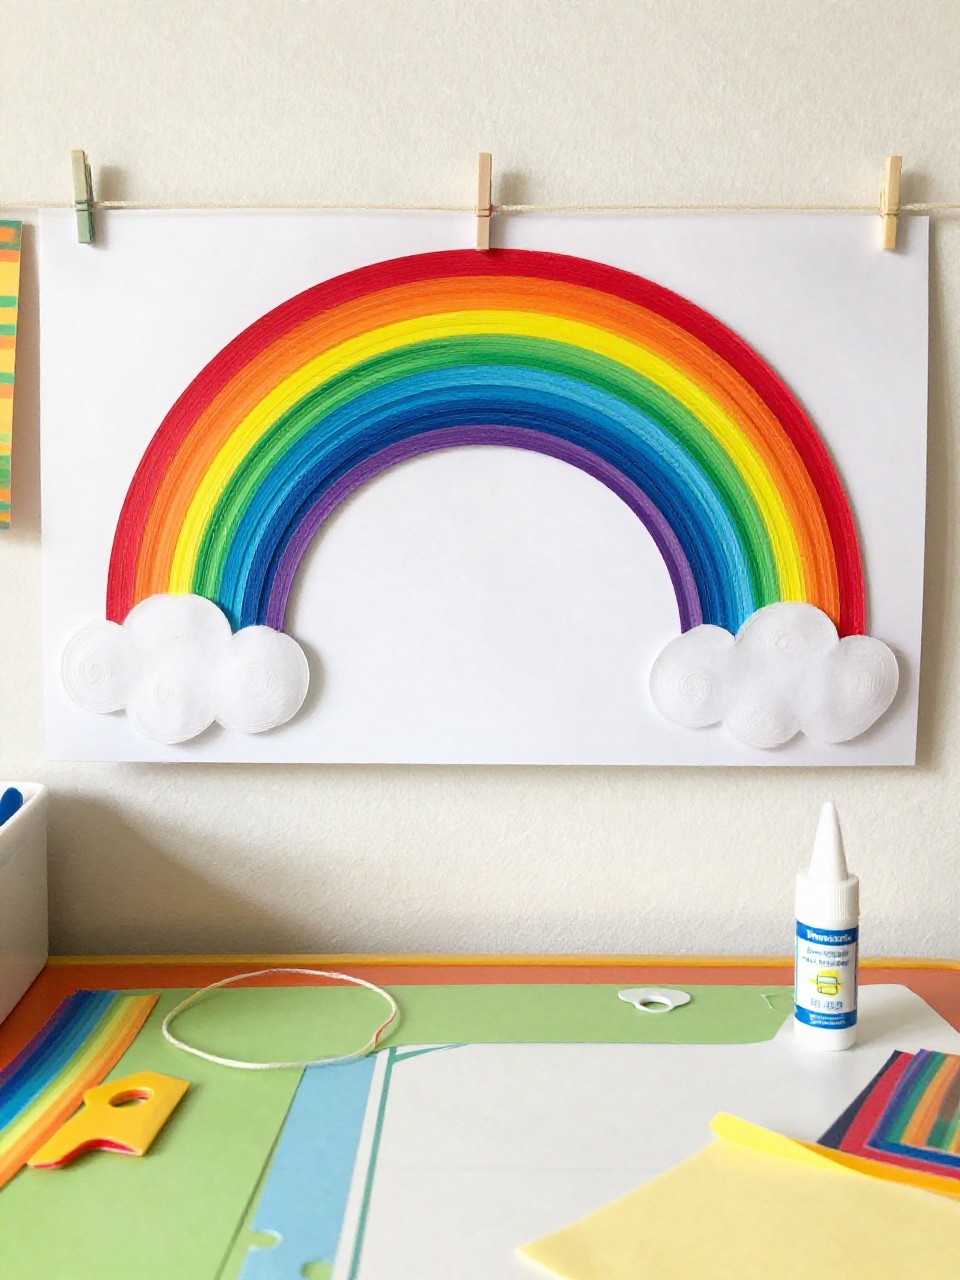
Individual quilled letters in rainbow colors are glued to small cardstock flags and strung into a banner. Kids love seeing their name in bright colors and helping arrange the order.
Materials Needed:
- Rainbow quilling strips
- Small cardstock pennant flags and string
- Glue
- Hole punch
- Quilling tool
How to make it:
- Punch holes in the top corners of each flag and lay them in name order.
- For each letter, outline with strips and fill with coils or teardrops.
- Glue letters to flags; let dry completely.
- String the flags, tie ends, and hang over a desk or bed.