


In This Article Show
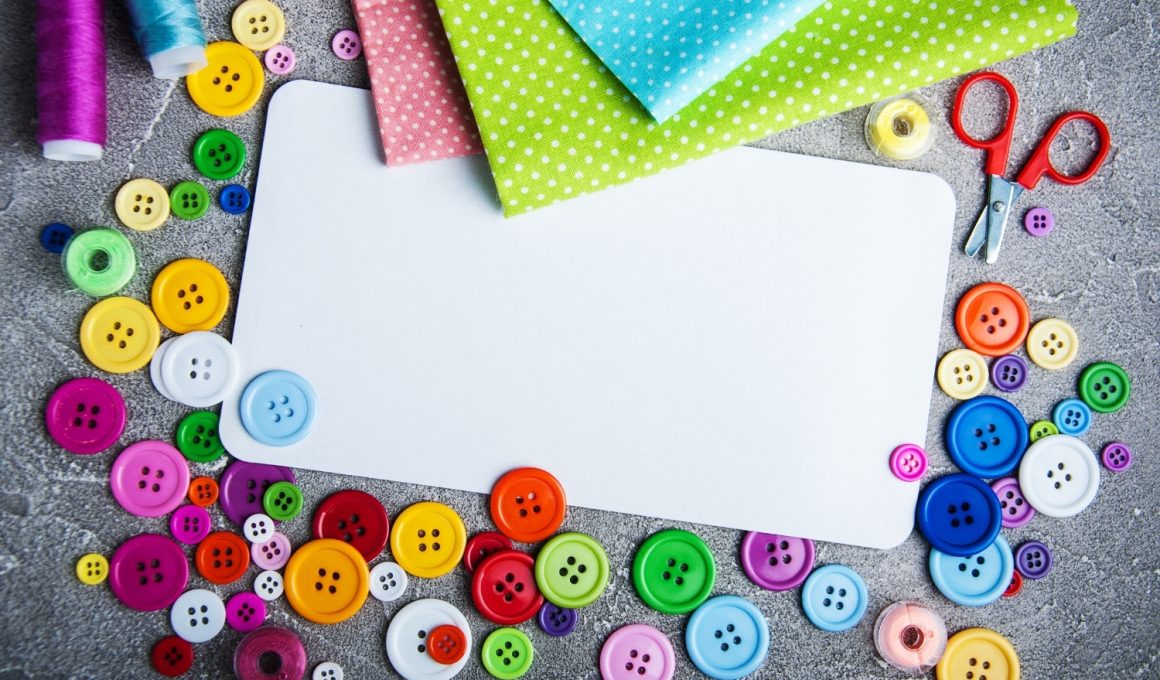
Keeping busy on a rainy afternoon or planning a calm craft night can be hard when you want something simple but stylish. If you have a jar of spare buttons, you’re halfway to a fun project already. This list gives you easy, modern button crafts that look polished, not childish, and won’t take all day.
You’ll find wall art, wearable pieces, and small home accents you can gift or keep. Let’s dive into 15 button ideas you’ll actually want to make.
1. Minimal Button Monogram Canvas
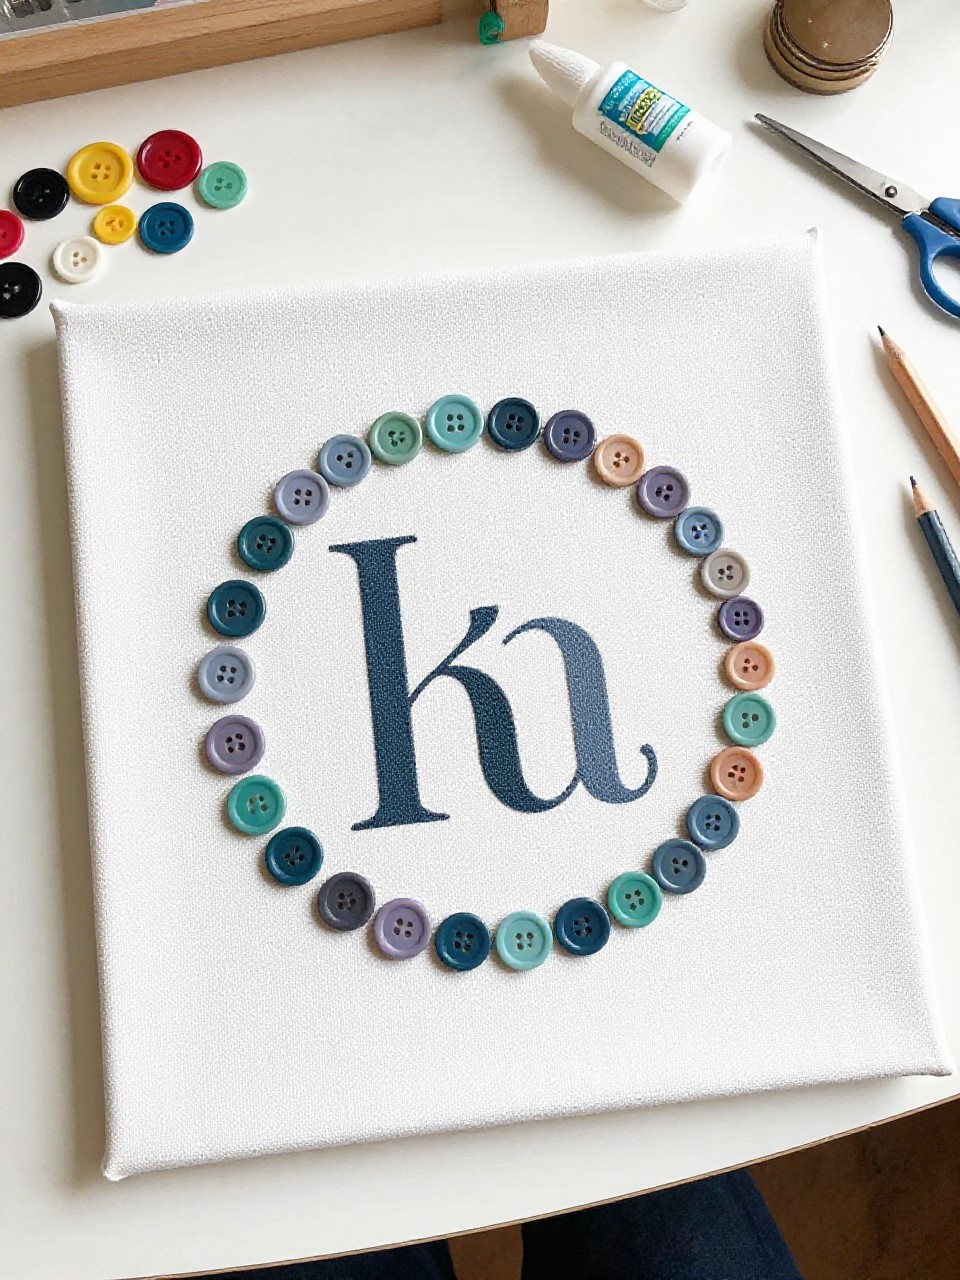
A crisp letter made from layered buttons pops on a neutral canvas, creating clean, modern wall art. It’s relaxing to arrange colors and sizes until the curves look just right, and the result feels custom and grown-up.
Materials Needed:
- Blank canvas or canvas board (8×10 or larger)
- Assorted buttons in one color family
- Craft glue or hot glue
- Printed letter template
- Pencil
How to make it:
- Print and cut your letter; lightly trace it centered on the canvas.
- Glue larger buttons along the outline, then fill inside with medium and small ones.
- Layer extra buttons to cover gaps and create gentle dimension.
- Let dry flat, then hang or prop on a shelf.
2. Chic Button Bookmark Clips
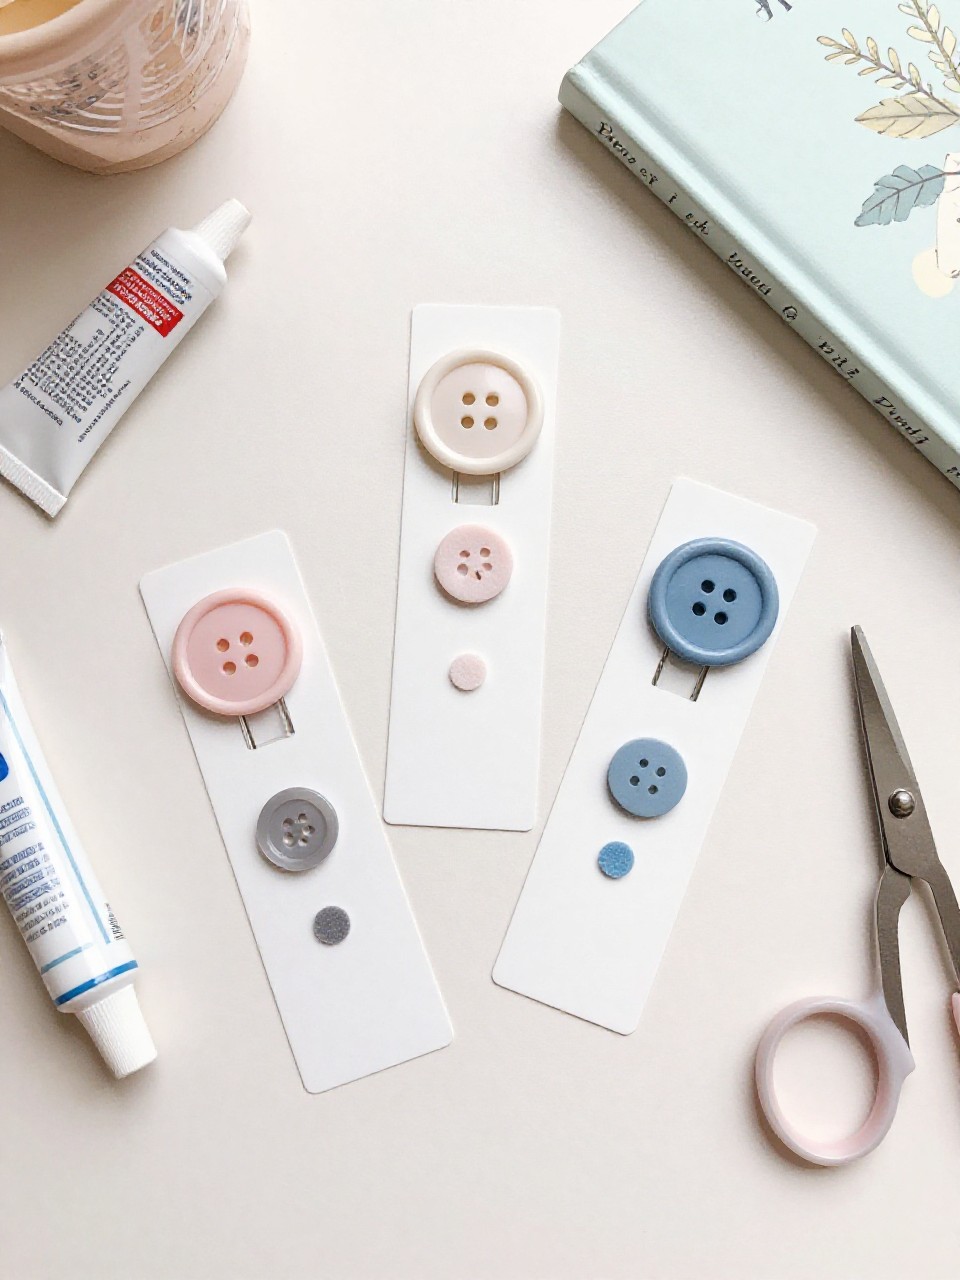
Large paperclips topped with statement buttons make sleek bookmarks that won’t damage pages. They’re quick to make and fun to match to your books or planner style.
Materials Needed:
- Jumbo paperclips (gold or matte black)
- Flat-back buttons or shank buttons (shanks removed)
- Strong craft glue or E6000
- Felt scraps (optional backing)
How to make it:
- If needed, remove button shanks with pliers and sand flat.
- Glue a felt circle to the back of the button, then glue onto the top loop of the paperclip.
- Add a matching button on the back for a neat finish.
- Let cure fully before clipping onto pages.
3. Button Embellished Linen Throw Pillow
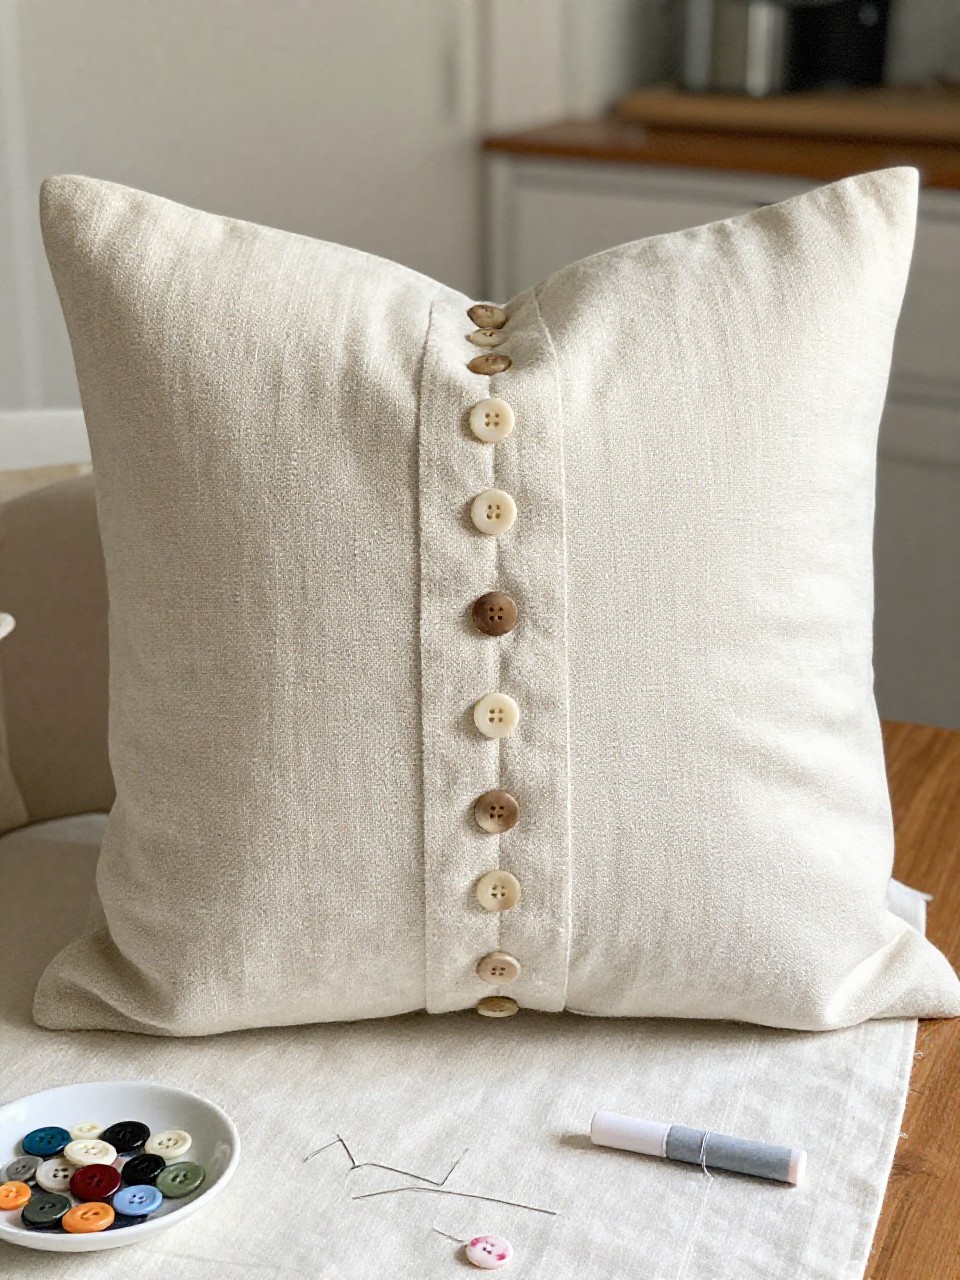
A plain linen pillow transforms with a simple stripe or cluster of buttons for a gallery-store look. It’s satisfying to choose a palette and sew each button securely, turning a basic pillow into quiet luxury.
Materials Needed:
- Linen pillow cover with insert
- Assorted buttons (metal, wood, or pearl)
- Needle and strong thread
- Fabric chalk or ruler
- Pins
How to make it:
- Mark a straight stripe or grid with chalk on the pillow cover.
- Pin buttons along the guide lines to plan spacing.
- Sew each button securely, knotting threads on the inside.
- Insert pillow and fluff; spot clean as needed.
4. Modern Button Hoop Wreath
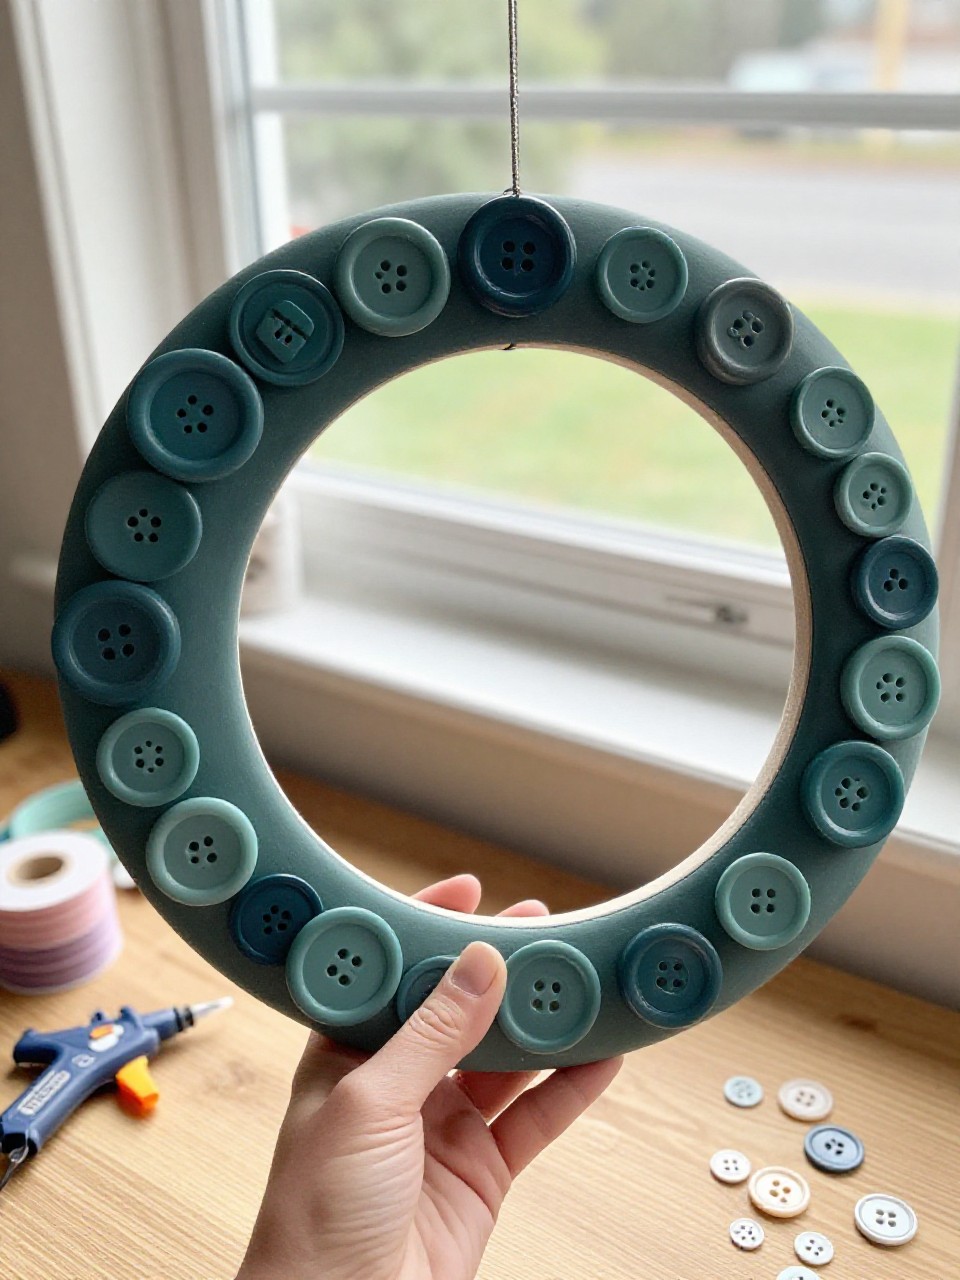
A slim embroidery hoop becomes a minimal wreath with a crescent of buttons and a ribbon tail. Adults enjoy arranging color gradients and textures to get that balanced, modern look.
Materials Needed:
- Wooden embroidery hoop (8–12 inch)
- Assorted buttons in one or two tones
- Floral wire or thin craft wire
- Hot glue
- Ribbon or twine
How to make it:
- Wrap a small section of the hoop with ribbon or twine as a base.
- Wire and glue buttons in a crescent along the lower side.
- Layer small buttons to fill spaces and build depth.
- Tie a hanging loop and display on a door or wall.
5. Gradient Button Wall Art Panel
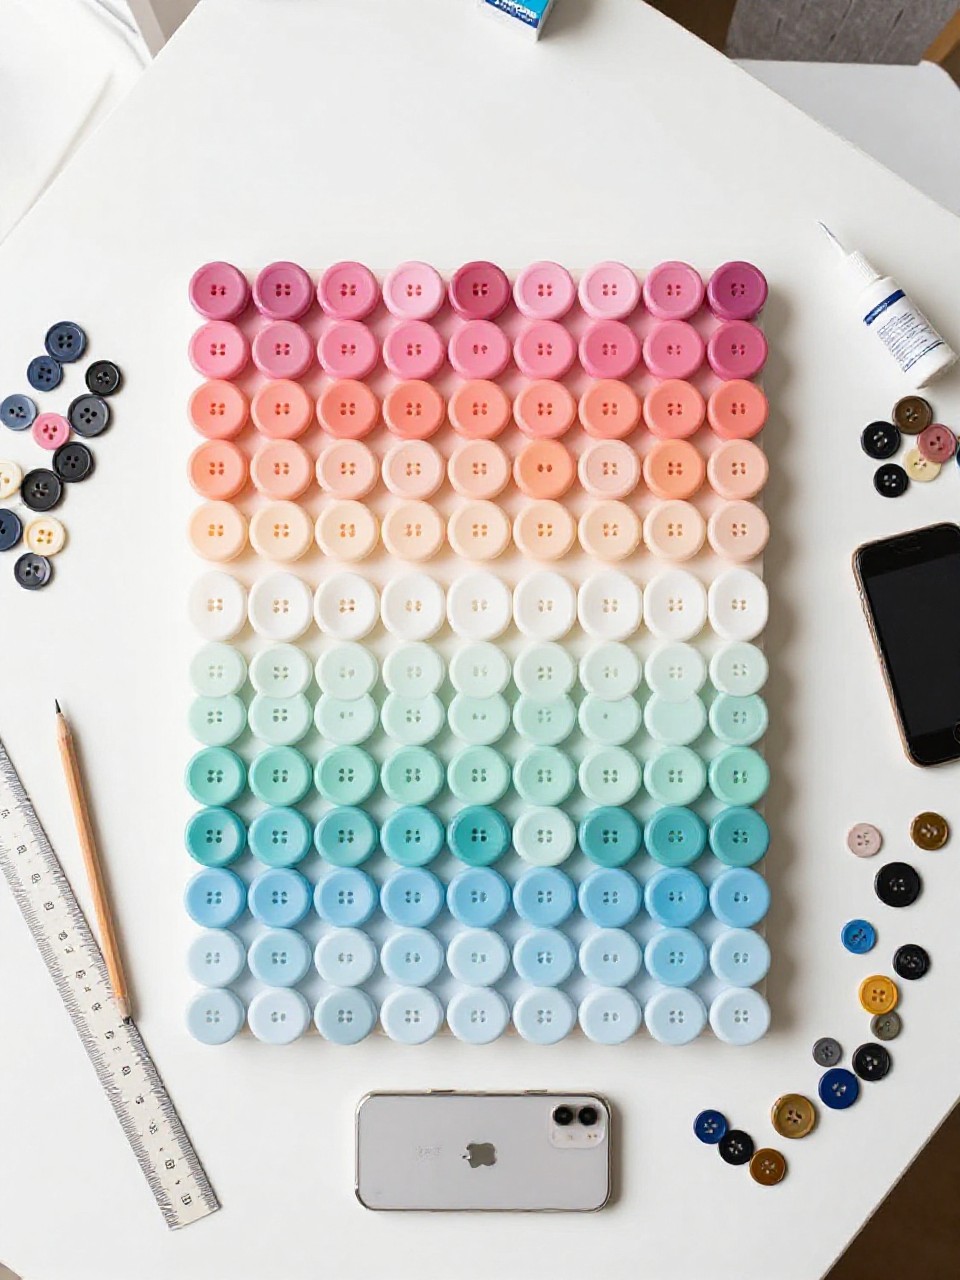
This piece shifts from dark to light buttons across a wood panel for a sleek ombré effect. Planning the gradient is like a calming puzzle, and the final piece looks high-end.
Materials Needed:
- Wood panel or thick canvas board
- Buttons sorted by shade
- Craft glue
- Ruler and pencil
- Hanging hardware
How to make it:
- Lightly sketch equal vertical bands to guide the gradient.
- Start on one side with darkest buttons, gluing edge to edge.
- Move band by band to lighter shades, layering small buttons in gaps.
- Let dry, attach hardware, and hang.
6. Button and Bead Statement Necklace
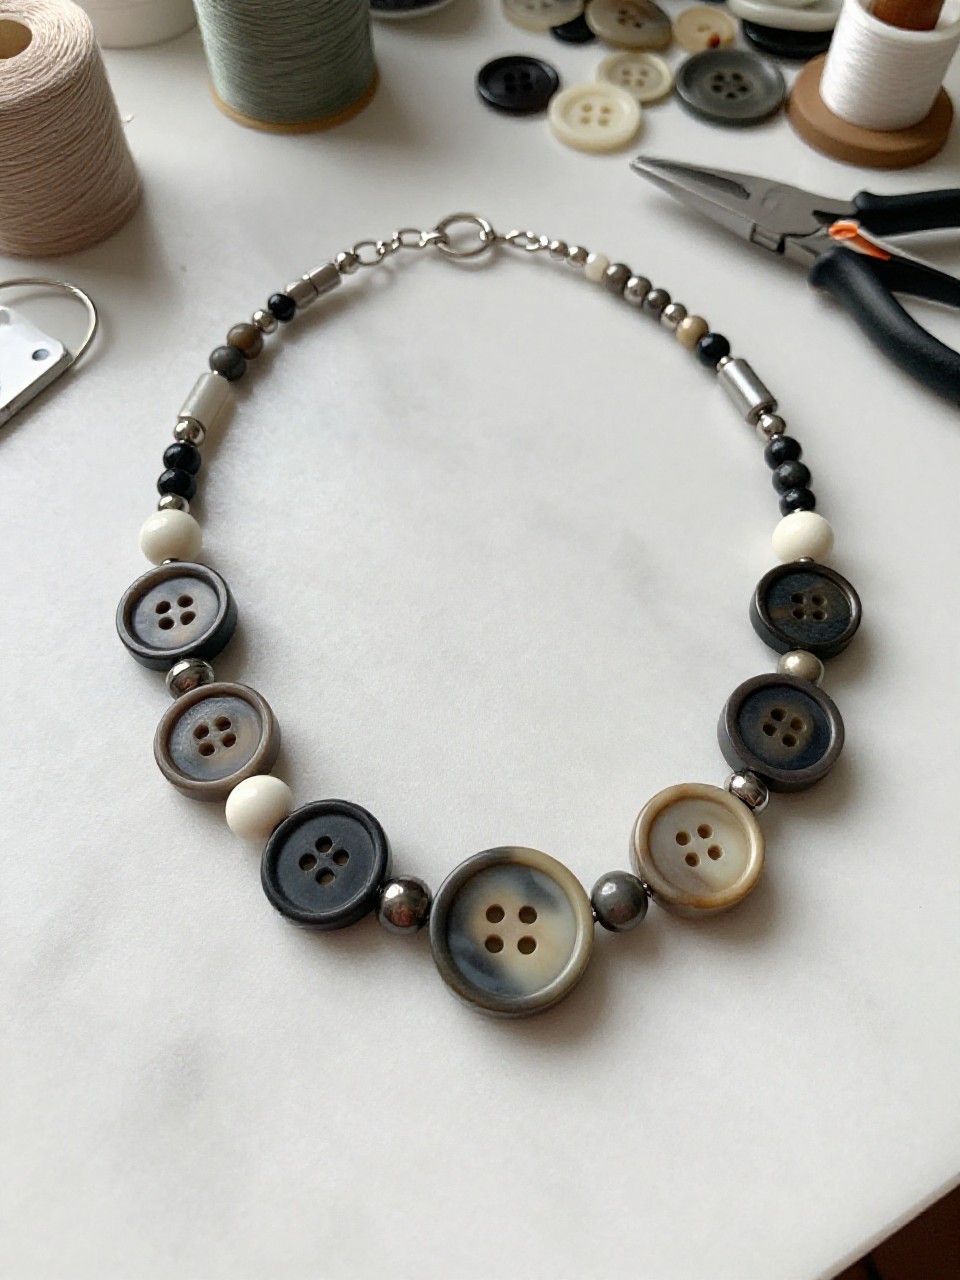
A cluster of vintage buttons and a few beads becomes a bold bib necklace. It’s satisfying to mix textures and turn keepsake buttons into wearable art.
Materials Needed:
- Assorted buttons (flat and shank)
- Seed beads or pearls (optional)
- Felt or leatherette backing
- Chain and jump rings
- Needle, thread, jewelry pliers, glue
How to make it:
- Cut a curved felt base that fits your neckline.
- Stitch or glue buttons tightly across the base; add beads in gaps.
- Attach chain to the felt with jump rings; back with another felt layer.
- Let dry and wear with a simple top.
7. Scandinavian Button Tree Art
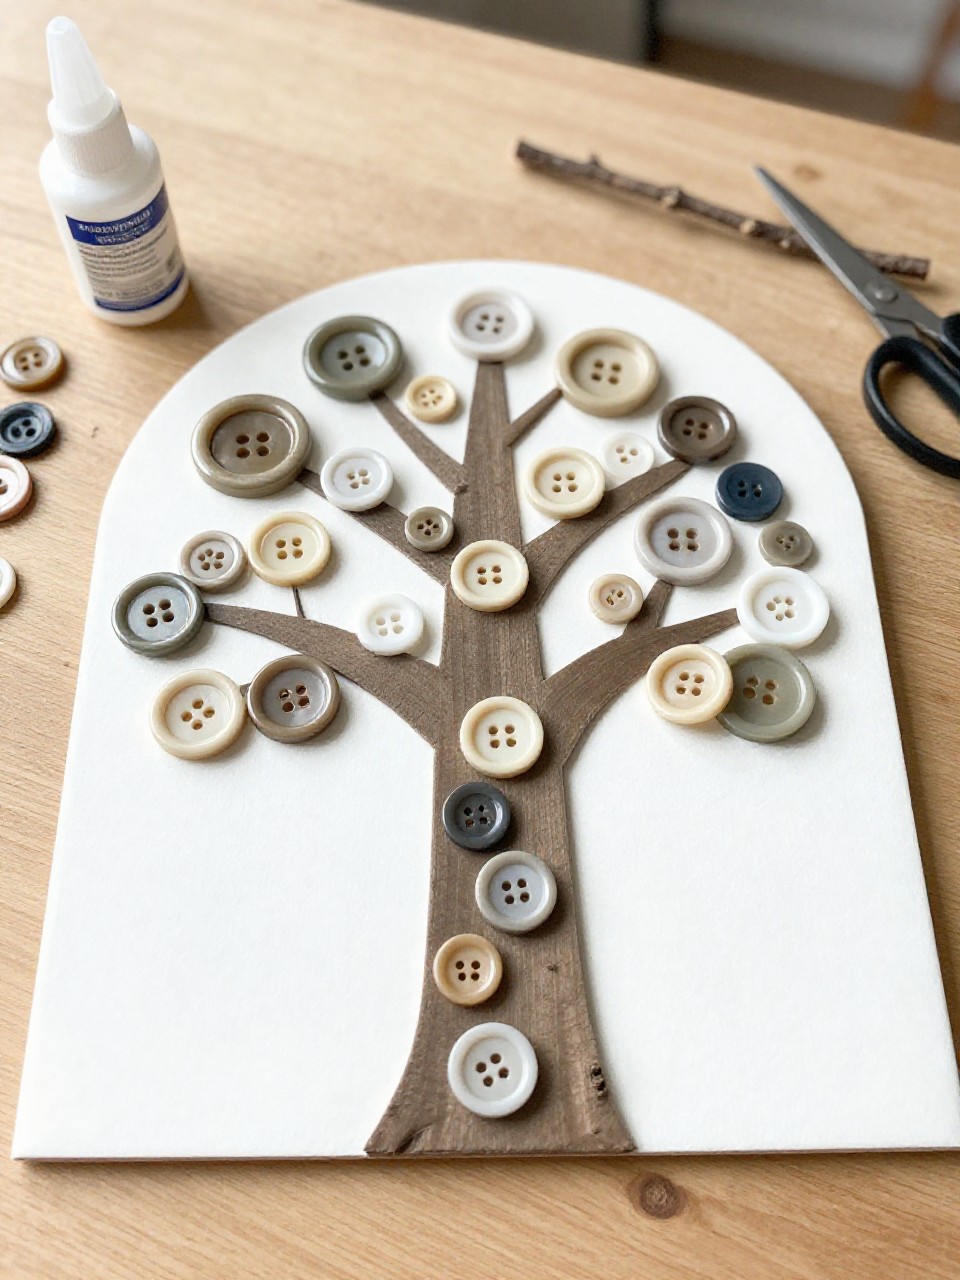
Buttons form simple tree shapes on a neutral background inside a shadow box. The clean lines and natural tones feel calm and look lovely in an entryway.
Materials Needed:
- Shadow box frame
- Linen or kraft paper backing
- Wood-tone and white buttons
- Craft glue
- Thin twig or brown cardstock strips
How to make it:
- Mount linen or kraft paper inside the shadow box.
- Glue a twig or paper strip as the trunk.
- Arrange buttons as a tidy oval or triangle canopy and glue in place.
- Close the frame and display upright.
8. Leather Cord Button Wrap Bracelet
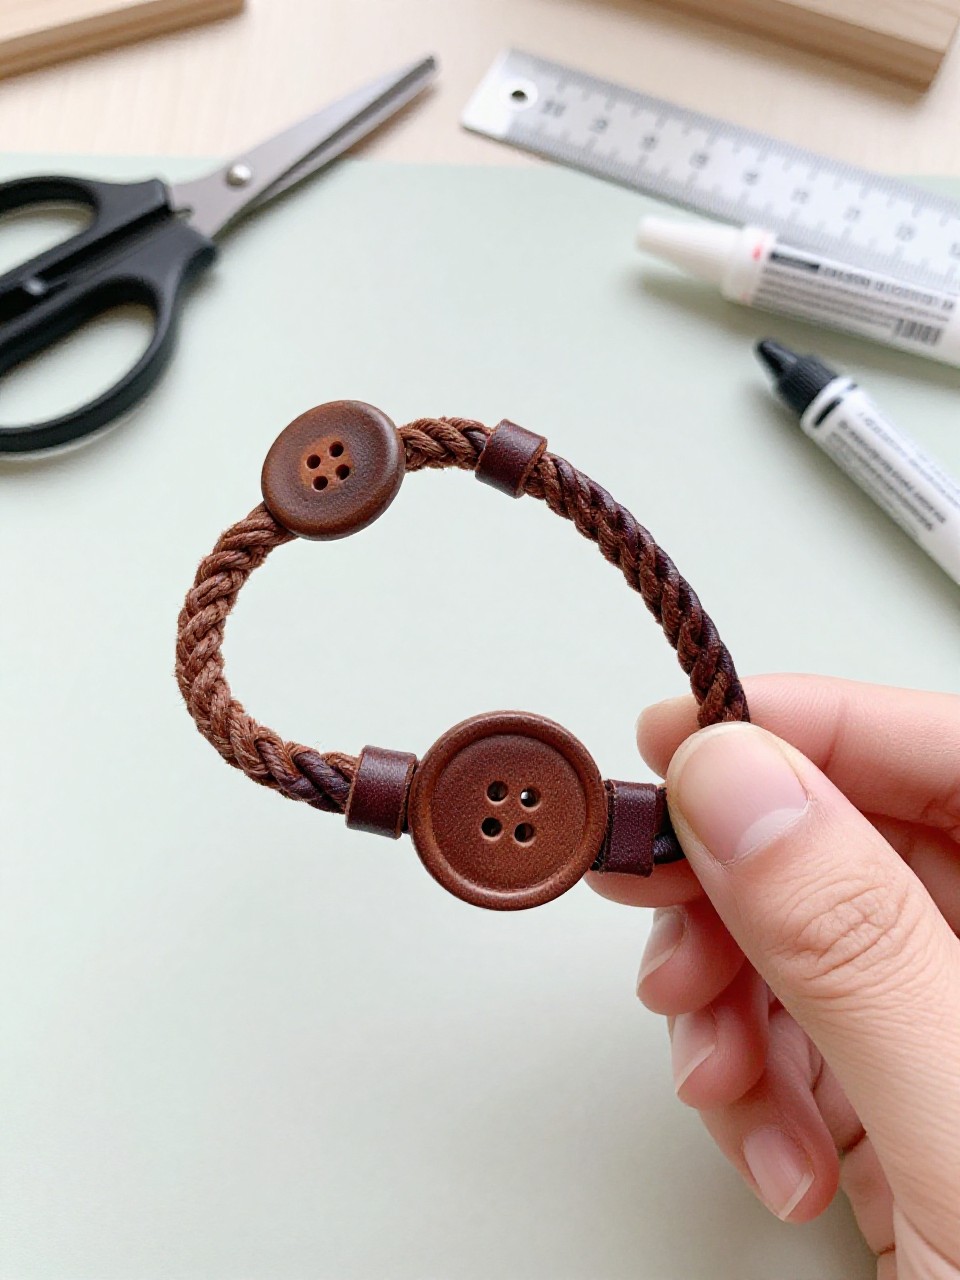
A sleek leather cord wraps the wrist, featuring a single striking button as the closure. It’s quick, practical, and feels chic without much effort.
Materials Needed:
- Leather cord (2–3 mm)
- Large flat button (2 holes)
- Scissors
- Super glue
- Ruler
How to make it:
- Cut a length of cord to wrap your wrist 3–4 times.
- Thread both cord ends through the button holes from the back.
- Tie secure knots and add a drop of glue.
- Wrap and fasten by slipping loops over the button.
9. Button-Trimmed Fabric Planter Sleeve
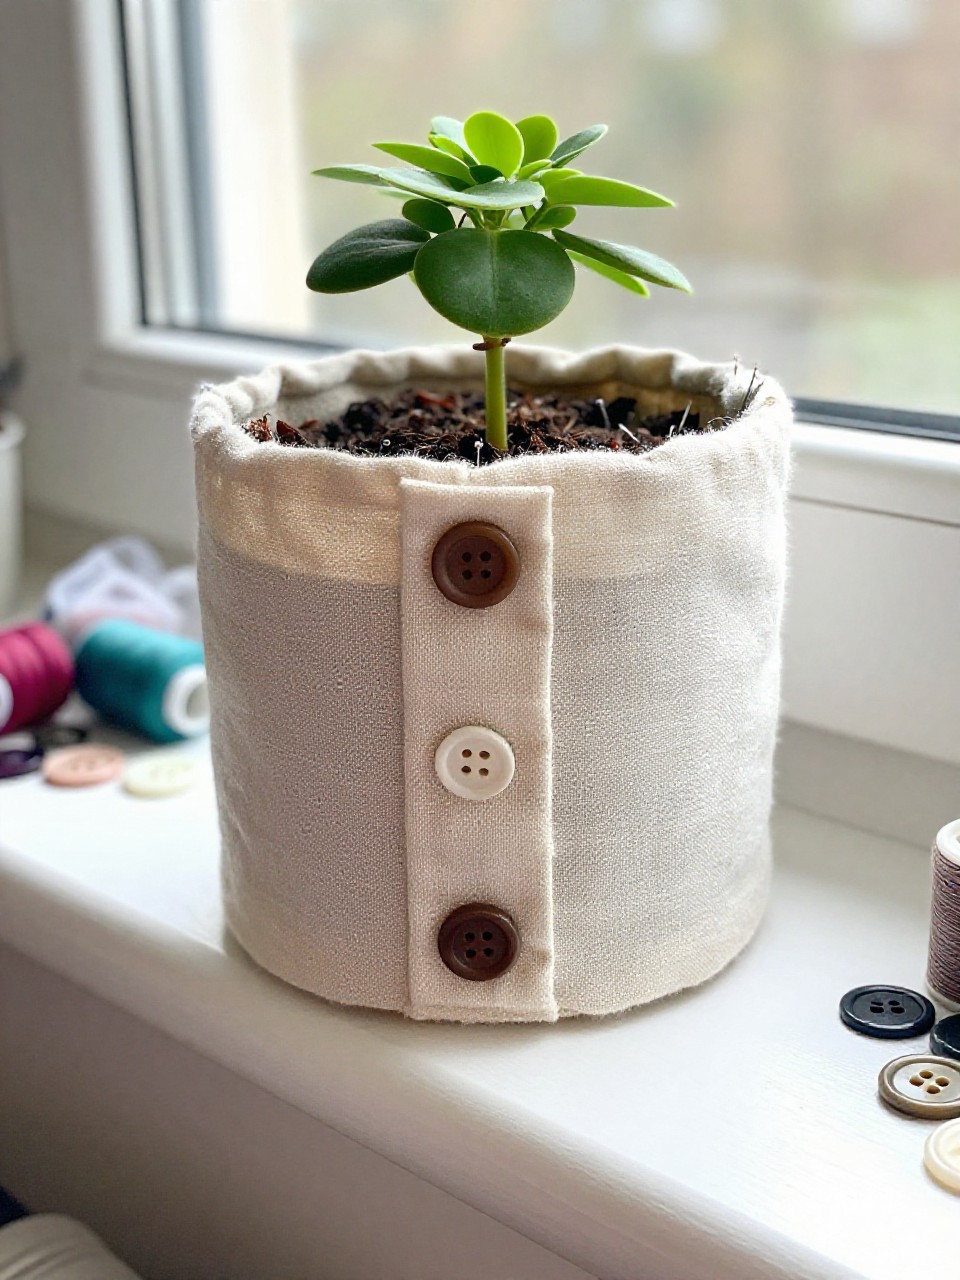
A fabric sleeve with a row of buttons dresses up a plain plant pot. It’s enjoyable to pick fabrics and buttons that match your decor for a fresh, studio look.
Materials Needed:
- Cotton or linen fabric
- Buttons
- Needle and thread or fabric glue
- Measuring tape
- Iron and pins
How to make it:
- Measure pot height and circumference; cut fabric to fit with seam allowance.
- Sew or glue a back seam to form a cylinder; hem the top edge.
- Stitch or glue a neat row of buttons around the upper band.
- Slide over the pot and adjust.
10. Monochrome Button Photo Frame
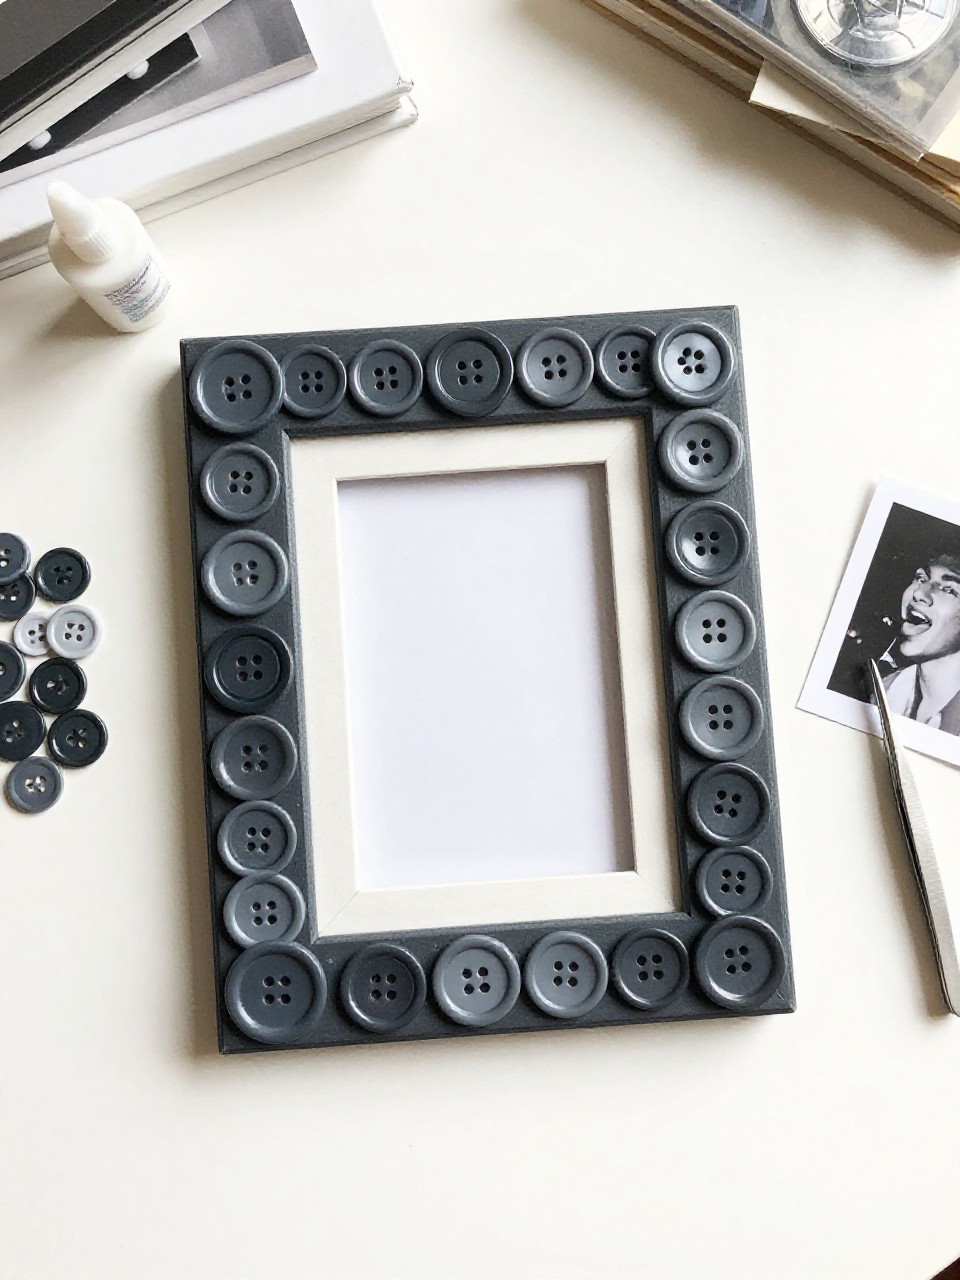
A simple frame gets a luxe makeover with buttons in one color for a tidy, textured border. It’s satisfying to see a plain frame turn gallery-ready in under an hour.
Materials Needed:
- Plain wooden frame
- Buttons in a single color
- Craft glue
- Tweezers (optional)
- Paper towel or wipes
How to make it:
- Wipe the frame clean and plan your layout.
- Glue larger buttons first, spacing evenly along the border.
- Fill gaps with small buttons, keeping edges neat.
- Let dry upright and add your favorite photo.
11. Button Line Art Silhouette
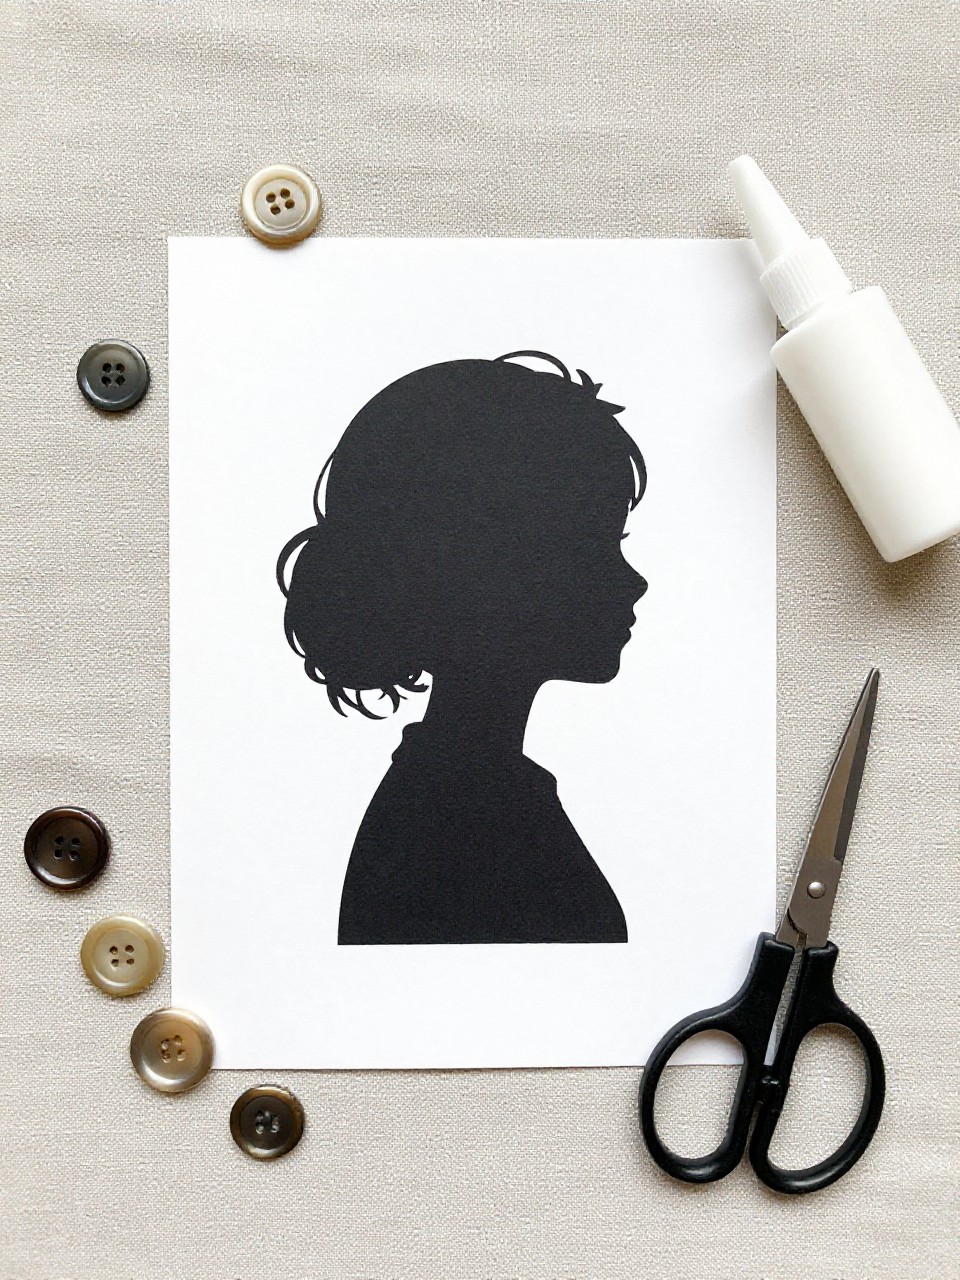
Buttons outline a simple silhouette—like a cat, coffee cup, or leaf—on cardstock for refined wall art. Choosing a bold shape keeps it adult and minimal, and placing each button feels pleasantly methodical.
Materials Needed:
- Heavy cardstock or canvas board
- Assorted buttons (one or two colors)
- Printed silhouette template
- Pencil and glue
- Frame (optional)
How to make it:
- Lightly trace your silhouette onto the base.
- Glue buttons along the outline first, then sparsely fill inside if desired.
- Layer small buttons to smooth curves and corners.
- Let dry and frame for display.
12. Button-Top Push Pins for Cork Boards

Flat buttons turned into push pins add a clean pop of style to your workspace. They’re tiny, quick wins that make any board look curated.
Materials Needed:
- Flat-back buttons
- Plain push pins or thumbtacks
- Strong glue (E6000)
- Sandpaper (fine grit)
- Wax paper
How to make it:
- Lightly sand the top of the push pins and the backs of buttons.
- Glue each button onto a push pin head and place on wax paper.
- Press gently and let cure fully.
- Pin notes and photos with your new set.
13. Button Embellished Canvas Tote
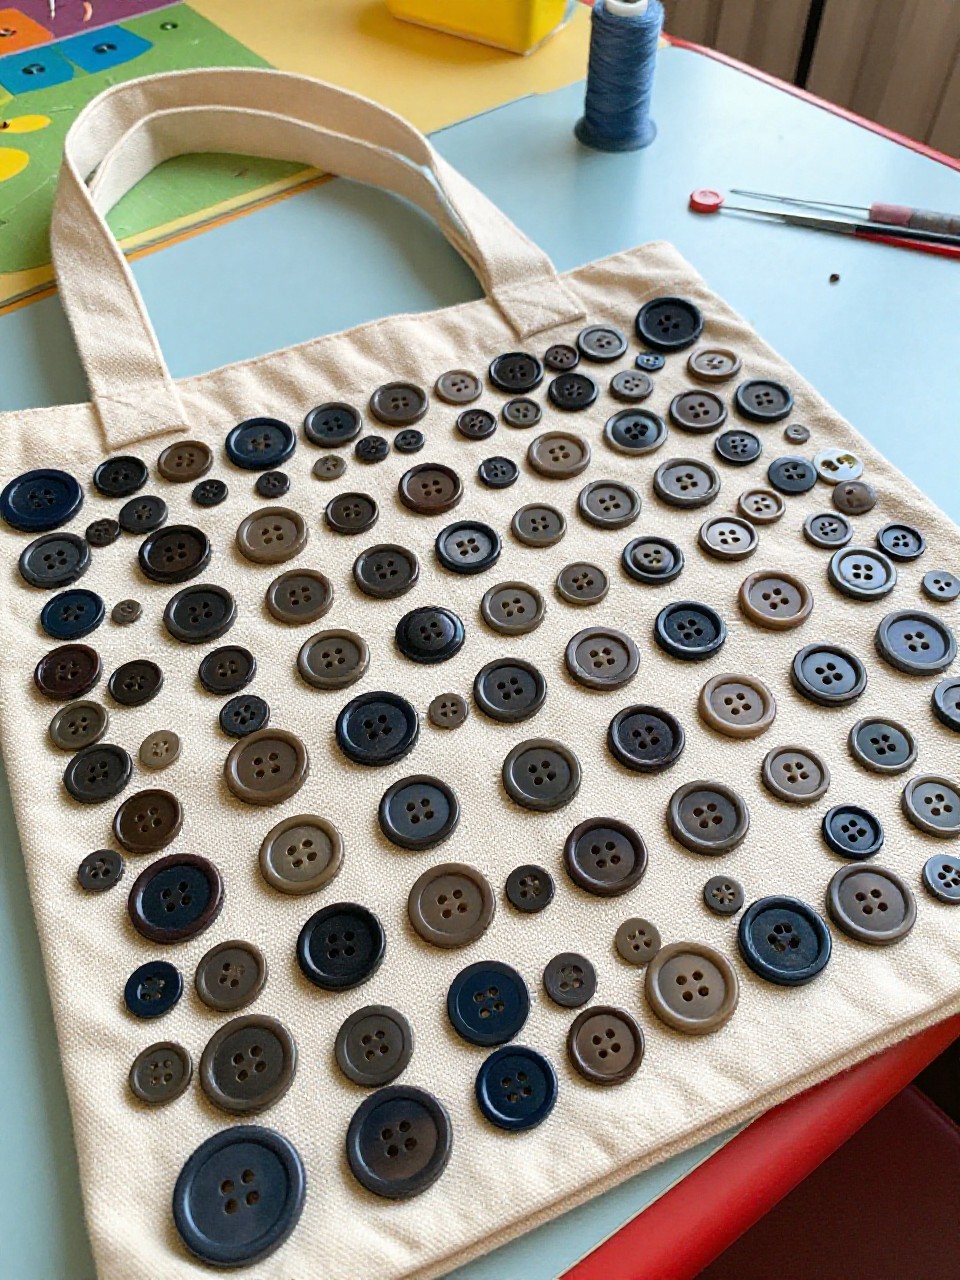
A sturdy tote gains a smart upgrade with a simple button motif—like a circle burst or diagonal band. It’s practical, washable, and lets you show off your style on errands.
Materials Needed:
- Plain canvas tote bag
- Buttons
- Needle and strong thread or fabric glue
- Chalk or ruler
- Pins and thimble
How to make it:
- Mark your design area with chalk.
- Pin buttons in place to test spacing.
- Sew each button securely with reinforced knots, or use fabric glue.
- Let dry if glued; carry your new tote.
14. Button Mosaic Coasters
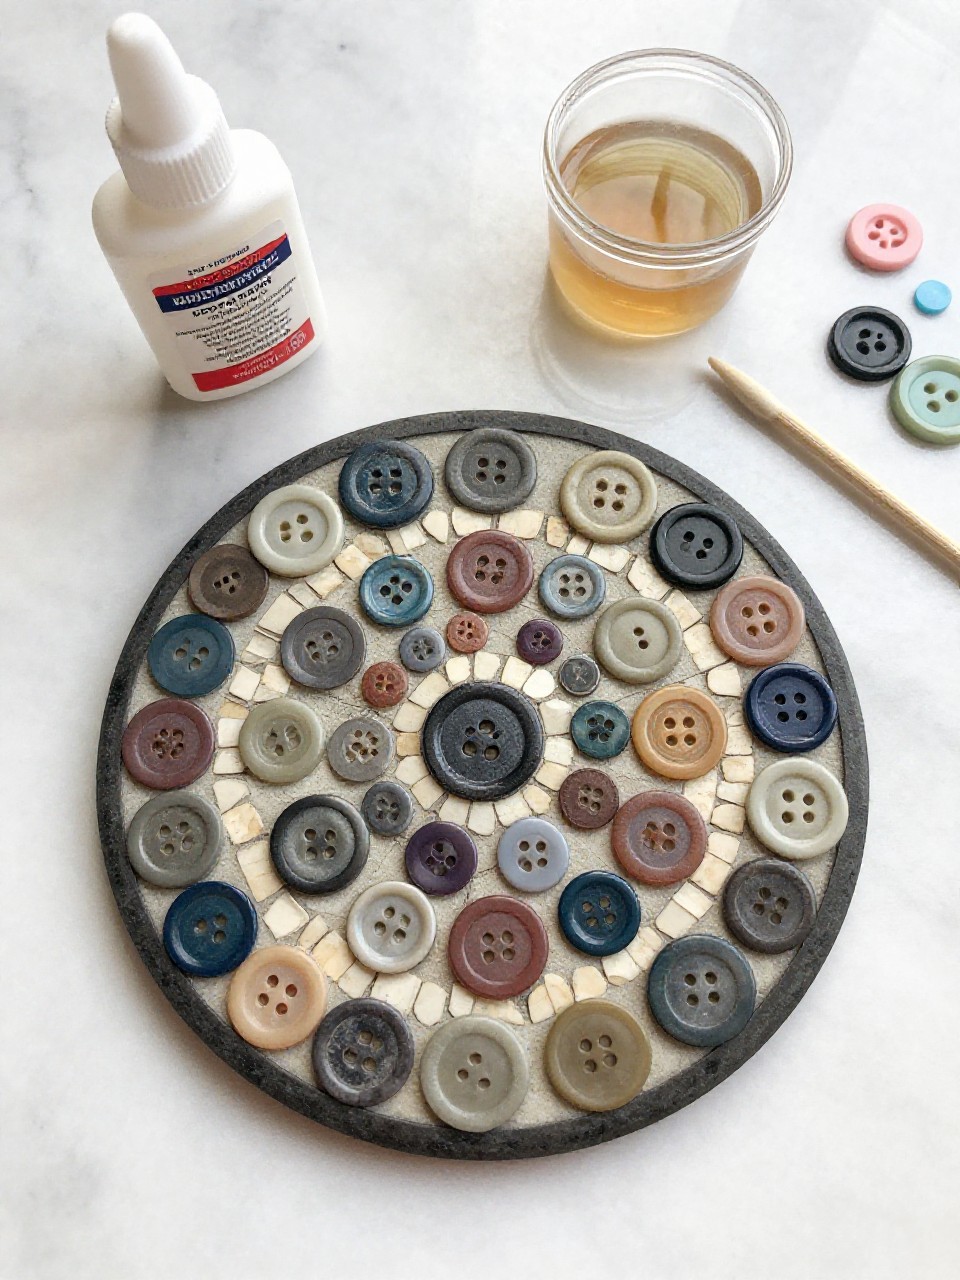
Cork coasters topped with tightly placed buttons create glossy, artful drink rests. Matching color sets or making a mixed mosaic is calming and looks boutique.
Materials Needed:
- Cork coaster blanks
- Buttons (similar height)
- Strong craft glue
- Felt for backing (optional)
- Clear resin or dimensional glaze (optional seal)
How to make it:
- Arrange buttons on a coaster to test fit; aim for a flat surface.
- Glue buttons down, pressing firmly and filling gaps with small sizes.
- Add felt to the underside; seal the top with resin or glaze if desired.
- Let cure fully before using.
15. Framed Button Heart Keepsake
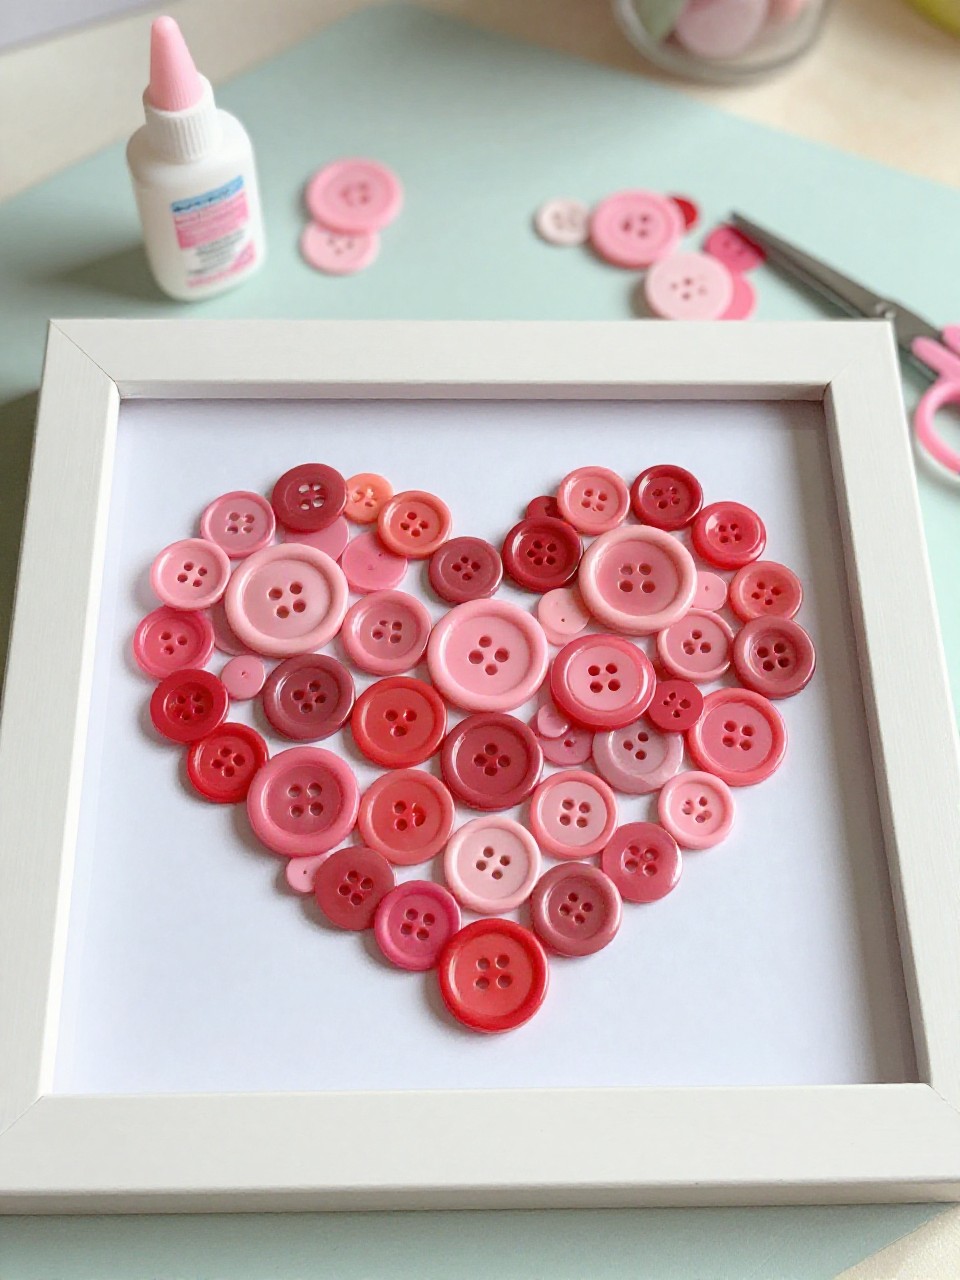
A tight cluster of buttons forms a simple heart inside a frame, perfect for gifting. It’s sentimental without being fussy, and arranging the mix of tones is peaceful.
Materials Needed:
- Small frame with mat
- Cardstock backing
- Assorted buttons (reds, pinks, or neutrals)
- Craft glue
- Pencil
How to make it:
- Lightly sketch a heart on the cardstock.
- Glue larger buttons inside the outline, then fill gaps with smaller ones.
- Layer to create a gentle dome shape.
- Let dry, frame, and gift or display.